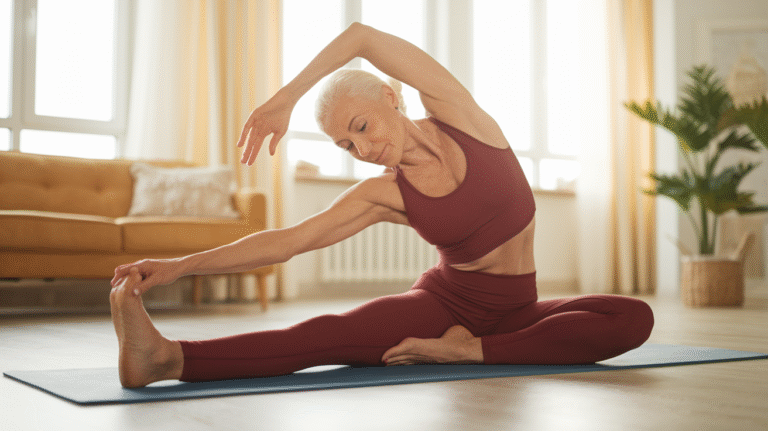
yin restorative yoga sequence for women over 40
What if you could turn back the clock on joint stiffness, hormonal stress, and energy depletion—all from the comfort of your living room, without expensive equipment or gym memberships?
For women over 40, the answer isn’t another high-intensity workout that leaves you exhausted. It’s a proven practice that works *with* your changing body, not against it.
You’ve tried the fitness trends. You’ve pushed through workouts that left you sore for days (and not in a good way). Maybe you’ve even felt intimidated walking into a yoga studio filled with twenty-somethings bending like pretzels.
But here’s the truth: your body after 40 needs something different—something that builds strength while honoring your body’s natural rhythms.
This comprehensive guide will introduce you to a powerful, restorative practice specifically designed for women navigating perimenopause, menopause, and beyond.
You’ll discover a complete Yin yoga sequence that requires just 30-45 minutes, zero fancy equipment, and delivers real results for flexibility, stress relief, and hormonal balance.
Whether you’re a complete beginner or someone who’s tried yoga before but found it too intense, this sequence meets you exactly where you are.
Why Yin Yoga Is a Game-Changer for Women Over 40

The Science Behind Yin Yoga and Aging Bodies
Here’s what most fitness articles won’t tell you: after 40, your body’s connective tissue—the fascia that wraps around muscles, bones, and organs—starts losing elasticity at an accelerated rate.
Traditional yoga flows and high-intensity workouts primarily target muscles, but Yin yoga works at a deeper level. By holding poses for 3-5 minutes, you’re applying gentle, sustained stress to fascia and connective tissue, stimulating collagen production and improving joint mobility in ways that quick movements simply cannot achieve.
Research from the Journal of Bodywork and Movement Therapies shows that long-held passive stretches increase tissue hydration and create actual structural changes in connective tissue.
This matters enormously as estrogen levels decline during perimenopause and menopause, when bone density naturally decreases and joints become stiffer.
The sustained compression and decompression of Yin poses creates a pumping action that brings fresh synovial fluid to joints, essentially lubricating them from the inside out.
Think of it this way: if muscles are like elastic bands that respond quickly to stretching, fascia is like leather that needs slow, patient work to become supple again. You can’t rush this process, and that’s actually the beauty of it.
Hormonal Balance Through Gentle Movement
The most transformative aspect of Yin yoga for women over 40 isn’t visible in the mirror—it’s happening in your nervous system.
When you hold a supported pose for several minutes while breathing deeply, you activate your parasympathetic nervous system, the “rest-and-digest” mode that counteracts the chronic stress response most of us live in. This isn’t just relaxation fluff; it’s biochemistry.
Elevated cortisol levels—your primary stress hormone—wreak havoc on women’s bodies during hormonal transitions. High cortisol interferes with sleep quality, increases abdominal fat storage, and amplifies menopausal symptoms like hot flashes and mood swings.
A consistent Yin practice (just 2-3 sessions weekly) has been shown to reduce cortisol levels measurably within four weeks. Students in my classes consistently report better sleep within the first two weeks, often sleeping through the night for the first time in months.
The connection between stress reduction and hormonal balance is direct: when your nervous system feels safe enough to relax deeply, your endocrine system can recalibrate. You’re essentially sending your body a signal that it’s okay to shift out of survival mode.
What Makes Yin Different from Other Yoga Styles
If you’ve tried Vinyasa flow or power yoga and felt like you were just struggling to keep up, here’s why: those styles emphasize muscular engagement, heat-building, and cardiovascular challenge. They’re effective for certain goals, but they’re not designed for deep tissue release or nervous system regulation.
Yin yoga is the opposite approach. You’re aiming for muscular relaxation, not engagement. You move into a shape, use props to support yourself completely, then stay still.
No previous yoga experience is required because you’re not trying to achieve any particular aesthetic or push yourself deeper. In fact, the instruction is often to back off and find your “edge”—that place where you feel sensation but not pain.
This makes Yin perfect for beginners and especially powerful for women over 40 who are tired of fitness approaches that demand more than their bodies can give.
You can practice entirely at home with minimal equipment, and the time commitment is manageable: 30-45 minutes, 2-3 times weekly, delivers measurable results. Compare that to spending hours at a gym or in classes that leave you depleted rather than restored.
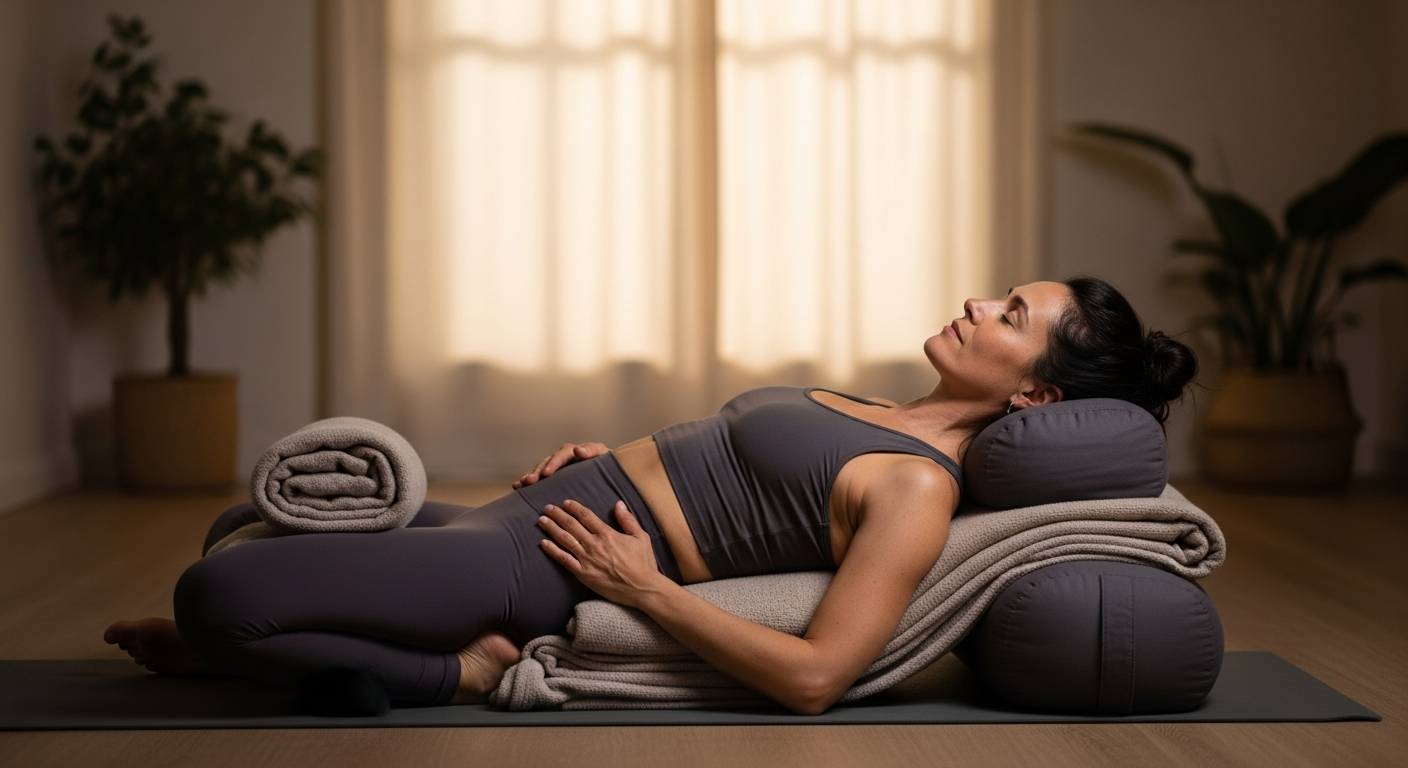
Essential Props and Setup for Your Home Practice

Must-Have Props (And Budget-Friendly Alternatives)
The beauty of Yin yoga is that you don’t need expensive equipment, but the right props make all the difference between struggling through poses and actually relaxing into them. Here’s what works:
Yoga mat or thick blanket: Any cushioned surface that keeps you off the hard floor. A standard yoga mat works perfectly, but if you don’t have one, fold a thick comforter or blanket to create padding.
2-3 firm pillows or yoga bolsters: These are essential for supporting your body in forward folds and reclined poses. Professional yoga bolsters are wonderful but not necessary—firm couch cushions or bed pillows work just as well. The key is firmness; overly soft pillows compress too much and won’t provide adequate support.
Yoga blocks or thick books: You’ll use these to bring the floor closer to you in seated poses. Two yoga blocks (cork or foam) are ideal, but hardcover books stacked to 4-6 inches work perfectly. I’ve used encyclopedias, textbooks, whatever’s sturdy.
Blankets for support and warmth: At least two blankets are invaluable. You’ll use them rolled under knees, folded under your head, and draped over your body during final relaxation. Your body temperature drops during long holds, so staying warm isn’t optional—it’s necessary for deep relaxation.
Optional but helpful: A simple eye pillow (or folded washcloth) blocks out light during Savasana, and a timer app on your phone set to gentle chimes helps you track holds without constantly checking the clock.
Creating Your Sacred Space at Home
You don’t need a dedicated yoga room, but you do need a space where you won’t be interrupted for 45 minutes. Even in a busy household, this is possible with clear boundaries. I practiced for years in a corner of my bedroom, moving the laundry basket aside and closing the door.
Lighting matters more than you’d think. Harsh overhead lights activate your nervous system; you want soft, dim lighting that signals to your brain that it’s time to wind down. A small lamp or even candlelight works beautifully. If you practice in the evening, this becomes part of your body’s sleep preparation ritual.
Temperature is crucial. Set your space slightly warmer than usual—around 72-75°F if possible. Your body cools down during long holds, and if you’re cold, you’ll tense up rather than relax. Have an extra blanket within reach.
Finally, set boundaries. Tell your family this is your time. Put your phone on silent. This isn’t selfish; it’s modeling self-care and showing that your wellbeing matters enough to protect 45 minutes of your day.
What to Wear and When to Practice
Wear the most comfortable, non-restrictive clothing you own. Fitted yoga pants are fine, but so are loose pajama bottoms. Avoid anything with tight waistbands that dig in when you fold forward. Layers are smart—a t-shirt under a sweatshirt you can remove if you get warm.
Timing your practice strategically amplifies its benefits. Evening practice (6-8pm) prepares your body for deep sleep by activating that parasympathetic response. Morning practice (6-8am) gently awakens your body and sets a calm tone for the day. Avoid practicing immediately after eating; wait at least 2-3 hours after a full meal or 1 hour after a light snack.
The real challenge isn’t finding the perfect time—it’s building this into your existing routine consistently. Pick the same time slot three days a week and protect it fiercely. Consistency creates transformation; sporadic practice creates occasional relaxation but not lasting change.
The Complete 45-Minute Yin Restorative Sequence

Sequence Overview and Timing
This sequence includes 8 carefully selected poses held for 3-5 minutes each, totaling 40-45 minutes including transitions. The order is intentional: we start with grounding poses to settle your nervous system, move through hip openers (where most women hold tension), address the spine with gentle twists and backbends, then finish with deeply restorative inversions and final relaxation.
The transformation happens in the holding. When you first settle into a pose, you might feel nothing or immediate discomfort. Stay with it. Around the 90-second mark, your nervous system starts to release its protective tension. By three minutes, you’re accessing deeper layers of tissue. This is where real change occurs—not in the first 30 seconds, but in the patient stillness that follows.
Your breathing technique is simple but non-negotiable: slow, deep belly breathing through your nose. Inhale for 4 counts, exhale for 6 counts. This breath pattern activates your vagus nerve, the primary pathway of your parasympathetic nervous system. If your mind wanders (it will), gently return to counting your breaths.
Listen to your body with discernment. You should feel sensation—stretching, pressure, even mild discomfort—but never sharp pain. If something hurts, back off immediately. The instruction “find your edge” means finding the place where you feel something but could stay there for several minutes without suffering.
Warm-Up and Intention Setting (5 minutes)
Child’s Pose (Balasana) – 3 minutes
Come to your hands and knees, then sit your hips back toward your heels. Place a bolster or firm pillow lengthwise between your thighs and rest your entire torso on it. Turn your head to one side (you’ll switch sides halfway through). Your arms can reach forward or rest alongside your body—whatever feels more comfortable.
If your hips don’t reach your heels, that’s completely normal. Stack blankets or pillows between your hips and heels to fill the gap. If you have knee sensitivity, place a rolled towel or blanket in the crease behind your knees before sitting back.
This pose gently compresses your lower back and hip flexors—areas that tighten from sitting all day. You might feel your breathing deepen naturally as your belly presses against your thighs with each inhale. Let your forehead rest heavily on the bolster; this slight pressure on your forehead is inherently calming to your nervous system.
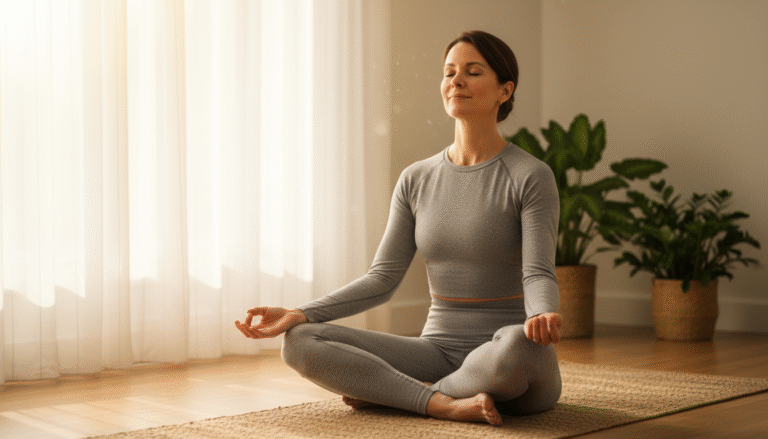
Seated Meditation – 2 minutes
Slowly press yourself up to a comfortable seated position. Sit on the edge of a folded blanket so your hips are slightly higher than your knees—this takes pressure off your lower back. Rest your hands on your thighs, close your eyes, and take three deep, audible sighs.
Set an intention for your practice. This doesn’t need to be elaborate. Maybe it’s simply “I’m here to rest” or “I’m giving myself permission to slow down.” Speak it silently to yourself, then let it go. You don’t need to hold onto it; you’ve planted the seed.
Lower Body Release: Hip and Leg Sequence

Butterfly Pose (Baddha Konasana) – 4 minutes
From your seated position, bring the soles of your feet together and let your knees fall open to the sides. Slide your feet 12-18 inches away from your body—not right up against you. Place a bolster or stacked pillows on top of your feet and under your shins.
Slowly fold forward, resting your forearms and forehead on the bolster. If this is too intense, stack more height under your torso until you can completely relax. Your spine should round naturally; don’t try to keep your back straight. If your knees are very high off the ground, place blocks or pillows under each outer thigh for support.
You’re targeting your inner thighs (adductors), hips, and lower back. Many women feel this intensely because we carry enormous tension in our hips—both from sitting and from emotional stress that literally lodges in these deep tissues. If emotions arise during hip openers, that’s completely normal. Breathe through them; you’re releasing more than just physical tightness.
The common mistake is forcing yourself deeper. Yin yoga isn’t about achievement; it’s about surrender. Find a position where you feel a moderate stretch, then stop moving. Let time and gravity do the work.
Sleeping Swan (Pigeon Pose Variation) – 5 minutes each side
This pose is transformative for hip flexibility but must be approached with care. From hands and knees, bring your right knee forward and place it behind your right wrist. Your right foot slides toward your left hip—the exact angle depends on your hip flexibility. Extend your left leg straight behind you.
Here’s the crucial part: place a bolster or thick folded blanket under your right hip so you’re not collapsing unevenly to one side. Your hips should feel relatively level. Then place another bolster lengthwise in front of you and fold forward over it, resting on your forearms or completely surrendering your torso down.
If your right knee feels any strain, bring your right foot closer to your body, making a smaller triangle. If you have knee issues, skip this pose entirely and substitute with a reclined figure-four stretch on your back.
You’ll feel this in your right outer hip and glute—exactly where most women store tension from sitting, driving, and stress. The sensation might be intense. Breathe into it. Around the 2-3 minute mark, you might feel a subtle release, like something letting go. That’s your fascia reorganizing.
Switch sides mindfully. Come out slowly, pause in Child’s Pose for 30 seconds, then set up the second side. Don’t be surprised if one side feels completely different from the other; asymmetry is normal.
Dragonfly Pose (Upavistha Konasana) – 4 minutes
Sit with your legs extended in a wide V-shape, as wide as feels comfortable without forcing. Flex your feet so your toes point toward the ceiling. Place a bolster or several stacked pillows in front of you.
Keeping your spine long initially, begin to fold forward from your hips (not your waist), walking your hands forward until you can rest your forearms on your support. Then let your spine round and your head hang heavy. If you can’t reach your props comfortably, stack more height or simply rest your hands on the floor in front of you.
This targets your inner thighs and hamstrings—areas that tighten dramatically as we age. The temptation is to push yourself deeper to “improve flexibility faster.” Resist this. Yin yoga builds flexibility through consistent, patient practice over weeks and months, not through aggressive stretching in a single session.
You might feel very little in the first minute. That’s fine. Your body is assessing whether it’s safe to release. Keep breathing slowly and deeply. By minute three, you should feel a moderate stretch along your inner legs and possibly into your lower back. If you feel this in your knees instead of your inner thighs, bring your legs closer together.
Spinal Release and Twist Sequence

Caterpillar Pose (Seated Forward Fold) – 4 minutes
Bring your legs together, extended straight in front of you. Place a bolster or rolled blanket under your knees—this is essential for protecting your hamstrings and lower back. Flex your feet or let them relax naturally, whatever feels better.
Fold forward from your hips, letting your spine round completely. Rest your forearms on your shins, or if you’re more flexible, on the floor beyond your feet. Stack pillows on your legs if you need more support for your torso. Your head should hang heavy.
Here’s what makes Caterpillar different from traditional forward folds: in Yin yoga, rounding your spine is actually encouraged. You’re targeting your entire posterior chain—the backs of your legs, your lower back, and all the connective tissue along your spine. This gentle compression also stimulates your digestive organs and can relieve bloating and constipation.
The mistake I see most often is trying to straighten the legs completely and keep the spine flat. That’s a muscular approach. In Yin, we soften the muscles to access deeper tissues. If your hamstrings are tight, keep more bend in your knees. The stretch should be moderate and sustainable for four full minutes.
This pose often brings up feelings of introspection or even sadness. Forward folds are naturally inward-turning. Whatever arises, acknowledge it without judgment and return to your breath.
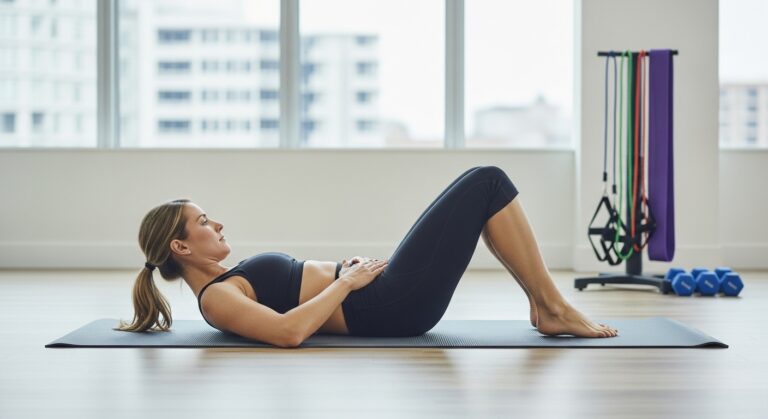
Reclined Twist (Supta Matsyendrasana) – 3 minutes each side
Lie on your back and hug your knees into your chest. Extend your arms out to the sides in a T-shape. Let both knees fall to your right side, stacking them if possible. Place a bolster or thick pillow between your knees and under your top leg for support.
Your left shoulder might lift off the ground—that’s completely fine. Place a folded blanket under your left shoulder if it’s hovering uncomfortably. Turn your head to the left, away from your knees, if that feels good for your neck.
This gentle spinal twist creates a wringing-out effect on your internal organs, supporting detoxification and digestive health. You’re also opening across your chest and shoulder—areas that collapse forward from desk work and stress. The twist mobilizes your spine in a way that becomes increasingly important as we age; spinal rotation is one of the first movement patterns we lose.
Breathe into your belly, watching it expand with each inhale. You might feel the stretch deepen slightly with each exhale as your body releases tension. This is normal and safe. What’s not safe is forcing yourself deeper by pulling on your legs.
After three minutes, slowly bring your knees back to center, pause for a breath, then set up the second side. Notice if one side feels tighter; this gives you valuable information about imbalances in your body.