Pilates to Lose Waist & Sculpt Your Core
You don’t need endless crunches or expensive equipment to transform your midsection—just 15 minutes of targeted Pilates can sculpt a smaller waist more effectively than an hour of traditional ab work. The difference isn’t in how hard you push; it’s in which muscles you’re actually engaging.
Most people chase a smaller waist with movements that actually thicken it. Crunches build the rectus abdominis (the six-pack muscle) outward, adding visible width to your middle. Pilates works differently.
It targets the transverse abdominis—the deep corset muscle that wraps around your torso like a weight belt—which cinches your waist inward. This is the difference between looking toned and looking sculpted.
Here’s what you’ll get from this guide: the exact Pilates exercises that target deep core muscles for proven waist definition, a complete 15-minute routine you can start today, and realistic timelines for results so you know what to expect and when.
Why Pilates Works to Lose Waist Inches (Not Just Tone Them)

The Deep Core Difference: Transverse Abdominis vs. Surface Muscles
Your core has four layers. The outermost is the rectus abdominis—the visible six-pack muscle. Beneath that are the external and internal obliques, which run diagonally across your sides. Below those is the transverse abdominis, which wraps horizontally around your entire torso like a natural corset. When it engages, it pulls your belly inward and cinches your waist. When it’s weak, your midsection pooches outward regardless of body fat percentage.
Traditional ab exercises—crunches, sit-ups, cable work—primarily target the rectus abdominis and external obliques. These build outward and upward. A person who does 100 crunches daily might have strong abs, but if their transverse abdominis isn’t engaged, their waist won’t look smaller. It might look wider. This is why some people with visible six-pack abs still have a thick waist—they’ve trained the wrong muscles.
Pilates is built on deep core activation. Every movement requires you to engage your transverse abdominis first. You learn to “scoop” your belly—drawing your navel toward your spine—before moving your limbs. This constant, controlled engagement of the deep core is what shrinks your waist over time. The obliques also work during Pilates, but they work in partnership with the transverse abdominis, not in isolation. That’s the formula for actual waist definition.
Length Plus Strength Equals a Smaller-Looking Waist
Here’s something most ab workouts completely ignore: posture. If your ribcage is flared forward and your lower back is arched, you’re adding visual inches to your waistline even if your abs are strong. Your torso appears compressed and thick. Pilates corrects this structural issue. The practice emphasizes spinal elongation—lengthening your spine while your core stays engaged. You learn to stack your ribs over your pelvis, not flare them forward. You learn to maintain a neutral spine instead of over-arching.
This is why people often see visible waist changes within 2-3 weeks of consistent Pilates, even before significant fat loss occurs. The posture correction and deep core engagement create an immediate visual transformation. Your clothes fit differently. Your midsection looks narrower. Then, as the transverse abdominis strengthens over 4-8 weeks, the structural change becomes permanent. Your nervous system learns to maintain this posture automatically.
Breath Patterns That Activate Hidden Core Layers
Most people hold their breath during ab work, thinking that tension equals strength. But holding your breath actually sabotages waist-sculpting results. The transverse abdominis is activated primarily through exhalation. When you exhale fully, your deep core naturally engages. When you hold your breath, you’re relying on surface tension and hip flexor dominance instead. You’re also creating intra-abdominal pressure that pushes your belly outward.
Pilates uses lateral or “rib” breathing. You inhale through your nose, expanding your ribs sideways (not your belly), then exhale completely through your mouth, which automatically pulls your navel toward your spine. This breath pattern unlocks the transverse abdominis. When you exhale, your intercostal muscles contract, your diaphragm moves upward, and your transverse abdominis automatically engages to stabilize your spine. This is pure neuromuscular coordination.
When you practice this breath pattern consistently, you train your nervous system to activate your deep core automatically during daily life. You’ll find yourself naturally engaging your waist when you walk, sit at your desk, or carry groceries. This is why Pilates practitioners often maintain their waist definition even when they take breaks from training—the neural pattern has become automatic.
Small Waist Workout: 8 Proven Pilates Exercises

These eight exercises form the foundation of any effective small waist workout. Each targets the transverse abdominis and obliques through different movement patterns. Master the form on each before adding speed or reps. Quality always beats quantity in Pilates.
1. The Hundred (Deep Core Ignition)
Starting position: Lie on your back, knees bent at 90 degrees (tabletop position). Lift your head and shoulders slightly off the mat, chin tucked, hands by your sides with arms extended, palms down. Your lower back should maintain light contact with the mat.
Movement: Pump your arms up and down in small, controlled motions (about 6 inches). Simultaneously, inhale for 5 pumps, exhale for 5 pumps. Continue until you reach 100 total pumps (roughly 1 minute).
Breath pattern: 5 inhales, 5 exhales, repeated 10 times. Emphasize the exhalation—make your exhale audible with a controlled “ha” sound.
Common mistake: Letting your belly pooch outward as you pump. This happens when you hold your breath or fail to maintain the scoop. Fix: Before you start, press your lower back into the mat and draw your navel to your spine. Maintain that position throughout all 100 pumps.
2. Criss-Cross (Oblique Sculptor)
Starting position: Lie on your back, knees bent at 90 degrees (tabletop), hands lightly behind your head with elbows wide. Lift your head and shoulders off the mat, chest open, gaze toward your thighs.
Movement: Rotate your torso to bring your right elbow toward your left knee while straightening your right leg. Return to center, then rotate left. Move slowly and deliberately—this isn’t a speed drill. The rotation should come from your ribcage and obliques, not from your arms pulling your head.
Reps: 8-12 rotations per side. Exhale as you rotate, inhale as you return to center.
Why it works: Criss-Cross targets the external and internal obliques simultaneously while the rotation forces deep core stabilization. The extended leg also challenges your deep core to prevent your lower back from arching.
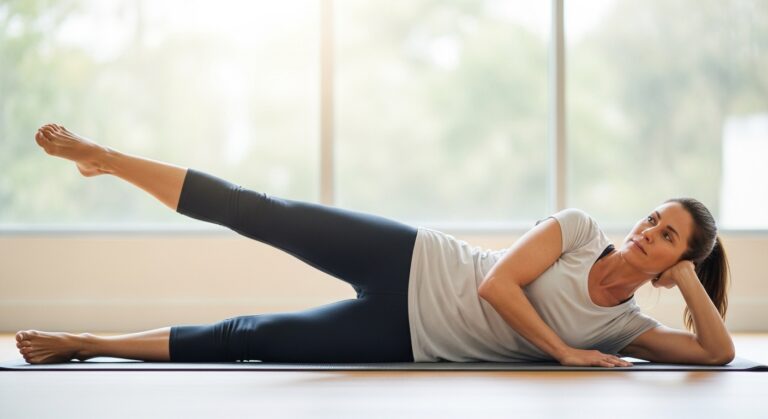
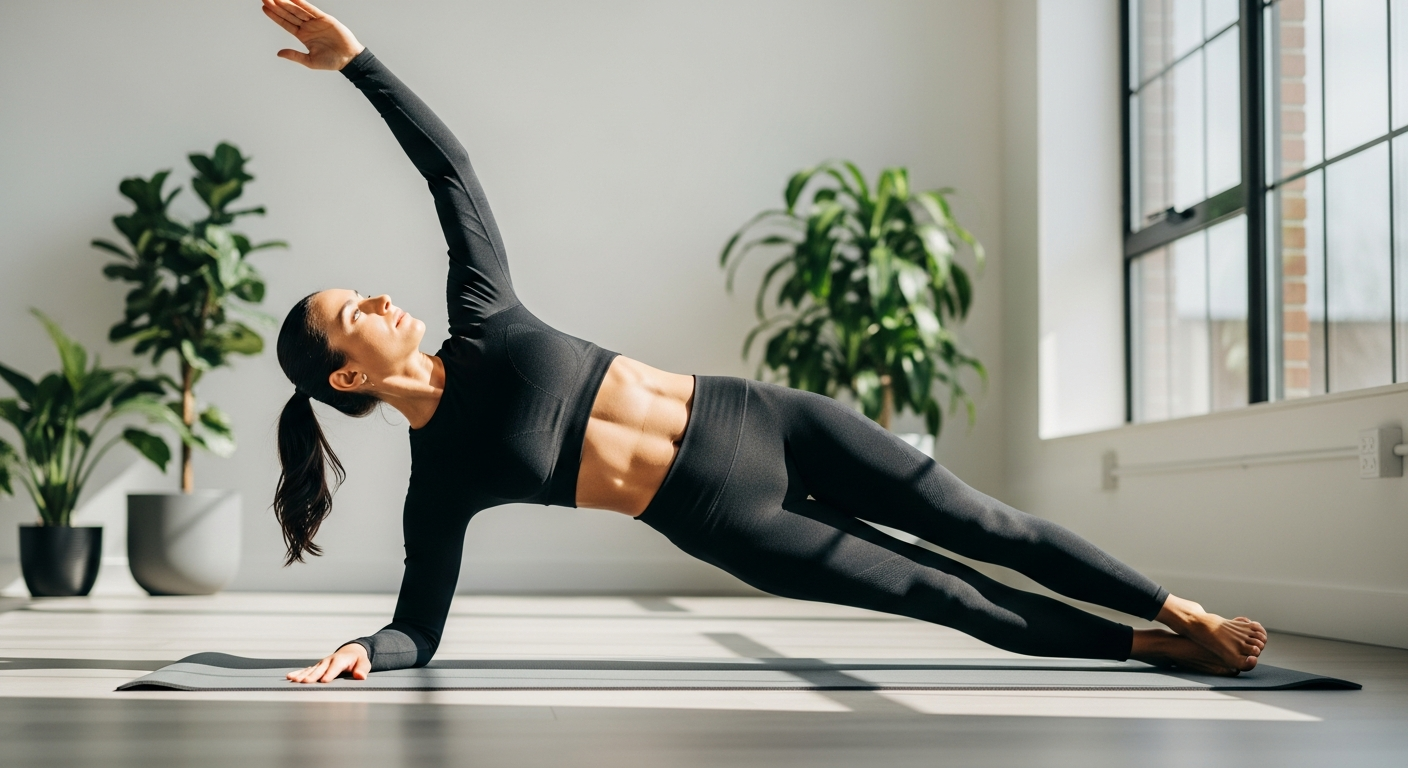
3. Side Plank with Rotation (Waist Cincher)
Starting position: Lie on your right side, prop yourself up on your right forearm (elbow directly under your shoulder). Stack your left foot on top of your right, or stagger them for stability. Lift your hips so your body forms a straight line from head to heels. Your left arm rests on your left side.
Movement: Thread your left arm underneath your torso, rotating your spine to face the mat. Feel your obliques and deep core contract intensely. Return to the starting position with your chest open. Repeat 8-10 times, then switch sides.
Beginner option: Drop your bottom knee to the mat while maintaining a straight line from your top knee to your head. This reduces the load but maintains the rotational challenge.
4. The Saw (Spine Twist Plus Oblique Stretch)
Setup: Sit upright with your spine elongated, legs extended in front of you, feet hip-width apart. Extend your arms out to the sides at shoulder height, forming a T-shape with your torso.
Movement: Twist your torso to the right from your ribcage (not your hips), then reach your left hand toward the outside of your right foot. Your right arm extends behind you. Exhale fully as you reach. Return to center, then repeat on the opposite side.
Reps: 8 reaches per side. The Saw combines spinal rotation, lateral flexion, and stretching. It’s one of the few exercises that stretches and strengthens simultaneously, which is why it creates lean definition rather than bulk.
5. Single Leg Stretch (Lower Belly Flattener)
Starting position: Lie on your back, knees bent at 90 degrees (tabletop). Lift your head and shoulders off the mat. Place your hands on your right knee, elbows bent and wide.
Movement: Pull your right knee in toward your chest while simultaneously extending your left leg long, hovering it just above the mat (2-4 inches high). Switch sides in a rhythmic, controlled manner. Continue alternating for 16 total leg switches (8 per side).
Breath: Exhale as you pull each knee in, inhale as you extend. Keep your pelvis still and neutral. If your lower back arches, your extended leg is too high—lower it closer to the mat.
6. Spine Twist Seated (Oblique Endurance Builder)
Position: Sit tall with your spine elongated, legs extended in front of you, feet together. Cross your arms over your chest (right hand on left shoulder, left hand on right shoulder). Sit on your sitting bones, not your tailbone.
Movement: Twist your torso to the right from your ribcage (not your hips). Pulse twice at the end range, feeling your obliques contract intensely. Return to center, then twist left and pulse twice. Repeat for 12 total twists per side.
Critical form cue: Initiate the twist from your waistline, not your hips. Your pelvis stays still and square. Only your torso rotates. This distinction is what makes the exercise effective for waist definition.
7. Plank to Pike (Full Core Integration)
Starting position: Plank position—hands directly under shoulders, body in a straight line from head to heels, core engaged, neutral spine.
Movement: From plank, lift your hips toward the ceiling, creating an inverted V-shape with your body (this is the pike). Your head drops between your arms. Lower back down to plank with control. Repeat for 6-8 reps.
Breathing: Exhale as you pike upward, inhale as you return to plank. The exhalation activates the transverse abdominis for the pike movement. Feel your deep core pulling inward and upward, not your shoulders or neck straining.
8. Mermaid Side Bend (Waist Lengthener)
Setup: Sit on your right hip with both knees bent to the right. Your right hand is on the mat beside you for light support. Your left arm extends overhead. Sit upright with good posture.
Movement: Reach your left arm up and over to the right, creating a long lateral line through your entire left side. Feel the stretch along your waist, ribcage, and side body. Return to upright, then repeat for 5 reaches per side.
Why it matters: The Mermaid stretches and strengthens simultaneously. It lengthens the obliques and intercostal muscles, which creates the appearance of a longer, leaner torso. Combined with the strength work from the other exercises, this creates genuine sculpting—not just tightness, but visible definition and length.
Quick Morning Workout: 15-Minute Waist-Sculpting Routine

This complete circuit takes 15 minutes and requires nothing but a mat. Do this 4-5 times per week for visible waist transformation in 3-4 weeks. Consistency is key—your nervous system needs repeated exposure to these patterns to build lasting change.
Warm-Up (2 minutes)
Cat-Cow spinal articulation: 8 rounds. Move slowly, inhaling as you arch (dropping your belly, lifting your gaze), exhaling as you round your spine (tucking your chin, drawing your navel toward your spine). Take 3 seconds for each direction.
Seated spine twist: 6 each side. Sit upright, twist gently to each side, hold for a breath. This wakes up your obliques and prepares them for the rotational work ahead.
Main Circuit (11 minutes)
- The Hundred: 100 pumps (1 minute). Focus on breath—5 inhales, 5 exhales. Maintain the scoop throughout.
- Single Leg Stretch: 16 total switches (1 minute). Exhale with each pull. Keep your lower back neutral.
- Criss-Cross: 12 each side (1.5 minutes). Move slowly, control the rotation. Take 2 seconds per rotation.
- Plank to Pike: 8 reps (1 minute). Emphasize the scoop of your lower abs. Move with control.
- Side Plank with Rotation: 10 each side (2 minutes). Feel the waist engagement intensely. Rest 10 seconds between sides if needed.
- The Saw: 8 each side (1.5 minutes). Full exhale as you reach. Feel the spinal rotation.
- Spine Twist Seated: 12 each side (1.5 minutes). Twist from your waistline, not your hips. Pulse at the end range.
- Mermaid Side Bend: 5 each side (1 minute). Stretch and lengthen your waist. Feel the side body lengthening.
Cool-Down (2 minutes)
Child’s pose: 30 seconds. Let your spine relax and lengthen. Rest your forehead on the mat and breathe deeply.
Supine spinal twist: 30 seconds each side. Lie on your back, pull one knee toward the opposite shoulder, let your spine rotate gently.
Deep breathing in constructive rest position: 30 seconds. Lie on your back with knees bent, feet flat, arms by your sides. Breathe deeply and let your core relax. This allows your nervous system to integrate the work you’ve just done.