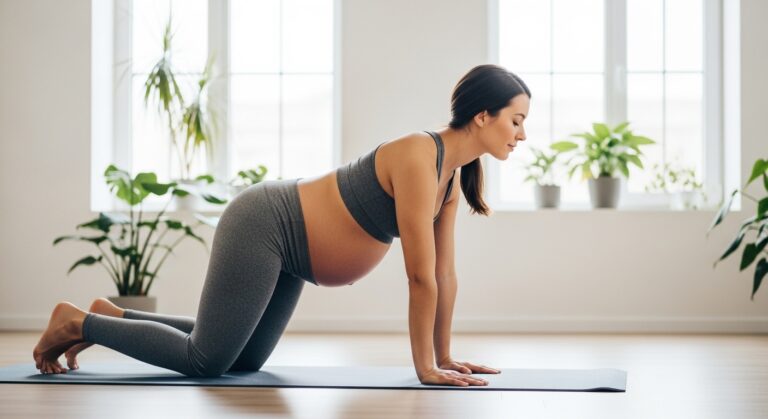
Best Pelvic Organ Prolapse Excercises
If you’ve been diagnosed with pelvic organ prolapse, you’ve probably heard conflicting advice: some doctors say rest, others say exercise, and the internet offers a thousand contradictory protocols. The truth is simpler—and more hopeful—than the noise suggests.
The right exercises don’t just manage prolapse symptoms; they can meaningfully improve them by restoring pelvic floor strength and coordination.
This isn’t about wishful thinking. Research shows that targeted pelvic floor training reduces symptoms in 60–80% of women with mild to moderate prolapse, often without surgery. But here’s the catch: not all exercises are safe, and the wrong movements can make things worse.
This guide walks you through exactly which exercises work, how to perform them safely, what to avoid, and a progressive 4-week plan you can start today—whether you’re a complete beginner or already doing pelvic floor work.
Understanding Pelvic Organ Prolapse
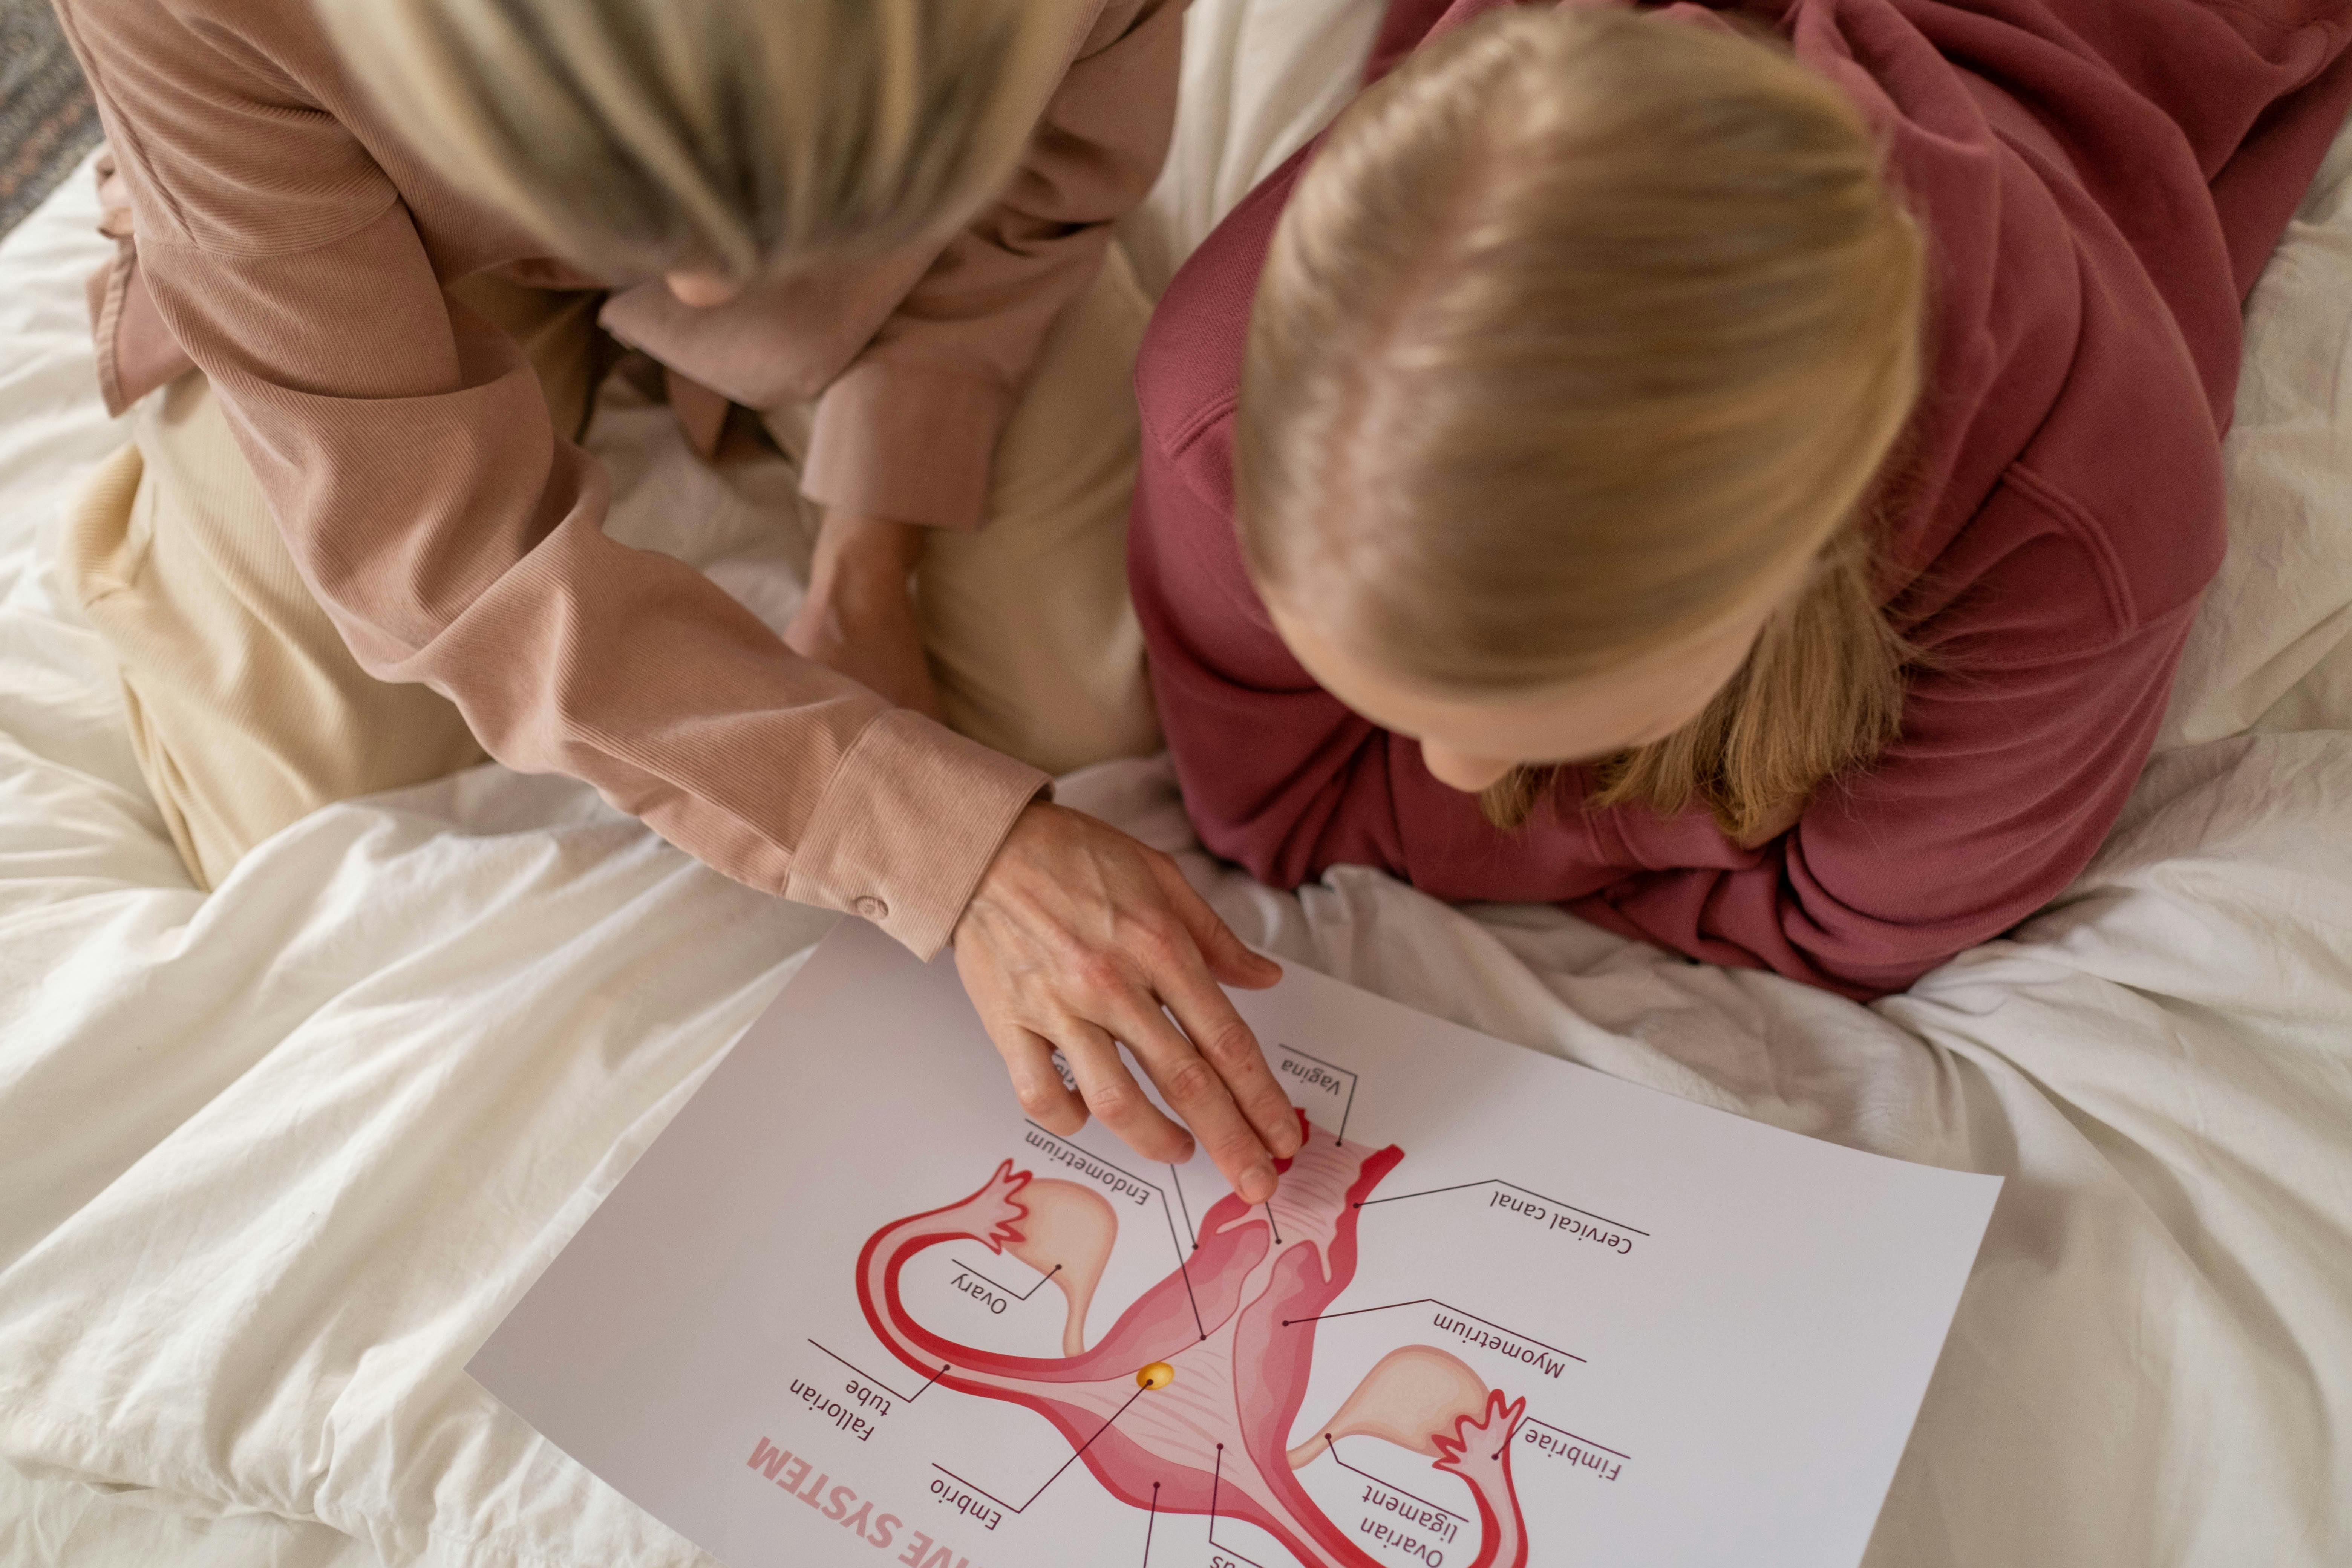
Pelvic organ prolapse happens when the muscles and connective tissues supporting your bladder, uterus, or bowel weaken enough that these organs shift downward into the vaginal canal.
It’s not a rare condition—research suggests 3 in 10 women experience some degree of prolapse, though many don’t realize it.
The key word here is “weaken,” not “broken.” Your pelvic floor didn’t fail; it’s fatigued and needs retraining, which is exactly what exercise addresses.
The pelvic floor is a hammock of muscles that spans from your pubic bone to your tailbone. These muscles do three critical jobs: support your organs, control continence, and contribute to sexual function.
When pregnancy, childbirth, chronic coughing, heavy lifting, or aging compromises these muscles, that support system sags. Gravity does the rest.
This is why prolapse often develops gradually—you won’t wake up one day with it fully formed. You’ll notice symptoms like heaviness in the pelvis, pressure during or after activity, or difficulty with bowel movements.
Here’s what matters for your recovery: prolapse exists on a spectrum. Mild prolapse (Stage 1-2) often responds exceptionally well to targeted pelvic floor training.
Even moderate prolapse (Stage 3) can improve significantly with the right protocol. Your pelvic floor muscles are skeletal muscles—the same type you strengthen in your legs or arms.
They respond to progressive resistance training, proper activation patterns, and consistent effort over weeks, not days. This isn’t mystical; it’s physiology.
The mistake most people make is assuming prolapse means you can’t exercise. The opposite is true: strategic exercise is your primary tool. What changes is *how* you exercise. High-impact movements, heavy loaded squats without preparation, and exercises that increase intra-abdominal pressure too quickly can worsen symptoms initially. But avoiding all activity weakens the muscles further, creating a downward spiral. Your goal is to rebuild pelvic floor strength and coordination in a progressive, symptom-aware way. That’s what the protocol ahead is designed to do.
Pelvic Floor Exercises For Prolapse That Actually Work
Here’s what most people get wrong about pelvic floor training for prolapse: they think harder and faster equals better results. The opposite is true. Research from the International Continence Society shows that quality, controlled pelvic floor muscle contractions—not maximum effort—produce the measurable improvements that actually reduce prolapse symptoms. Your pelvic floor isn’t meant to be sprinted; it’s meant to be strengthened with precision.
The exercises that work share a common principle: they engage your pelvic floor muscles through controlled contractions while maintaining intra-abdominal pressure that doesn’t push downward. Think of it this way—you’re retraining your pelvic floor to support your organs, not fighting against gravity with brute force. This distinction changes everything about how you approach the work.
Effective prolapse exercises fall into three functional categories. First are isolated pelvic floor contractions—the foundational work where you learn to consciously engage these muscles without involving your abs, glutes, or inner thighs. Second are functional integration exercises, where you perform the contraction while in positions your body actually uses (sitting, standing, light walking). Third are endurance holds, which build the sustained muscle tone that prevents descent during daily activities like coughing or lifting.
The timeline matters here: most people notice symptom improvement—less heaviness, reduced bulging sensation—within 4 to 6 weeks of consistent practice. But structural changes in muscle thickness and support take 12 to 16 weeks. This isn’t discouraging; it’s permission to stop expecting overnight results and instead trust the process.
One critical detail: breathing patterns determine whether you’re helping or hurting. If you hold your breath during contractions, you increase intra-abdominal pressure and actually push your organs downward. The correction is simple—exhale gently as you contract, inhale as you release. This single habit change makes the difference between exercises that work and exercises that feel like work without progress.
Prolapse Exercises: The Complete Safe Exercise Protocol
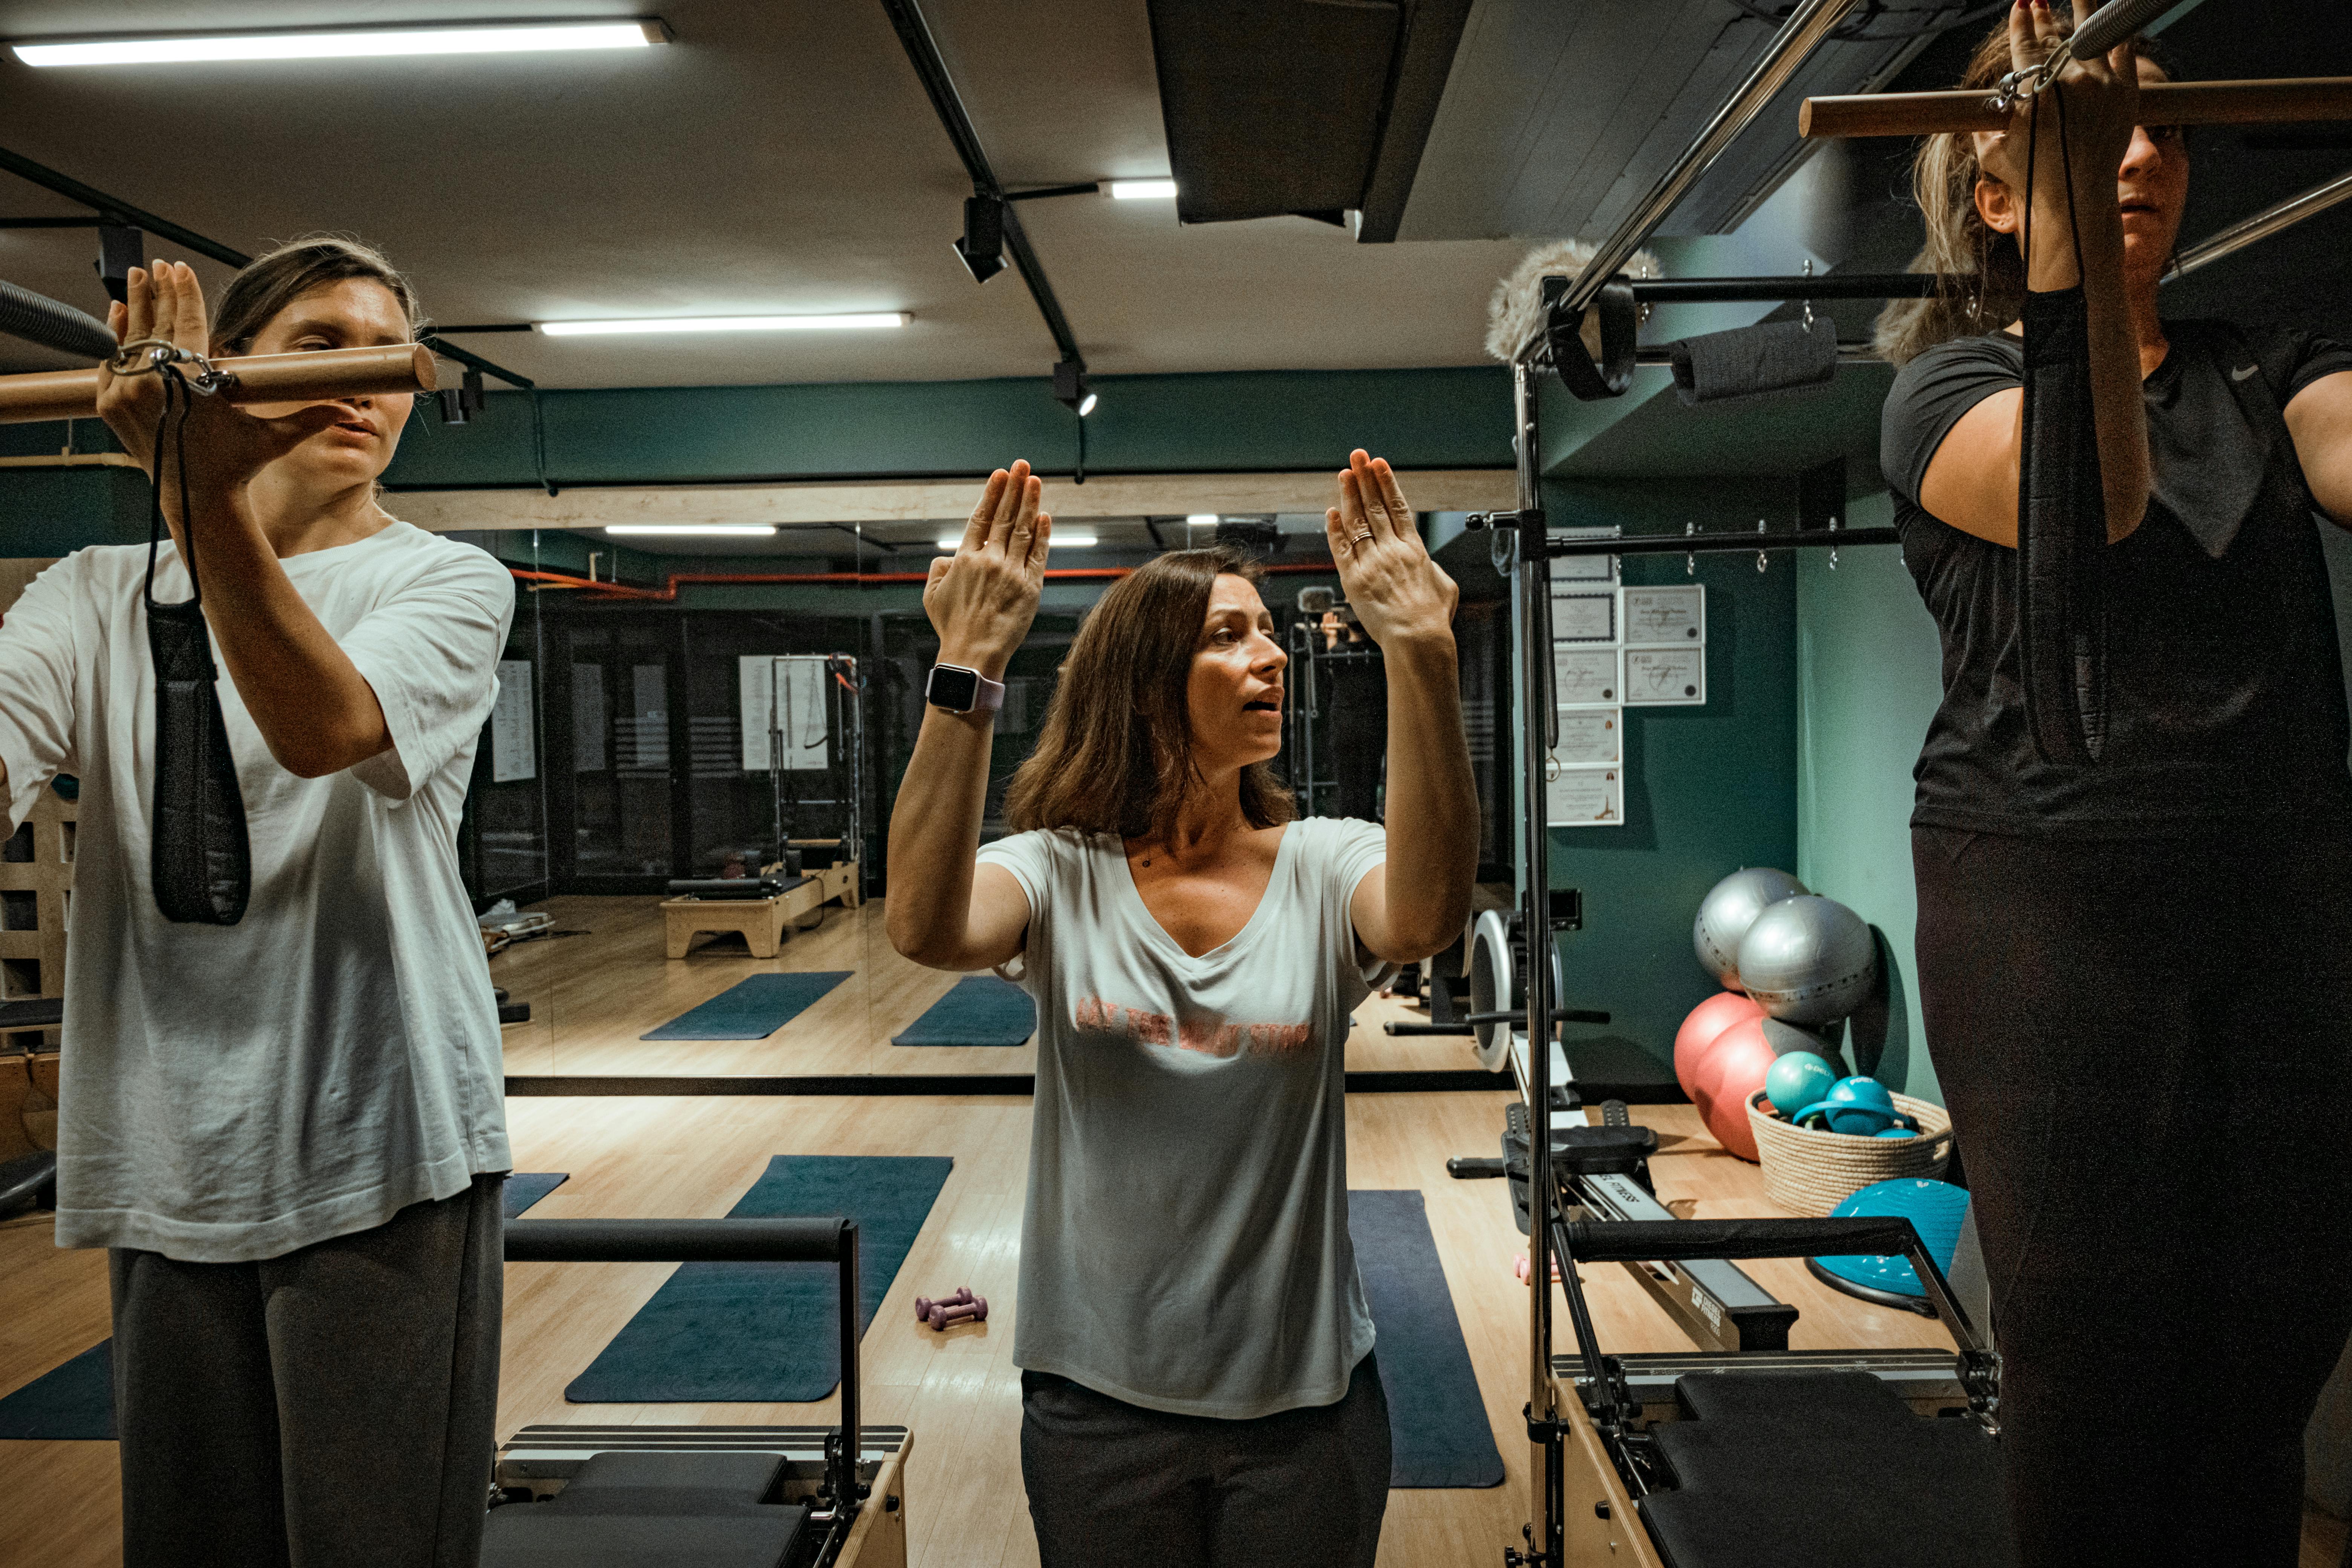
Here’s what most people get wrong: they treat pelvic floor exercises like a one-size-fits-all prescription. You do Kegels, you’re done. But prolapse recovery isn’t about intensity—it’s about progression and timing. The protocol that works is the one that respects where your pelvic floor actually is right now, not where you wish it were.
The safest approach follows what pelvic floor physical therapists call a graded progression model. This means you start with awareness and gentle activation, move to controlled contractions, and only then layer in functional movements. Your nervous system needs to relearn coordination before your muscles can handle load. This typically takes 4–8 weeks before you notice meaningful change—and that’s normal.
Phase 1 (Weeks 1–2): Foundation and Awareness
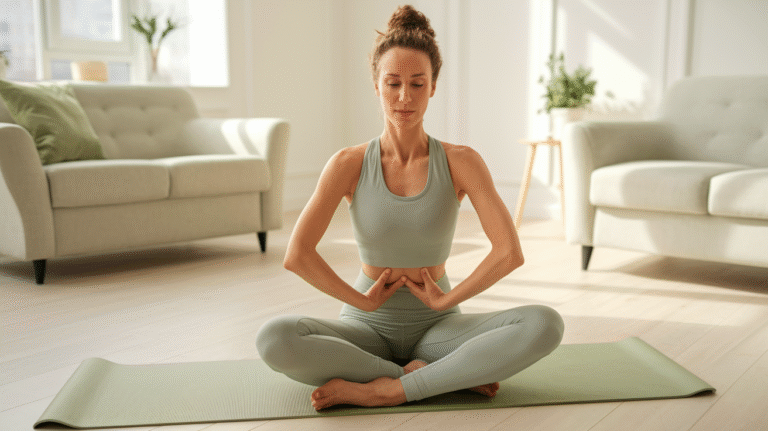
Begin lying down or in a supported sitting position. Focus on identifying the pelvic floor muscles without forcing contraction. Think of it as a gentle “lift and pause” rather than a squeeze—imagine stopping the flow of urine midstream, but at 30% effort. Hold for 2–3 seconds, rest for 5 seconds. Do 5–8 repetitions, twice daily. The goal here isn’t strength; it’s neural activation and proprioception (knowing where these muscles are).
Phase 2 (Weeks 3–4): Building Endurance
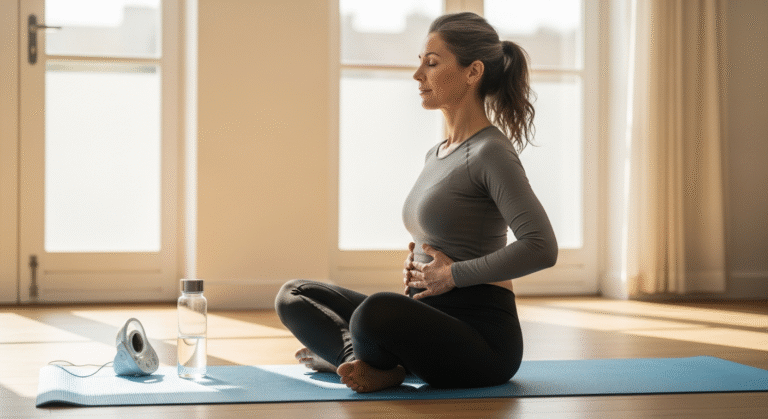
Same position, but gradually increase hold time to 5 seconds while maintaining that gentle engagement. Add slow breathing—exhale during the contraction, inhale during the rest. Perform 10 repetitions, twice daily. A common mistake: holding your breath. This increases intra-abdominal pressure and pushes against your pelvic floor—exactly what you’re trying to avoid. Breathing keeps pressure stable.
Phase 3 (Weeks 5+): Functional Integration
Now add gentle movement—marching in place while seated, slow walking, or light standing activities. Your pelvic floor must learn to engage while you move, not just in isolation. This is where real-world recovery happens. Progress slowly. If you feel heaviness, pressure, or bulging, you’ve moved too fast. Step back one phase for 1–2 weeks, then try again.
Consistency beats perfection. Missing three sessions matters less than doing them correctly when you do them.
Pelvic Organ Prolapse Exercises to Avoid
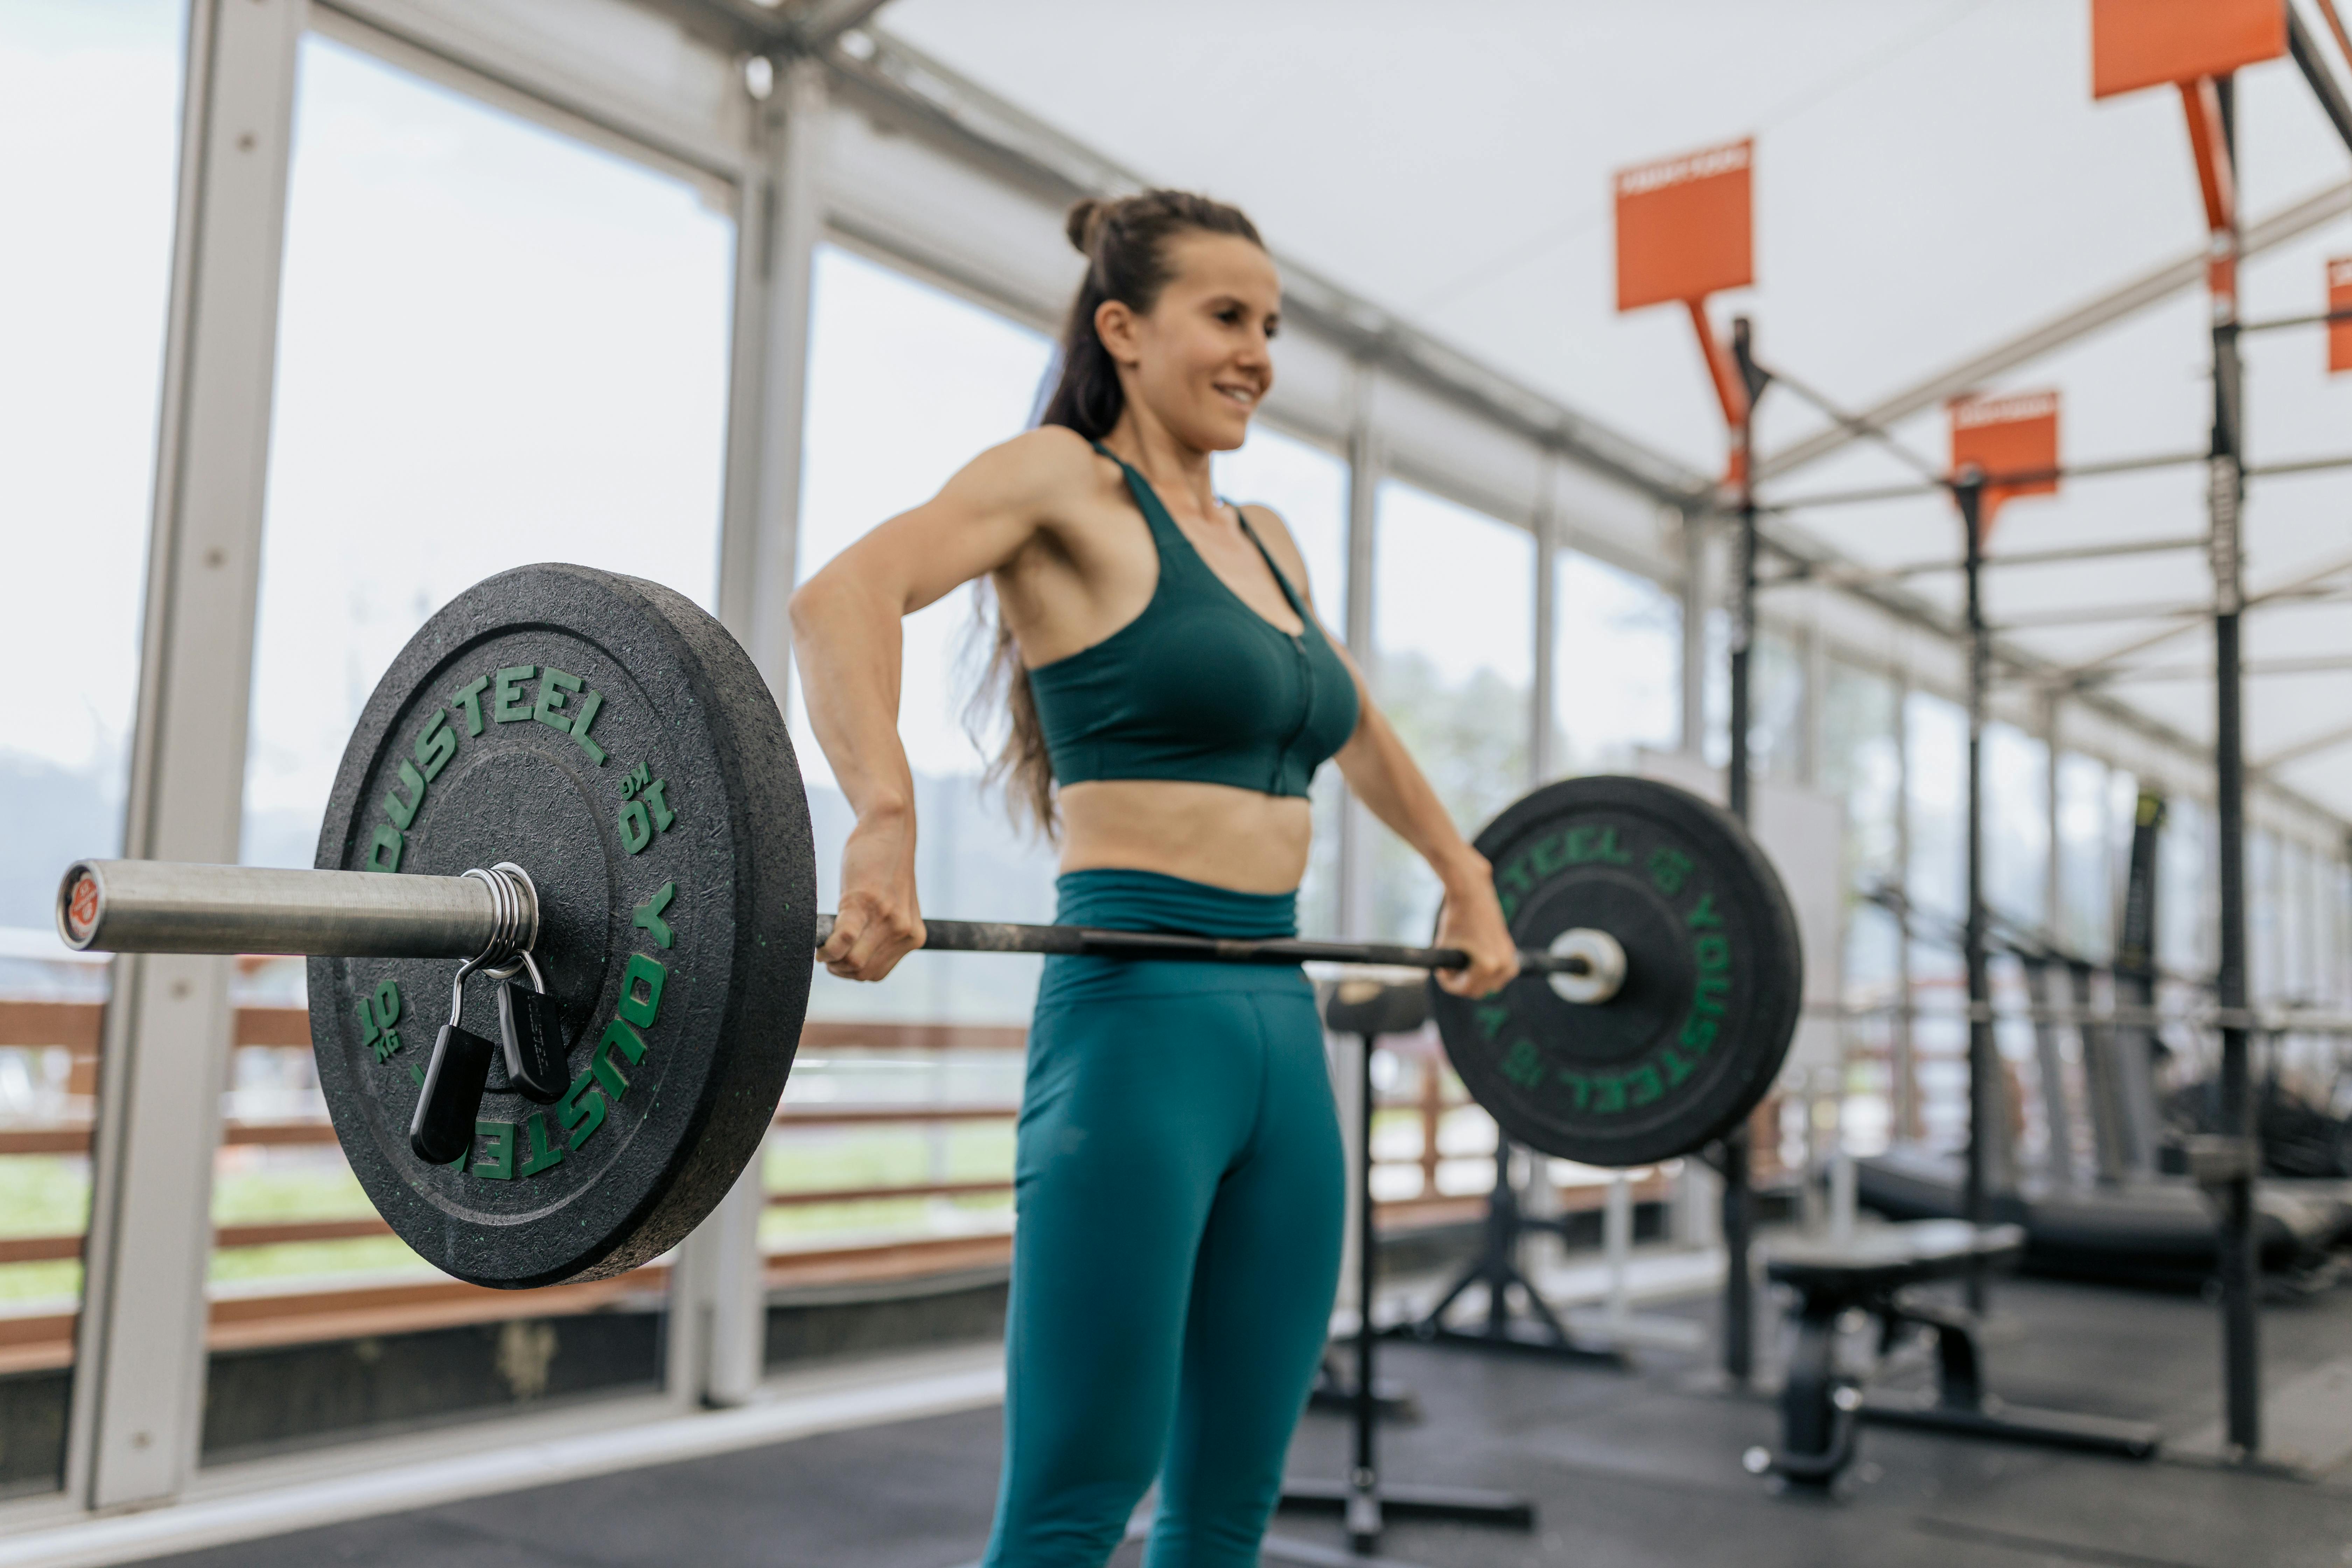
Here’s what nobody wants to hear: some of the most popular exercises at the gym are actively working against pelvic floor recovery. The problem isn’t that these movements are inherently “bad”—it’s that they create downward pressure and demand on a pelvic floor system that’s already compromised. Understanding what to avoid is just as critical as knowing what to do, because one poorly chosen workout can set your progress back weeks.
High-impact activities top the list. Running, jumping, box jumps, and plyometric exercises all generate rapid increases in intra-abdominal pressure—essentially the weight of your organs pushing downward against an already-weakened support system. If you’ve been diagnosed with prolapse, high-impact exercise isn’t forever, but it’s off the table during early recovery. The same applies to heavy weightlifting with poor form: deadlifts, squats, and barbell exercises performed without proper pelvic floor engagement and breath control amplify downward pressure instead of supporting it. This is where form matters more than load.
Loaded core work deserves special mention. Traditional crunches, sit-ups, and intense planks place direct pressure on the abdominal wall, which transfers downward. Hollow-body holds, heavy cable crunches, and any exercise where you’re bearing down or holding your breath while tensing your abs are counterproductive. Your goal is coordinated pelvic floor engagement, not brute-force abdominal tension.
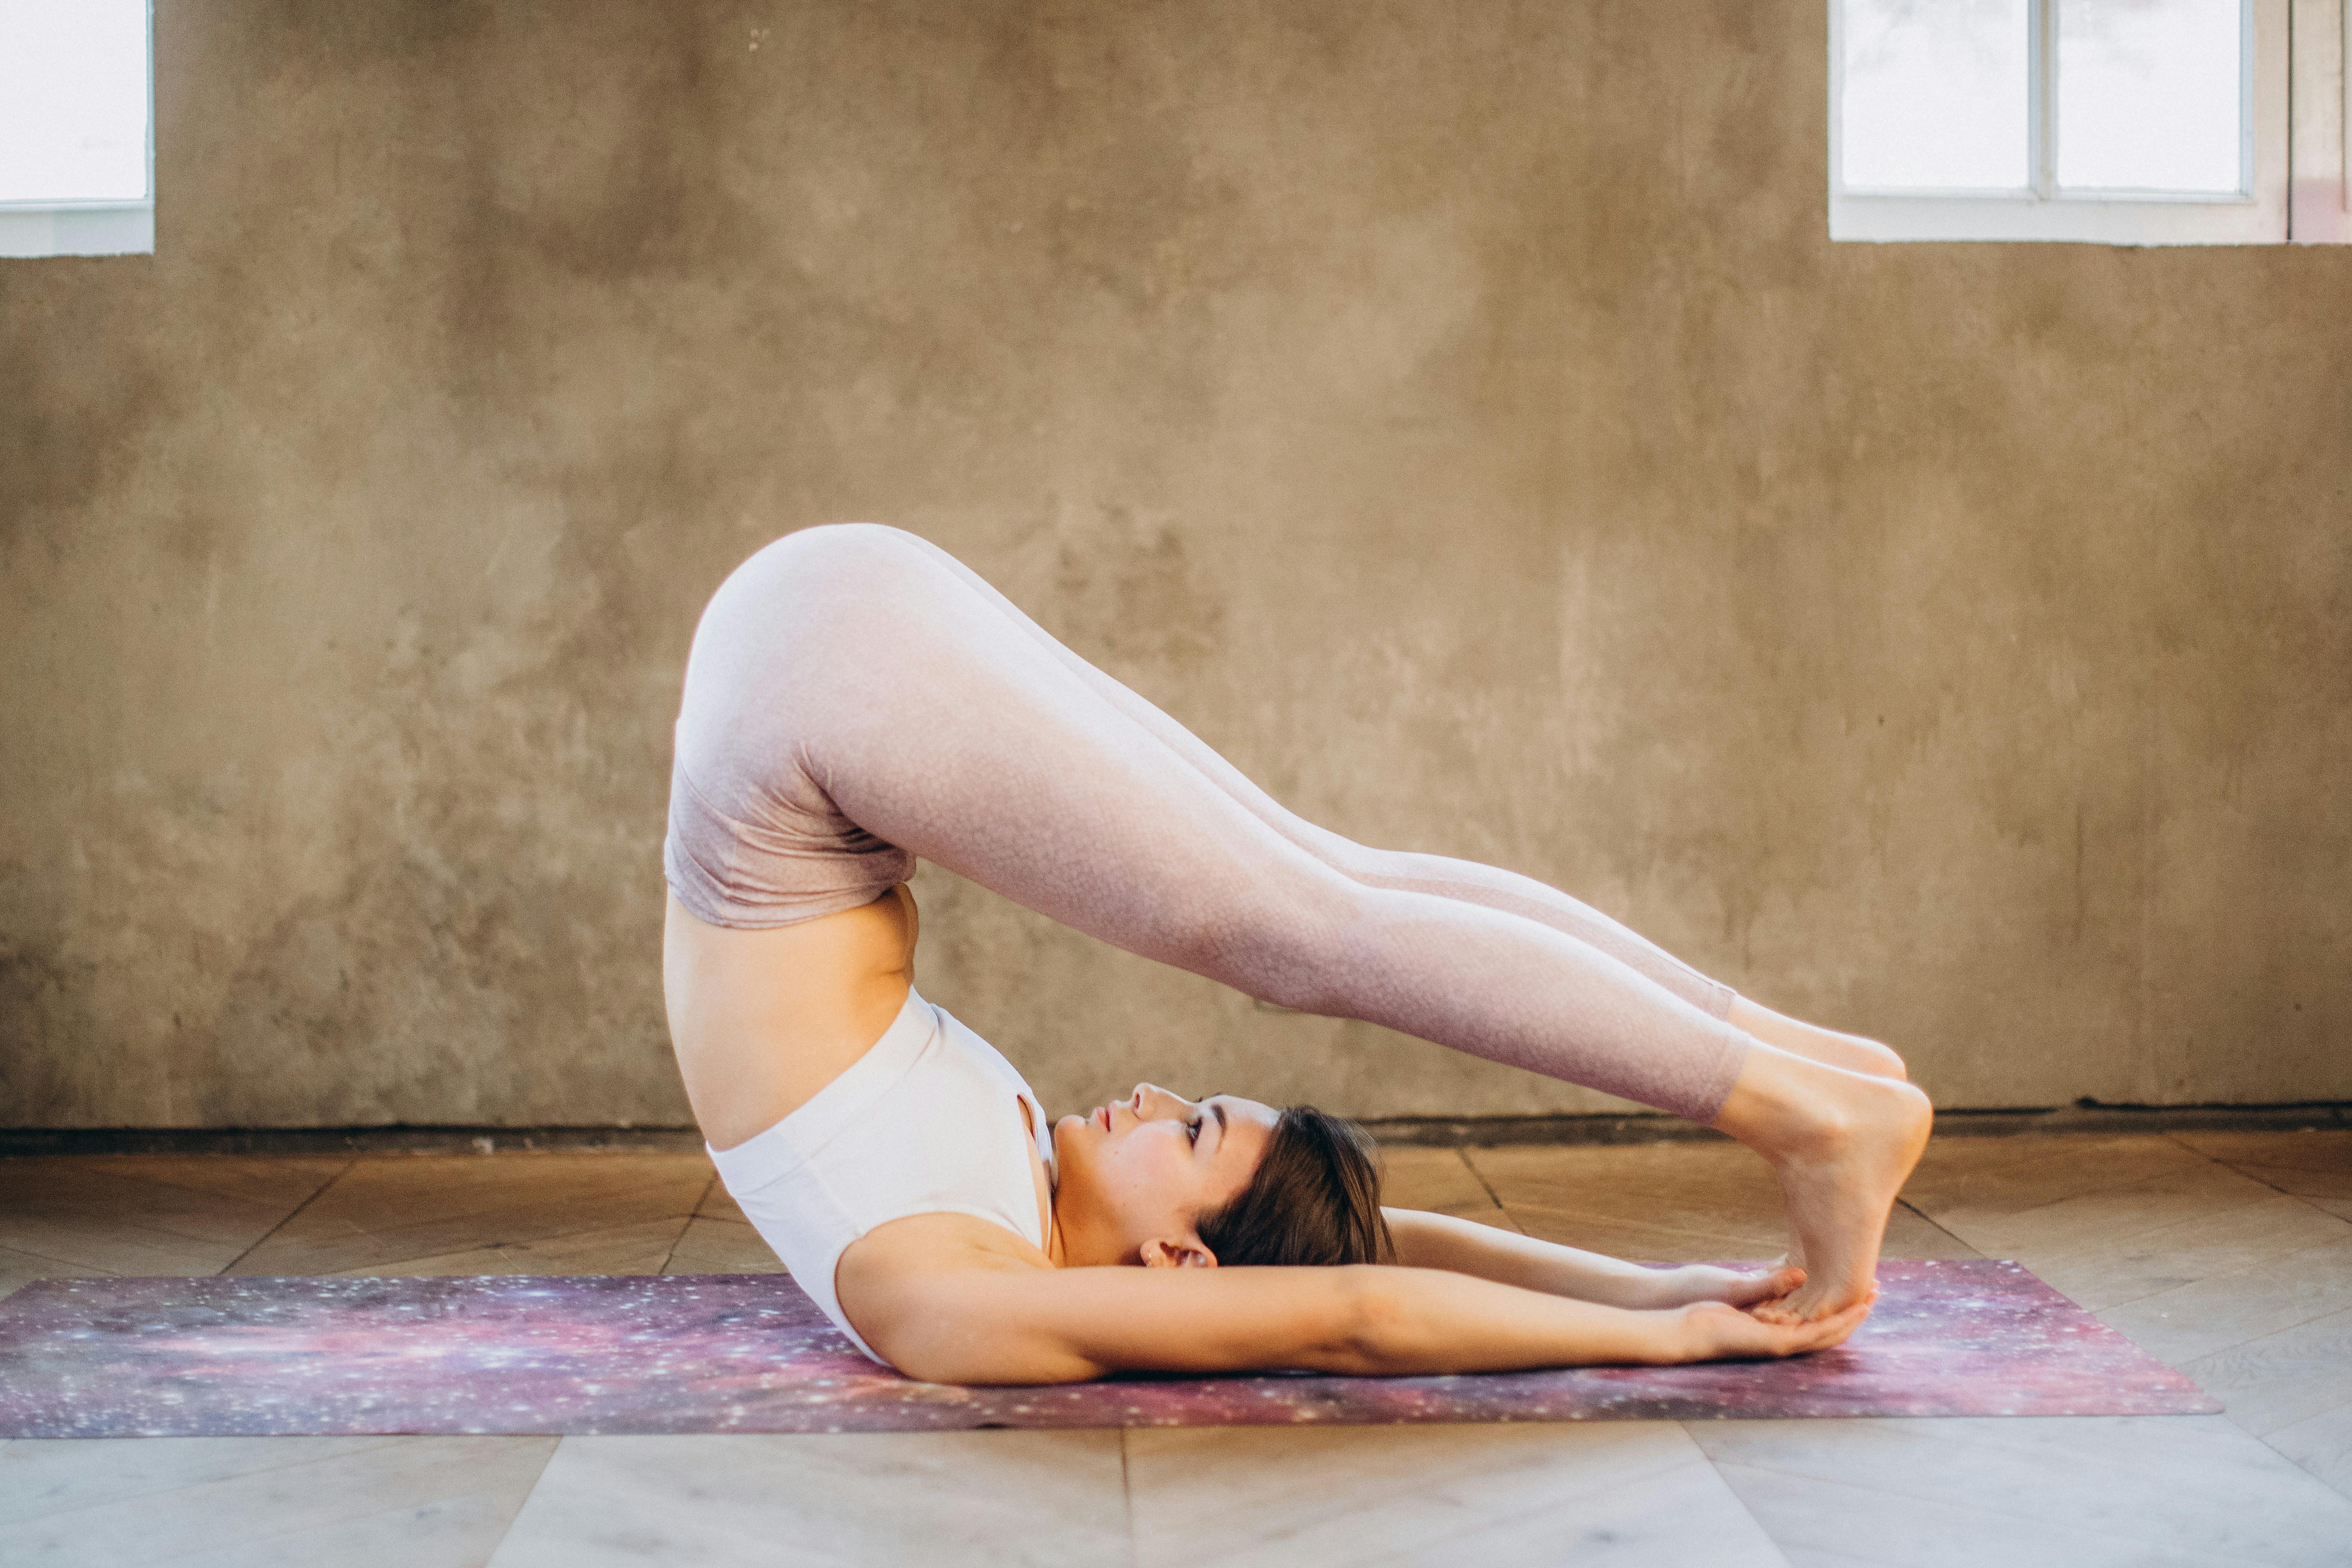
Also avoid exercises that demand extreme ranges of motion—deep squats, full-depth lunges, and intense spinal flexion (like toe-touches or deep forward folds) can strain the pelvic floor and increase symptoms. Abdominal massage or deep core work performed by untrained practitioners can also aggravate the condition.
The mindset shift here is crucial: avoiding these exercises isn’t weakness or permanent limitation. It’s strategic. You’re protecting your foundation so it can actually heal. Many people return to running and strength training after consistent pelvic floor rehabilitation—but only after establishing that foundation first. Patience now means freedom later.
Prolapse Safe Workout: Your 4-Week Exercise Plan

Here’s what matters: a structured 4-week plan removes the guesswork and builds progressive load tolerance in your pelvic floor. Your tissues need time to adapt—this isn’t something you rush. Think of it like strength training anywhere else in your body. You wouldn’t jump to heavy squats on day one; you build capacity systematically.
Weeks 1-2: Foundation and Awareness
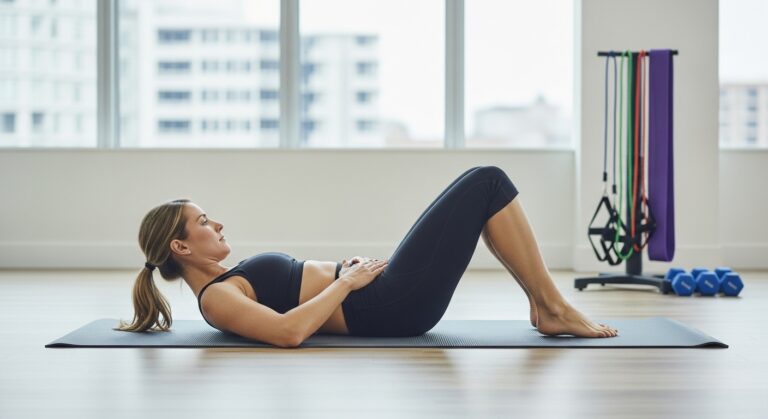
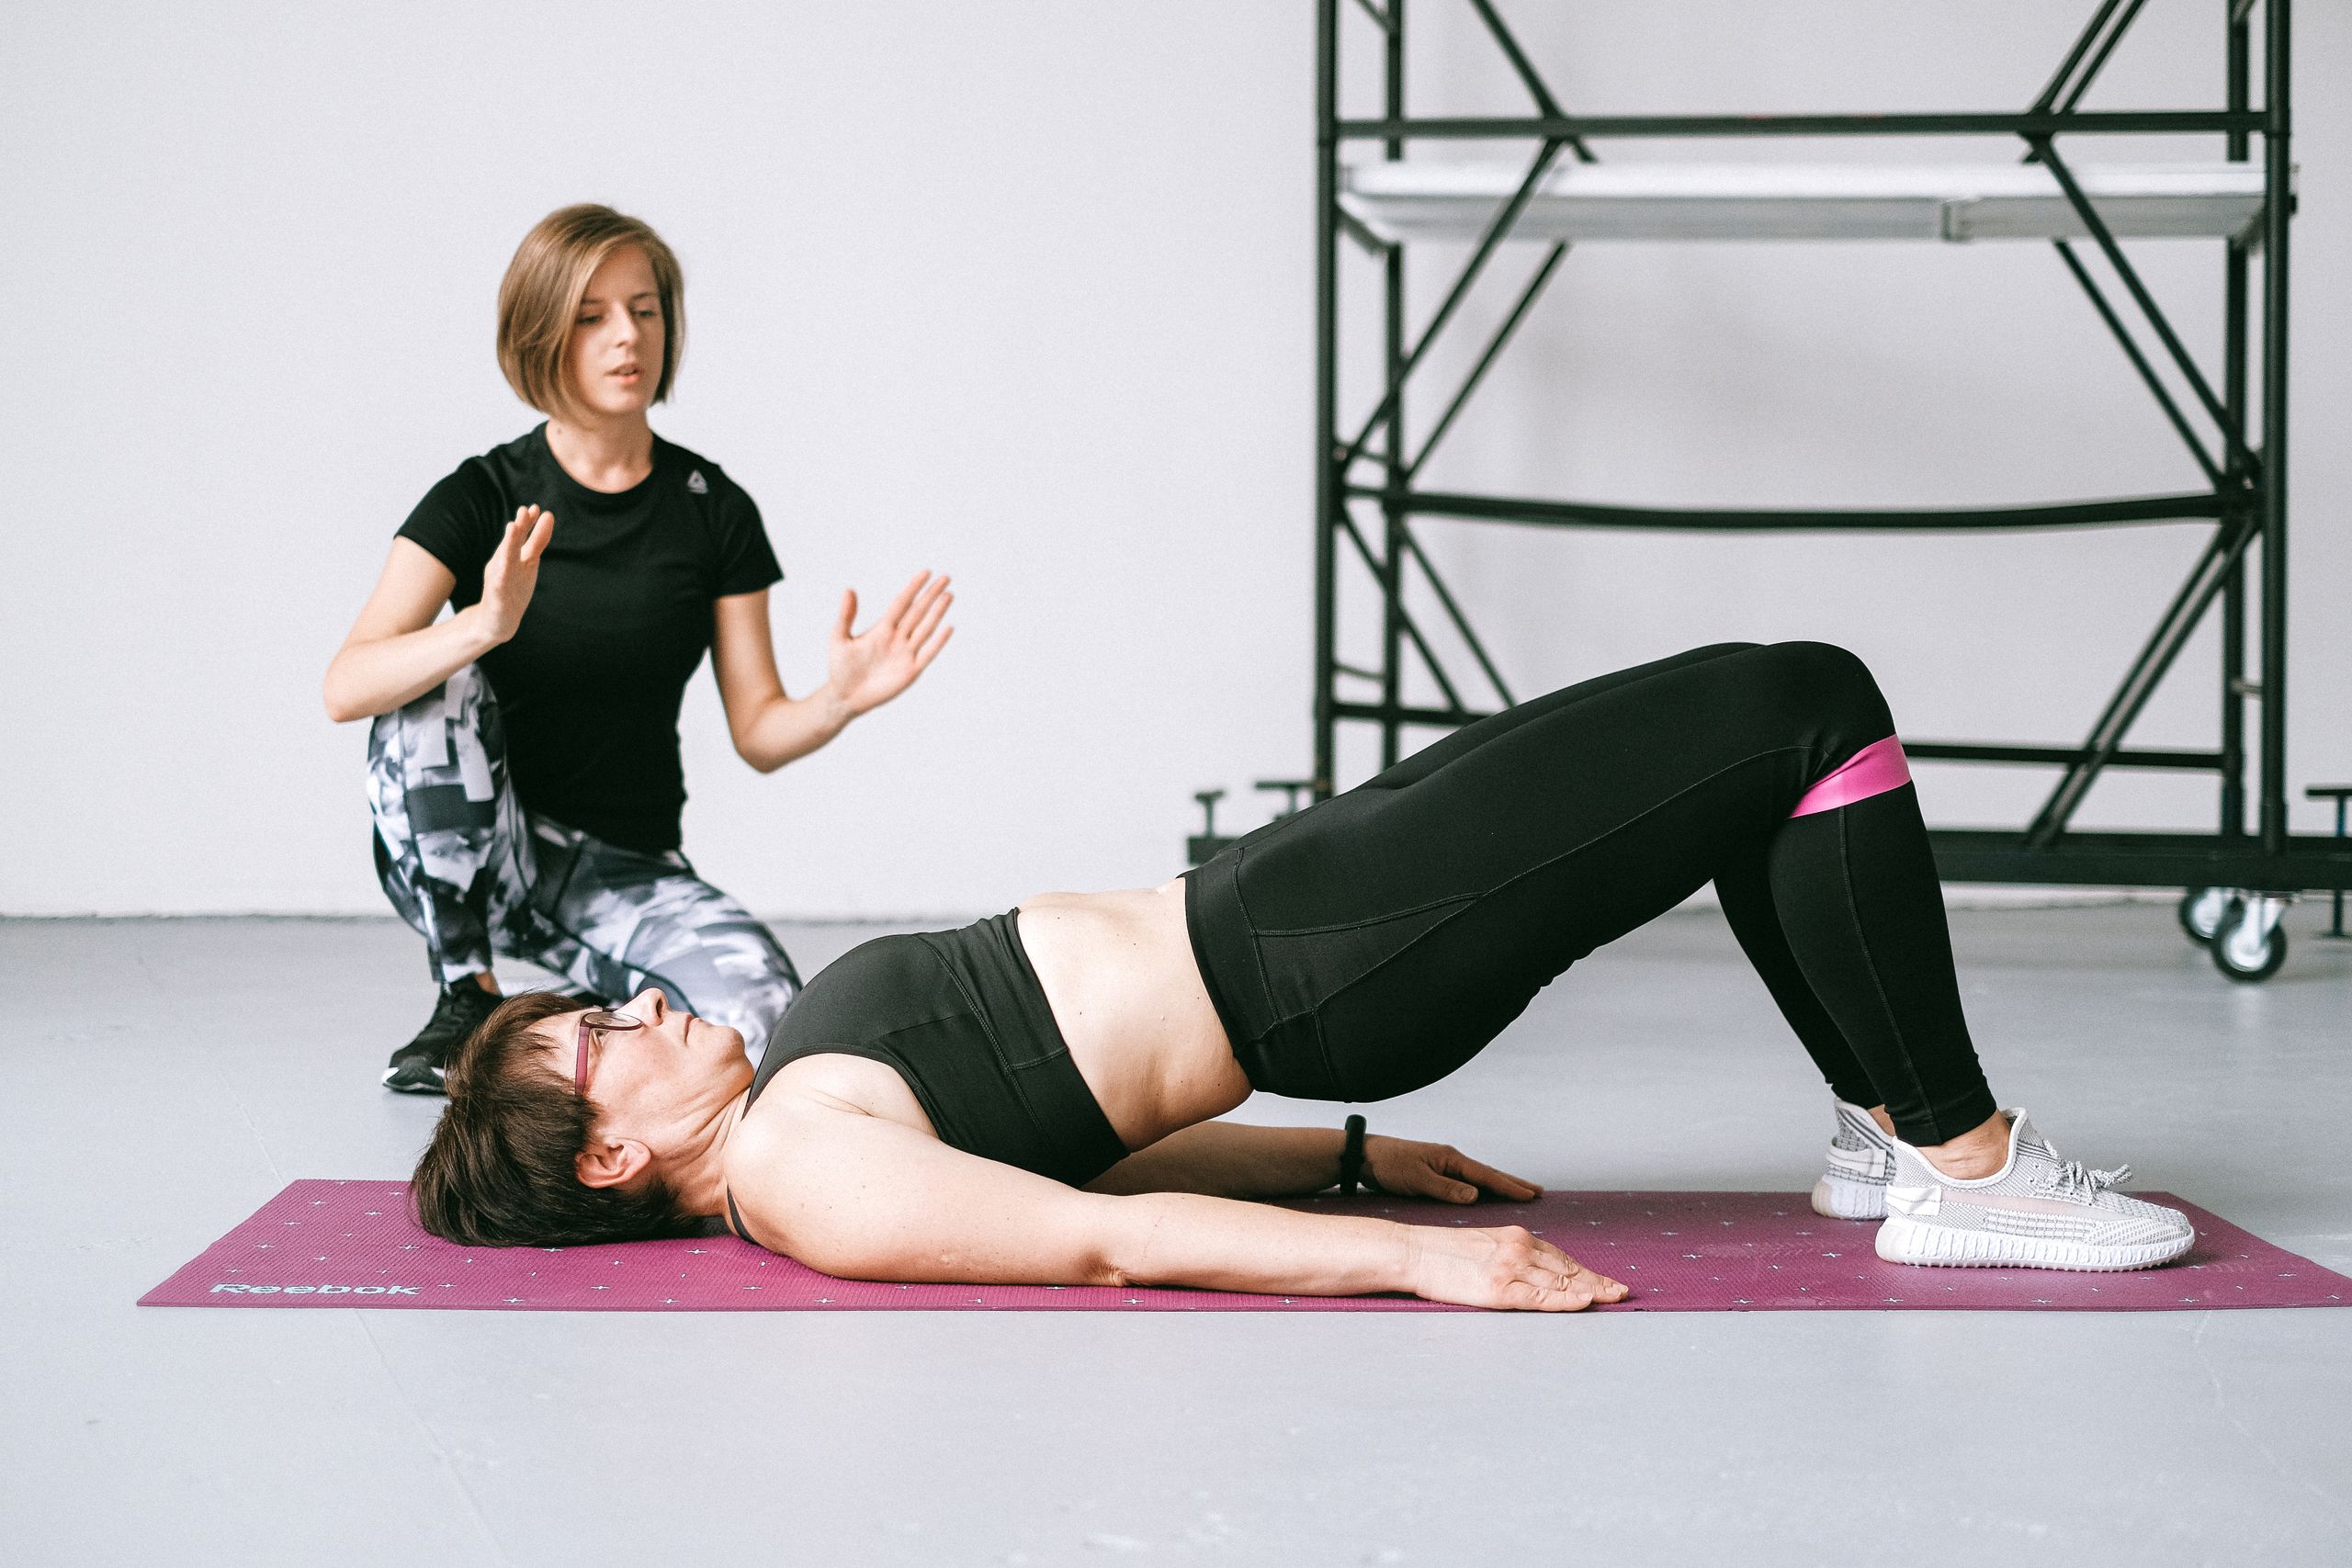
Start with 5-10 minute daily sessions. Perform pelvic floor contractions (the “squeeze and lift” we covered earlier) for 3 seconds, rest for 3 seconds, repeat for 10 reps. Add gentle abdominal breathing—this activates your deep core without creating downward pressure. Include one session of modified bridges: lie on your back, knees bent, feet flat. Lift your hips 2-3 inches, hold 2 seconds, lower. Do 8-10 reps. The goal here isn’t intensity; it’s neural activation and body awareness. Many people discover they’ve been bracing incorrectly for years.
Weeks 3-4: Load Introduction
Increase contraction holds to 5 seconds while maintaining the same rest periods. Perform 2-3 sets of 10 reps instead of one. Progress bridges to full hip height, holding 3-5 seconds for 10-12 reps. Add standing pelvic floor work: stand with feet hip-width apart and contract your pelvic floor while taking slow walks around a room for 2-3 minutes. This teaches your muscles to work against gravity—a critical real-world demand. Keep sessions to 15 minutes maximum; more isn’t better with pelvic floor training.
The Critical Adjustment
If you experience heaviness, pressure, or bulging sensation during any exercise, stop immediately and regress to the previous week’s intensity. This isn’t failure—it’s feedback. Your pelvic floor is communicating its current capacity. Pushing through creates micro-trauma and delays progress. Realistic timeline: most people notice reduced symptoms within 6-8 weeks of consistent practice, though structural improvement continues for 3-6 months.
Tracking Your Results and Knowing What’s Working

Here’s what most people get wrong about pelvic floor recovery: they expect to feel dramatically better in two weeks, get discouraged when they don’t, and quit. The reality is slower and more subtle—which is actually good news, because it means the changes are real and sustainable.
Pelvic floor muscle strength doesn’t improve the same way biceps do. You won’t see visible changes or feel a sudden “pop” of strength. Instead, you’re looking for incremental shifts in how your body feels during daily life. This is why tracking matters: without it, you’ll miss the progress that’s actually happening.
The metrics that matter: Start with a symptom log, not a performance log. For two weeks before you begin exercising, write down when you experience heaviness, pressure, or bulging—time of day, what you were doing, how intense it felt on a 1-10 scale. This baseline is crucial. Then, every two weeks into your protocol, note the same observations. Most people see meaningful reduction in symptom frequency by week 4-6, not week 2. That’s the normal timeline—trust it.
Track functional improvements too: Can you walk longer before feeling pressure? Can you do squats without that sensation of heaviness? Can you sit through a work meeting without needing to shift positions constantly? These are the wins that matter, and they’re often more reliable than trying to self-assess muscle tone.
One critical note: if symptoms worsen or you develop new pain, that’s not “good soreness”—it’s a signal to scale back. Pelvic floor work shouldn’t hurt. Mild fatigue in the pelvic region is normal; sharp pain or increased heaviness is not. Document this too, and consider consulting your pelvic floor physical therapist.
Finally, take photos or measurements if heaviness is visible (some people notice reduced bulging). Combine this with your symptom log and functional notes, and you’ll have a clear picture of what’s working. Progress in pelvic floor recovery is real—you just have to know where to look for it.
In Closing

Pelvic organ prolapse is manageable. That’s the truth you need to hold onto. The exercises in this guide—pelvic floor contractions, breathing mechanics, and progressive loading—work because they address the actual physiology: strengthening the muscles that support your organs and restoring the intra-abdominal pressure system your body relies on. This isn’t a quick fix (nothing legitimate is), but consistent practice over 4–8 weeks produces measurable improvements in symptoms, heaviness sensation, and functional capacity. The research is clear: structured pelvic floor training reduces prolapse severity and delays or prevents surgical intervention for many people.
What matters now is that you don’t just read this and move on. Knowledge without action is just information gathering, and prolapse won’t improve from understanding alone—it improves from doing. You have a 4-week protocol. You have specific exercises with progressions. You have a tracking method. You know what to avoid. The missing piece is commitment, and that’s entirely within your control.
Here’s your concrete next step: Pick one day this week—ideally within the next two days—and do your first baseline session. Complete the beginner pelvic floor contractions and diaphragmatic breathing exercises as outlined in the safe exercise protocol. Don’t overthink it. Don’t wait until you feel “ready.” Just do one session, notice how you feel during and after, and write down one observation in your tracking log. That single session removes the friction of starting and proves to yourself that this is doable.
If you’re dealing with moderate to severe prolapse, have had recent pelvic surgery, or are experiencing pain, consult your pelvic floor physical therapist before starting any new exercise program. They can personalize these protocols to your situation. But if you’re in the mild-to-moderate range and cleared by your provider, you have everything you need right here. Progress is slow and steady. Results compound. Your pelvic floor is trainable, just like any other muscle group—and you’ve got this.