
osteoarthritis bad knee workout
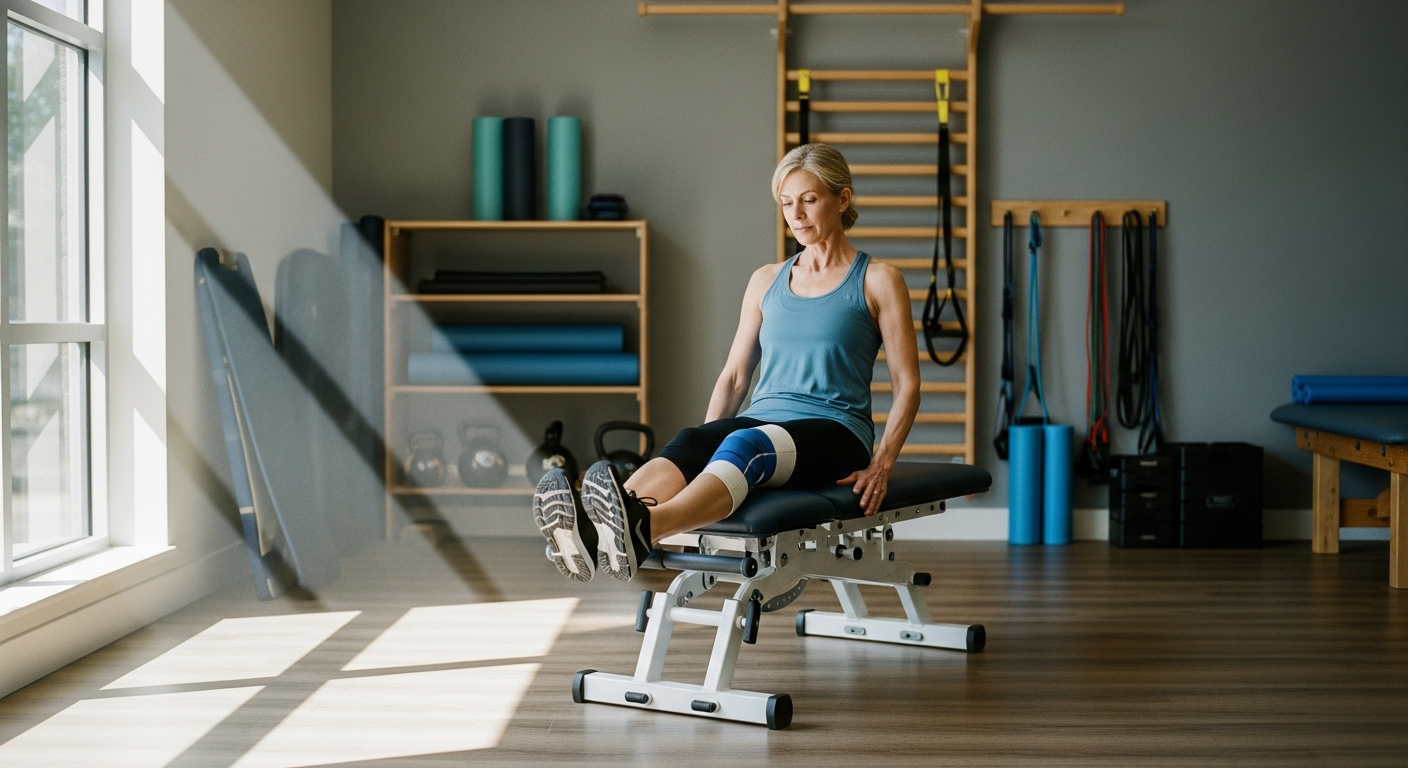
Learn joint-protective exercises for bad knees with osteoarthritis. Low-impact cardio, strength work, and modifications to reduce pain without triggering flare-ups
You’ve been told to “stay active” for your knee osteoarthritis, but every workout leaves you with more pain than progress. Your doctor recommended movement but didn’t explain which exercises are safe and which trigger flare-ups lasting days.
You’re caught in a cycle: doing nothing makes your knee stiffer, but moving the wrong way causes swelling that sets you back a week.
The gym feels impossible when you can’t do “normal” exercises, and you’re tired of modifying every move without knowing if you’re protecting your joint or accelerating damage.
Here’s the truth: the right exercises are transformative for arthritic knees. Research consistently shows that strategic, low-impact movement reduces pain, improves function, and slows cartilage degradation better than medication alone.
This guide gives you a science-backed framework for building a sustainable routine that works—without guesswork, without fear, and without starting over after every flare-up.
Understanding Osteoarthritis and Why Exercise Is Your Most Powerful Tool
Osteoarthritis happens when cartilage cushioning your knee joint breaks down. The smooth surface that allows bones to glide becomes rough and worn, leading to bone-on-bone friction, inflammation, and pain. Weight-bearing joints like knees absorb forces equal to 3–6 times your body weight with every step. Without intervention, stiffness increases, range of motion shrinks, and everyday activities become genuinely difficult.
Movement can trigger short-term discomfort—swelling, soreness, a feeling that you’ve aggravated the joint. But research over 8–12 weeks consistently shows the right exercises reduce pain more effectively than rest alone.
Why? Exercise strengthens the muscles surrounding your knee (quadriceps, hamstrings, calves), which absorb shock and reduce pressure on damaged cartilage. Regular movement also increases synovial fluid production—the joint’s natural lubricant—which nourishes remaining cartilage and improves range of motion.
Not all exercise is equal for arthritic joints. High-impact movements (running, jumping, plyometrics) compress already-damaged cartilage and accelerate wear. Deep knee flexion under load (heavy squats below 90 degrees, aggressive lunges) pinches the joint beyond safe limits.
Twisting movements under resistance create shearing forces that inflame the joint lining. Generic fitness plans fail because they’re designed for healthy joints. You need a different framework: strengthen muscles that stabilize your knee without moving the joint through ranges that compress or shear it. This breaks the pain cycle.
Knee Pain Relief Exercises That Protect While You Strengthen

Quad Sets – The Foundation Exercise
Quad sets are the safest starting point because they build strength without joint movement. Sit in a sturdy chair or lie on your back with legs extended. Tighten the muscle on top of your thigh by pressing the back of your knee toward the floor. Hold for 5 seconds, then release slowly. The quadriceps is your knee’s primary stabilizer—strengthen it and you’ve addressed the root cause of most knee pain.
Start with 10 reps per leg, 2 sets daily. After one week, progress to 3 sets of 15 reps. Once you complete 3 sets of 15 without fatigue, add a rolled towel under your knee to increase range of motion. A common mistake is holding your breath; exhale during tightening and inhale during release. Another is pressing too hard—aim for a firm contraction, not maximum effort.
Straight Leg Raises – Building Strength Without Bending
Lie on your back, bend one knee with foot flat (protects your lower back), and keep the other leg straight. Lift that straight leg 6–12 inches off the ground. Hold for 3 seconds, then lower slowly over 3 seconds. Control matters more than height.
Form cues: keep toes pointed toward the ceiling, engage your core to prevent lower back arching, and never lock your knee at the top. A locked knee compresses the joint and defeats the purpose. Most people lift too high and swing the leg—move deliberately and feel your quadriceps working. Start with 2 sets of 10 reps per leg, 3 times weekly with at least one rest day between sessions. Progress to 3 sets of 12 reps after two weeks, then add a light resistance band around your ankle once you complete the movement without form breakdown.
Seated Knee Extensions – Controlled Range of Motion
Sit in a chair with feet flat. Slowly extend one leg until nearly straight—stop just before your knee locks. Hold for 2 seconds, then lower. If full extension causes discomfort, work in a smaller range. This is wisdom, not weakness. Your job is building strength at ranges your joint tolerates, then gradually expanding from there.
After 2–3 weeks of pain-free reps, add a light resistance band (5–10 pounds) around your ankle. Complete 2 sets of 10–12 reps per leg, 3–4 times weekly. Rest at least one day between sessions to allow joint recovery.
Low-Impact Cardio That Builds Endurance

Water Aerobics – The Gold Standard for Joint Protection
Water is transformative because buoyancy reduces weight-bearing stress by 50–75% while water resistance provides muscle strengthening without impact. Walking in waist-deep water (forward, backward, sideways), leg lifts while holding the pool edge, and gentle flutter kicks are all effective. Resistance provides strengthening stimulus without joint compression that happens on land.
Check your local YMCA or community center—many offer arthritis-specific water classes, some covered by Medicare or community health programs. Pool temperature matters: 83–88°F is ideal for joint comfort. Start with 15–20 minutes, 2–3 times weekly. There’s no flare-up risk with water exercise—the joint cannot be compressed enough to trigger inflammation. As confidence builds, extend sessions to 30–40 minutes.
Recumbent Cycling – Cardio Without Impact
A recumbent bike (chair-like seat) is superior to upright bikes for arthritic knees. Back support reduces lower back strain, the semi-reclined position decreases knee flexion angle, and it’s easier to maintain form when fatigued. Set the seat so your knee is slightly bent at the bottom of the pedal stroke. Start with zero or minimal resistance—your goal is movement, not power.
Begin with 5–10 minutes at a conversational pace, 3 times weekly. Add 2–3 minutes per week until you reach 20–30 minutes. Only after hitting your duration goal should you increase resistance. This prevents the common mistake of pushing too hard too fast and triggering flare-ups. Consistency beats intensity: a 20-minute easy ride Monday, Wednesday, and Friday transforms your knee more than three intense 10-minute sessions followed by a week of recovery.
Walking – When and How to Do It Right
Walking is the most accessible exercise, but surface and footwear matter enormously. Flat, even terrain (track, paved trail, treadmill) is far safer than uneven sidewalks or grass. Avoid hills until strength improves. Supportive footwear is non-negotiable: cushioned heel, firm arch support, shoes replaced every 300–400 miles. If you have flat feet or overpronation, consider custom orthotics—they reduce knee stress by improving alignment from the ground up.
Start with 10-minute walks at a conversational pace. Focus on time, not distance. Use trekking poles to reduce knee load by approximately 25%—this is a game-changer most people overlook. After two weeks, extend by 2–3 minutes. Your goal is 20–30 minutes of comfortable walking 4–5 times weekly. Pain during walking is a stop signal. Mild soreness 2–3 hours after (not during) is normal muscle adaptation. Swelling lasting more than 2 hours or worsening pain the next day means you did too much; cut the next session’s duration by 25%.
Bad Knee Workout Modifications: What to Avoid and Smart Alternatives

High-Risk Movements to Eliminate
Never do these with a bad knee: running or jogging on hard surfaces, box jumps or plyometrics, deep squats below parallel, lunges with knee extending past toes, and twisting movements under load. These aren’t restrictions to frustrate you—they’re protection. Impact forces from running reach 3–5 times your body weight and compress already-damaged cartilage. Deep flexion pinches the joint. Twisting creates shearing forces that inflame the joint lining.
Use the 48-hour rule: if an exercise causes pain lasting more than 2 hours after finishing, or if you notice swelling the next day, eliminate it. This is about being smart, not weak. Your goal is sustainable progress, not proving something through pain.
Joint-Friendly Alternatives That Deliver Results
Instead of running, use an elliptical with minimal incline, swimming, or brisk walking with intervals. Instead of squats, do wall sits at 90 degrees, sit-to-stand from a standard-height chair, or mini squats to 45 degrees. Instead of lunges, try step-ups onto a 4–6 inch platform, single-leg balance holds, or standing leg curls with a resistance band.
Find the movement pattern you want (leg strengthening, cardiovascular work, balance) and choose the variation that doesn’t compress or shear your knee. Results come from consistency and progressive overload, not from doing the “hardest” version. A wall sit at 90 degrees for 30 seconds, done 3 times weekly for 8 weeks, transforms knee stability more than one attempt at a heavy barbell squat followed by days of recovery.
How to Modify During Flare-Ups Without Losing Progress
Flare-ups are inevitable with osteoarthritis. Apply the 50% rule: cut your normal workout duration and intensity in half. If you usually do 20 minutes of recumbent cycling at moderate resistance, drop to 10 minutes at easy resistance. If you normally complete 3 sets of straight leg raises, do 2 sets instead.
Shift to isometric exercises during flare-ups—static holds that build strength without moving the inflamed joint. Quad sets, wall sits at comfortable depth, and planks are perfect. Ice and elevate immediately after: 15–20 minutes of ice, then elevate your leg above heart level for 20 minutes to reduce swelling. Never skip workouts entirely during flare-ups. Complete inactivity causes stiffness and deconditioning, making the flare-up worse. Moving at 50% intensity keeps muscles engaged and prevents downward spirals.
Flexibility and Range-of-Motion Work

Hamstring Stretches – Reducing Posterior Chain Tension
Tight hamstrings pull on the back of your knee, increasing joint compression and limiting safe range of motion. Sit on the floor with legs extended. Loop a towel around one foot and gently pull your toes toward you. Hold for 20–30 seconds without bouncing. Repeat 3 times per leg. You’re looking for mild stretch sensation, not pain.
Perform hamstring stretches after workouts when muscles are warm, or after a 5-minute warm shower. Never stretch cold muscles—they’re more prone to injury. As flexibility improves over 4–6 weeks, your knee feels less “tight” during movement and range of motion expands naturally. This shows up as easier stair climbing and less morning stiffness.
Calf and Ankle Mobility – The Overlooked Connection
Limited ankle mobility forces your knee to compensate during walking and stair climbing, increasing joint stress. Face a wall, place hands at shoulder height, and step one foot back. Keep your heel down and bend your front knee until you feel a stretch in your back calf. Hold for 30 seconds per side. Do ankle circles: sit in a chair, lift one foot off the ground, and slowly rotate your ankle 10 times clockwise, then 10 times counterclockwise. These take two minutes and deliver disproportionate benefit. Do this daily, preferably after your main workout.
Gentle Knee Flexion and Extension Stretches
Heel slides build range of motion safely. Lie on your back, slowly slide your heel toward your buttock, bending your knee as far as comfortable. Hold for 5 seconds, then slide back to straight. Repeat 10 times. Prone knee bends work the opposite direction: lie on your stomach and bend your knee to bring your heel toward your buttock. Assist with a towel around your ankle if needed. Hold for 10 seconds, then release. These should never cause sharp pain—mild discomfort at the end of your range is normal. Sharp or shooting pain means stop immediately.
Your progressive goal over 8–12 weeks is working toward 120–130 degrees of flexion (ability to sit comfortably in a standard chair) and full extension. Track this by noting how far you can bend your knee without pain. Most people gain 10–15 degrees of range over the first month of consistent stretching.
Your Proven Weekly Workout Plan

Sample 7-Day Structure for Beginners
Here’s a concrete weekly plan to start immediately. This is designed for someone with active osteoarthritis who wants to reduce pain without triggering flare-ups.
- Monday: 10 minutes recumbent cycling (low resistance) + quad sets (2 sets of 10) + hamstring stretches (3 reps of 20 seconds per leg)
- Tuesday: Rest or gentle yoga (chair-based poses only, no deep bends)
- Wednesday: Water aerobics or pool walking (20 minutes) + straight leg raises (2 sets of 10 per leg)
- Thursday: Rest day with ankle mobility work (circles and stretches, 5 minutes)
- Friday: 10 minutes recumbent cycling + seated knee extensions (2 sets of 10) + calf stretches (30 seconds per side)
- Saturday: 15-minute flat-surface walk with supportive shoes + heel slides (2 sets of 10)
- Sunday: Complete rest or gentle stretching routine (5 minutes of hamstring and calf stretches)
This plan gives you 3 days of structured strength work, 2 days of cardio, 2 rest days, and daily flexibility work. You’re never working the same muscle group on consecutive days, and you’re mixing high-frequency low-intensity work (walking, stretching) with lower-frequency moderate-intensity work (cycling, water aerobics). This is how you build capacity without triggering inflammation.
How to Progress Safely Over 8–12 Weeks
Progression is where most people fail because they either don’t progress or push too hard too fast. Here’s the science-backed timeline:
- Weeks 1–2: Focus on form and consistency. Complete the plan exactly as written. Your nervous system is learning these movements are safe.
- Weeks 3–4: Add 2–3 minutes to cardio sessions. Increase strength exercises to 3 sets instead of 2.
- Weeks 5–8: Gradually add light resistance (5–10 pound resistance band or 1–2 pound ankle weight) to strength moves. Extend cardio to 20–25 minutes. Walking distance can increase to 20–25 minutes.
- Weeks 9–12: Introduce new exercises (mini squats to 45 degrees, step-ups on a 4–6 inch platform). Maintain 3–5 workouts weekly with built-in rest days. Your goal is sustainability, not peak performance.
If you experience increased pain or swelling, back off to the previous week’s intensity and stay there for an additional week before progressing. There’s no prize for moving faster. Consistency over 12 weeks beats intensity every single time.
Tracking Progress and Adjusting for Your Body
Measure what matters. Before starting, establish your baseline: pain level on a 0–10 scale, distance you can walk without discomfort, number of reps you can complete without form breakdown, and morning stiffness duration. Write these down and check them weekly.
Green light signals: muscle fatigue during exercise that resolves within 2 hours, gradual increase in pain-free walking distance, improved ability to climb stairs, reduced morning stiffness. Red flags requiring immediate modification: sharp pain during movement (not muscle fatigue), swelling lasting more than 2 hours post-exercise, pain worsening over 2 consecutive weeks despite rest. If you hit a red flag, reduce intensity by 50%, ice and elevate, and reassess in 3–4 days before resuming.
CONCLUSION

Osteoarthritis doesn’t mean the end of fitness or independence. Strategic, low-impact exercise is the most powerful non-pharmaceutical tool for reducing knee pain and maintaining the ability to do the things that matter to you. The key is choosing joint-protective movements (water aerobics, recumbent cycling, isometric strengthening) while strictly avoiding high-impact and deep-flexion exercises that accelerate cartilage damage. Progress happens gradually over 8–12 weeks; consistency with a proven plan beats intensity every time. Modifications during flare-ups aren’t failure—they’re how you stay active long-term without triggering setbacks that derail your progress.
The exercises in this plan strengthen the muscles that stabilize your knee, improve range of motion, and build the endurance that transforms daily activities from painful to manageable. You’ll notice the difference first in small ways: climbing stairs with less pain, standing up from a chair without hesitation, a morning with less stiffness. These small wins compound into weeks of consistent improvement.
Start this week with just two exercises: quad sets and a 10-minute recumbent bike session. Build confidence with these two before adding more. If your pain worsens despite following these guidelines for 2 weeks, or if you experience sharp pain during any movement, consult a physical therapist who specializes in arthritis—they can assess your specific limitations and adapt these exercises to your body. Invest in supportive walking shoes with cushioned heels and firm arch support; replace them every 300–400 miles. Consider a light resistance band (5–10 pounds) and a foam roller for gentle muscle release between workouts. Track your baseline pain level, walking distance, and morning stiffness before you start, then check weekly to see the progress that’s actually happening. Join an arthritis-specific exercise class at your local YMCA or hospital wellness program where instructors understand joint protection and can offer real-time form corrections. Your knee doesn’t need a cure—it needs strength, consistency, and the right movements. That’s exactly what this plan delivers.