The 15-Minute Pelvic Floor and Deep Core Workout
You’re doing crunches religiously, but still experiencing back pain, poor posture, or even bladder leaks during workouts? Here’s what most fitness plans won’t tell you: your pelvic floor is the missing piece of your core strength puzzle.
We’ve been sold a lie about core training. The fitness industry wants you to believe that visible abs equal a strong core, but that’s only scratching the surface.
Your core is actually a complex system of deep muscles working together like a well-coordinated team. When you ignore the pelvic floor—the foundation of this entire system—you’re building a house on sand.
This isn’t about adding another hour to your already packed schedule. In just 15 minutes, you can train these foundational muscles with proven exercises that deliver real results. Whether you’re recovering postpartum, sitting at a desk all day, or feeling intimidated by traditional gym workouts, this approach meets you where you are.
I know the struggles. The embarrassment of leaking during jump squats. The frustration of chronic lower back pain that derails your fitness goals. The confusion about where to even start with pelvic floor training. You’re not alone, and more importantly, you’re not stuck with these challenges.
When you train your pelvic floor and deep core together, something powerful happens. You build genuine strength from the inside out. You move with confidence. You finally understand what “engaging your core” actually means. The transformation goes beyond physical—it’s about reclaiming control of your body and your workouts.
Why Your Core Needs More Than Crunches (The Pelvic Floor Connection)
What Actually Makes Up Your Core
Your core isn’t just the six-pack muscles you see in fitness magazines. The real powerhouse lies deeper. Your core system includes four key players: the transverse abdominis (your deepest abdominal layer), the multifidus (small muscles along your spine), your diaphragm (yes, your breathing muscle), and your pelvic floor.
Think of these muscles as forming a cylinder around your midsection. The diaphragm is the lid on top, your pelvic floor is the base, and the transverse abdominis and multifidus wrap around the sides and back. When all four work together, they create intra-abdominal pressure that stabilizes your spine and supports every movement you make.
The mistake most people make? They hammer away at superficial abs with endless crunches while completely ignoring this foundational system. It’s like trying to build a skyscraper without a solid foundation. You might see some surface results, but the structure remains weak and vulnerable.
The Pelvic Floor: Your Body’s Powerhouse Foundation
Your pelvic floor is a hammock-like group of muscles stretching from your pubic bone to your tailbone. These muscles do far more than most people realize. They control your bladder and bowel function, support your internal organs, stabilize your spine during movement, and even play a role in sexual function.
Here’s what makes this so powerful: when your pelvic floor contracts, it automatically activates your deep core muscles. They’re neurologically connected. This means training them together creates a synergistic effect that isolated ab exercises simply can’t match.
Who benefits from pelvic floor training? Everyone. New moms recovering from childbirth absolutely need it. Athletes looking to improve power transfer and prevent injuries. Desk workers battling posture problems and back pain. Anyone who’s ever leaked during a workout or sneeze. The myth that this is only for women or older adults needs to die—pelvic floor strength matters for every body.
Signs Your Pelvic Floor and Deep Core Need Attention
Your body sends clear signals when these muscles need work. Bladder leaks during jumping, running, or even laughing aren’t normal—they’re a sign of weakness. That persistent lower back pain that won’t respond to stretching or massage? Often rooted in poor core stability.
Notice yourself constantly leaning forward or struggling to stand up straight? Your deep core and pelvic floor provide the foundation for good posture. When they’re weak, your body compensates with poor alignment patterns.
If you can’t feel your abs working during exercises, or if you’re always told to “engage your core” but have no idea how, you’re dealing with a disconnection from these deep stabilizing muscles. Postpartum, many women experience a gap between their abdominal muscles (diastasis recti) that won’t heal without proper deep core and pelvic floor work.
The Science-Backed Benefits You’ll Experience
Immediate Improvements (Weeks 1-4)
You won’t wait months to feel changes. Within the first few weeks of consistent practice, you’ll notice your posture improving. You’ll catch yourself sitting taller, standing straighter, without even thinking about it. That’s your deep core system waking up and doing its job.
Your breathing patterns will shift. Instead of shallow chest breathing that leaves you feeling stressed, you’ll naturally breathe deeper into your belly and sides. This 360-degree breathing pattern reduces tension and improves oxygen delivery throughout your body.
The mind-muscle connection you develop is transformative. Suddenly, when a trainer says “engage your core,” you’ll know exactly what they mean and how to do it. This awareness carries over into every workout you do, making all your exercises more effective and safer.
Lower back discomfort often decreases within the first two weeks. As these stabilizing muscles strengthen, they take pressure off your spine and reduce the strain that causes pain.
Powerful Long-Term Results (2-3 Months)
Research shows that consistent pelvic floor training reduces stress incontinence by up to 70% in just 8-12 weeks. That means freedom to jump, run, and laugh without worry. You’ll sculpt a stronger, more stable core that supports you in every movement.
Athletic performance improves dramatically. Power transfer from your lower body to upper body depends on core stability. Whether you’re swinging a golf club, throwing a ball, or lifting weights, a strong pelvic floor and deep core make you more powerful and efficient.
Balance and injury prevention go hand in hand. These muscles provide the stability that keeps you upright and protected during dynamic movements. Falls become less likely. Tweaked backs and pulled muscles happen less often.
Your entire approach to fitness changes. Instead of dreading workouts or feeling limited by pain, you move with confidence. You can progress to more challenging exercises because you’ve built the foundation to support them.
Beyond Physical: The Confidence Transform
The psychological shift is just as important as the physical gains. When you’re no longer worried about leaking during your workout class, you show up differently. You jump higher, push harder, laugh louder.
Understanding your body—really knowing how these muscles work and how to control them—is empowering. You’re not at the mercy of mysterious symptoms anymore. You have tools and knowledge to take charge of your health.
This foundation supports any fitness goal you have. Want to lose weight? A strong core makes cardio and strength training more effective. Building muscle? You need core stability to lift heavy safely. Training for a race? Pelvic floor strength prevents the leakage issues that plague many runners.
Before You Start: Essential Foundations
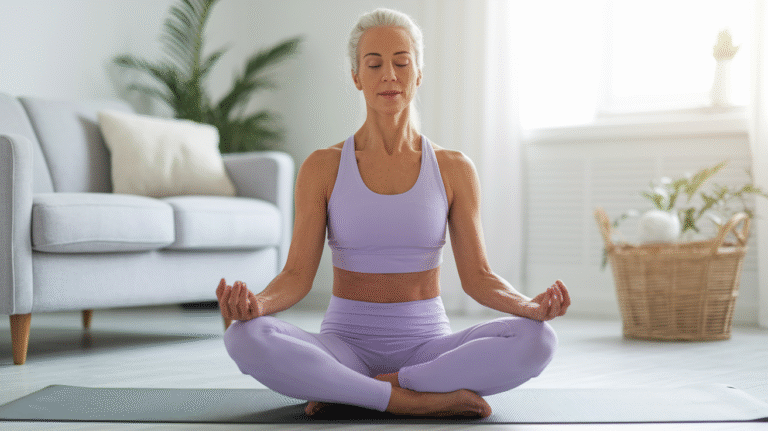
Finding Your Pelvic Floor (It’s Easier Than You Think)
The most common cue you’ll hear is “imagine stopping the flow of urine.” This works, but don’t actually practice during urination—that can disrupt your bladder’s natural function. Instead, use this as a mental image when you’re not on the toilet.
Try the elevator visualization. Imagine your pelvic floor is an elevator on the ground floor. As you contract, the elevator rises to the first floor, then second, then third. As you relax, it descends slowly back down. This helps you understand that pelvic floor work isn’t all-or-nothing—you can control the intensity.
Common mistakes sabotage your efforts. Don’t hold your breath. Don’t clench your glutes or inner thighs. Don’t bear down like you’re pushing. These compensations mean you’re not actually engaging your pelvic floor correctly.
Practice awareness during daily activities. When you’re sitting at a stoplight, gently lift your pelvic floor. When you’re standing in line at the grocery store, connect with these muscles. This builds the mind-muscle connection without requiring dedicated workout time.
Mastering Core Breathing (Your Secret Weapon)
360-degree breathing is the foundation of effective core work. Place your hands on the sides of your ribcage. As you inhale, breathe into your hands, expanding your ribs to the sides and back, not just forward. Your belly should also expand. This is natural, functional breathing.
Here’s where it gets powerful: coordinate your breath with pelvic floor engagement. As you exhale, gently lift your pelvic floor and draw your lower abs in. As you inhale, allow everything to relax and expand. This rhythm becomes automatic with practice.
Why does this matter so much? Your diaphragm and pelvic floor move together. When you breathe correctly, you’re already activating your core system. When you hold your breath or breathe shallowly, you create dysfunction and pressure that works against you.
Quick practice drill: Lie on your back with knees bent. Place one hand on your chest, one on your belly. Breathe so that only the belly hand moves. Practice this for two minutes daily. Once comfortable, add the pelvic floor lift on each exhale.
Setting Up for Success at Home
You need minimal equipment. A yoga mat for comfort. That’s it. A stability ball is optional and can add variety later, but you can do this entire program with just your body and a mat.
Best time to practice? Whenever you’ll actually do it consistently. Morning works great because you’re fresh and it sets a positive tone for your day. Evening can be perfect for unwinding and releasing tension. Consistency beats perfection—three times a week is better than planning for daily and doing nothing.
Set realistic expectations. You’re learning a new skill. The first week might feel awkward or frustrating. That’s normal. Progress isn’t linear. Some days you’ll feel strong and connected; other days you’ll struggle to find these muscles. Keep showing up.
When should you consult a pelvic floor physical therapist? If you have severe incontinence, pelvic pain, or prolapse symptoms, get professional help. If you’ve tried these exercises for 6-8 weeks without improvement, a specialist can assess whether you need hands-on treatment or modifications.
Your Proven Core and Pelvic Floor Workout Routine
This effective 15-minute routine combines high-activation exercises with breath work to build powerful core stability and pelvic floor strength. No crunches, no intimidating moves—just results-focused exercises you can do in your living room.
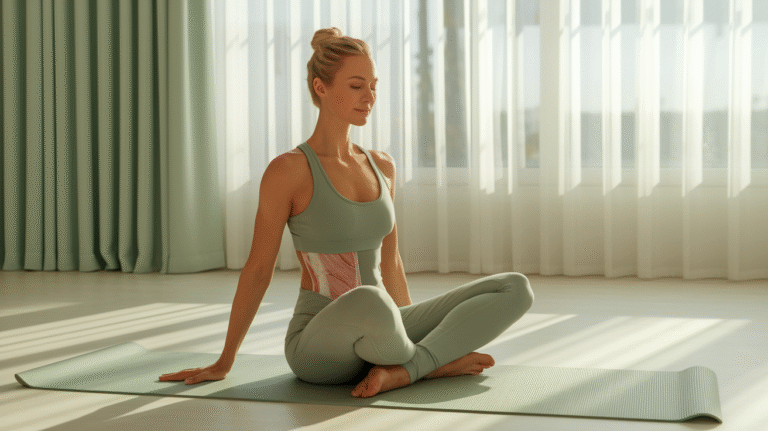
Warm-Up: Breath Connection (3 minutes)
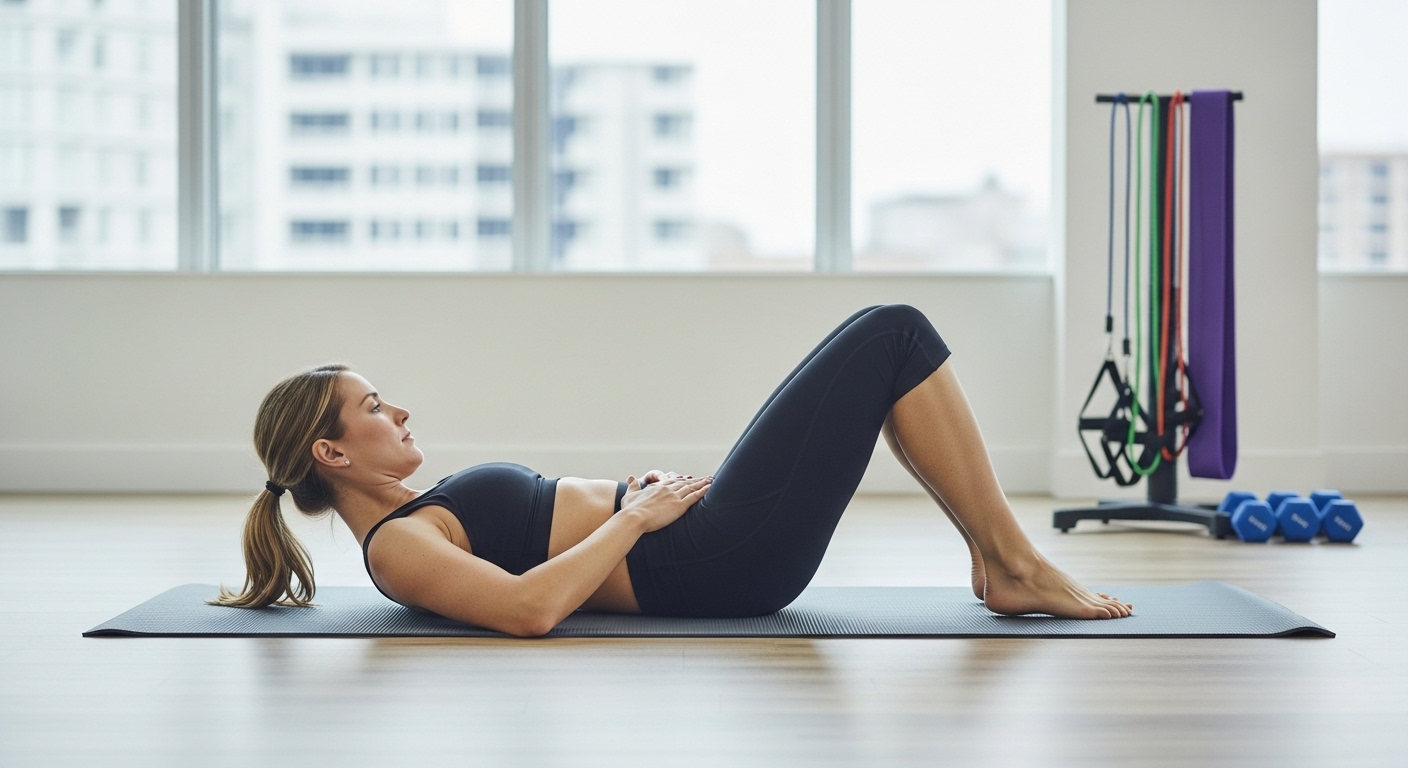
Exercise 1: Diaphragmatic Breathing with Pelvic Floor Awareness
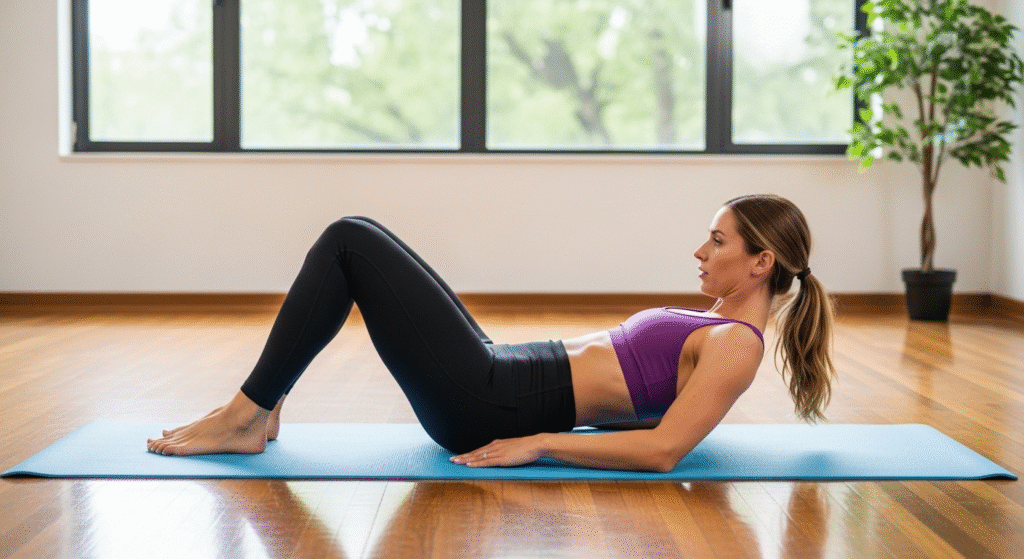
Lie on your back with knees bent and feet flat on the floor. Place one hand on your chest and one on your belly. Close your eyes and take a moment to notice your natural breathing pattern.
Begin breathing deeply into your belly, feeling it rise under your hand while your chest stays relatively still. On each exhale, gently lift your pelvic floor as if you’re sipping through a straw. On each inhale, release and allow everything to relax and expand.
Do 10 slow breaths, taking 4-5 seconds for each inhale and exhale. You should feel calm and centered, with a gentle awareness of your pelvic floor lifting and lowering with each breath cycle.
Common mistakes: Holding tension in your jaw or shoulders, breathing too quickly, forcing the pelvic floor lift instead of making it gentle and controlled.
Exercise 2: Cat-Cow with Pelvic Floor Coordination
Come to hands and knees with wrists under shoulders and knees under hips. Find a neutral spine position—not arched, not rounded.
As you inhale, allow your belly to drop toward the floor, lifting your chest and tailbone (cow position). Your pelvic floor gently relaxes. As you exhale, round your spine toward the ceiling, tucking your tailbone and drawing your pelvic floor up (cat position).
Complete 8-10 slow flows, coordinating your breath with the movement and pelvic floor engagement. This mobilizes your spine while teaching your body the natural rhythm of pelvic floor activation.
Benefits: Spinal mobility, core activation, breath coordination, and body awareness—all in one movement.
The Core Workout: Strength-Building Moves (10 minutes)
Exercise 3: Dead Bug (Pelvic Floor Power Move)
This exercise is incredibly effective because it challenges your core to maintain stability while your limbs move. Lie on your back with arms extended toward the ceiling and knees bent at 90 degrees, shins parallel to the floor.
Press your lower back gently into the mat. On an exhale, lift your pelvic floor and extend your right arm overhead while straightening your left leg, hovering it a few inches above the ground. Keep your lower back pressed down. Inhale to return to start. Alternate sides.
Beginner modification: Keep the non-moving leg bent with foot on the floor. Or just move arms without legs until you build strength.
Advanced progression: Move opposite arm and leg simultaneously, or add ankle weights.
Complete 8-10 reps per side for 2-3 sets. What you should feel: Deep core engagement, not neck strain. If your back arches off the mat, you’ve gone too far—reduce your range of motion.
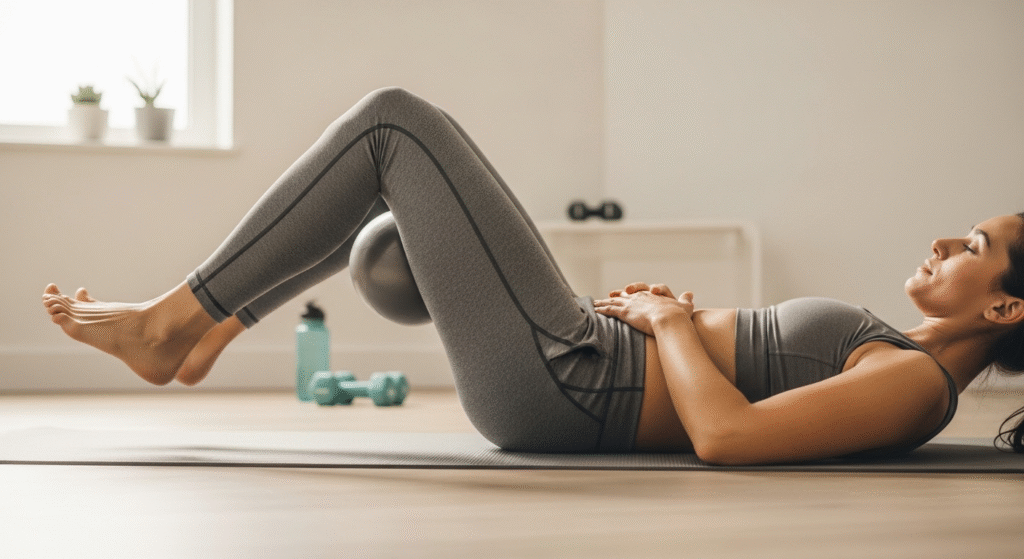
Exercise 4: Glute Bridge with Pelvic Floor Lift
Lie on your back with knees bent and feet hip-width apart, positioned close to your glutes. Arms rest by your sides. On an exhale, press through your heels to lift your hips toward the ceiling. At the top of the bridge, add an extra pelvic floor lift, imagining you’re zipping up from your pelvic floor to your belly button.
Hold for 2 seconds at the top, then lower with control on an inhale. This exercise sculpts your glutes while strengthening your pelvic floor foundation—a powerful combination for lower body strength and core stability.
Complete 12-15 reps for 2-3 sets. Single-leg variation: Once you’ve mastered the basic bridge, try lifting one foot off the ground and performing the bridge on one leg for an intense challenge.
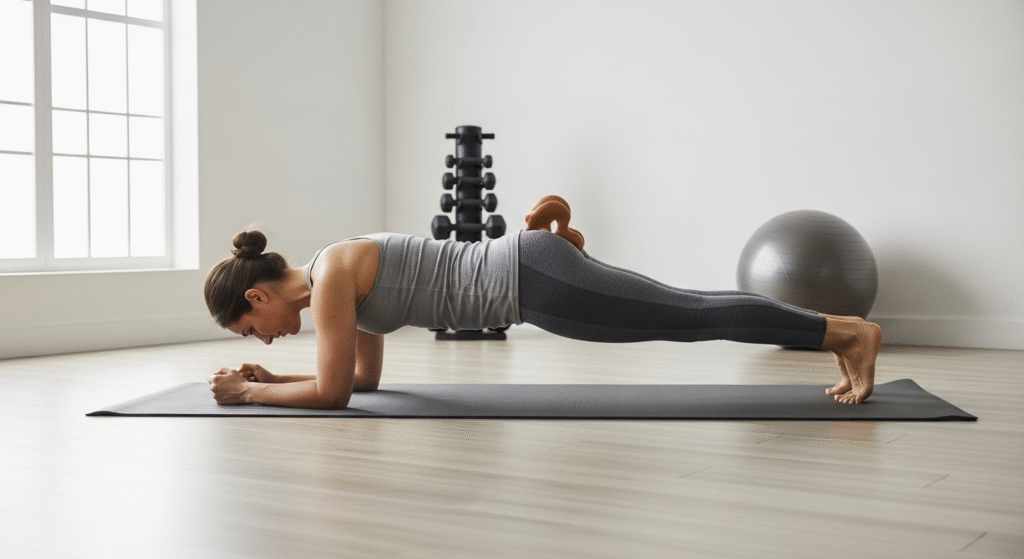
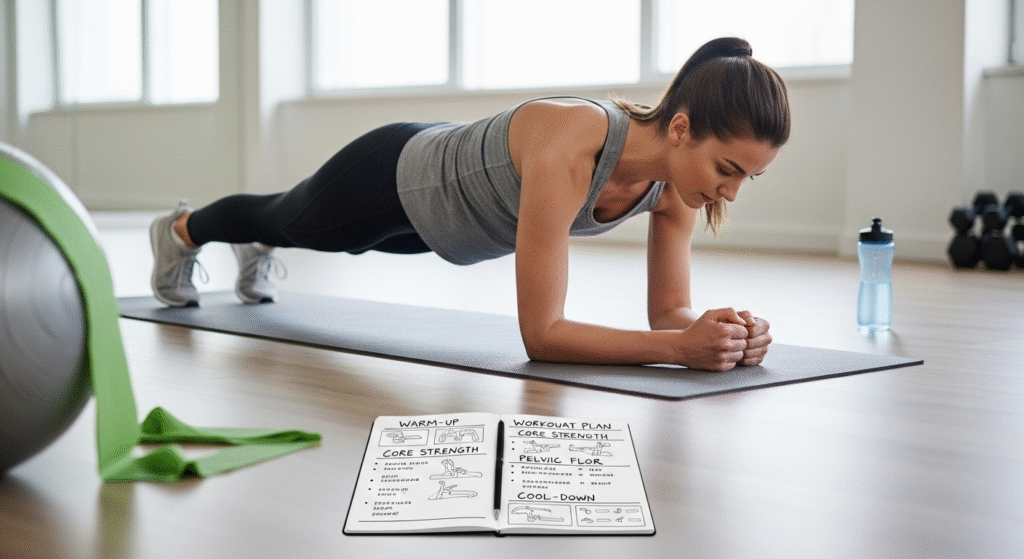
Exercise 5: Modified Bear Plank Hold
Start on hands and knees. Engage your core and lift your pelvic floor. Keeping this engagement, hover your knees 2-3 inches off the ground. Your back stays flat, not rounded or arched. Breathe steadily—don’t hold your breath.
Hold for 15-30 seconds, then rest. Repeat for 3 sets. This burns because you’re fighting gravity while maintaining total-body tension. Every muscle in your core system is working.
Regression: If hovering is too challenging, place your hands on a couch or chair so you’re at an incline. This reduces the load while you build strength.
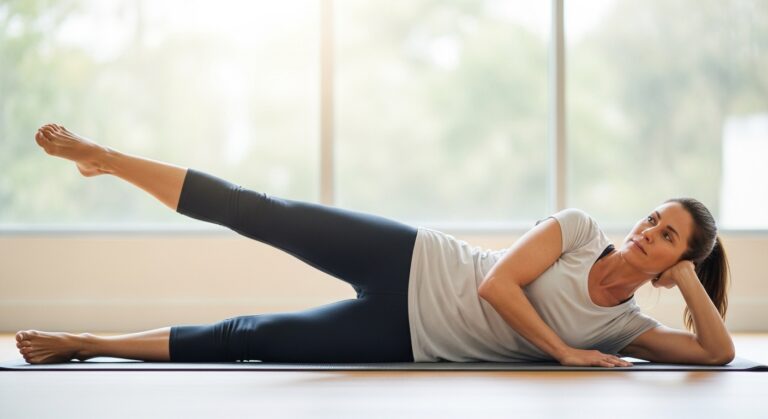
Exercise 6: Side-Lying Leg Lifts with Core Connection
Lie on your right side with your body in a straight line. Prop your head on your right hand or extend your arm and rest your head on it. Place your left hand on the floor in front of you for balance.
Before you move, engage your pelvic floor and draw your lower abs in. Keeping this connection, lift your top leg to hip height. Lower with control. The difference between this and regular leg lifts? You’re maintaining deep core engagement throughout, making it a full-core exercise, not just a leg move.
Complete 10-12 reps per side for 2 sets. You should feel your obliques (side abs) working along with your outer hip.
Exercise 7: Bird Dog (Stability Challenge)
Return to hands and knees. Find neutral spine and engage your pelvic floor. On an exhale, extend your right arm forward and left leg back, forming a straight line from fingertips to toes. Your hips stay level—don’t let them twist.
Hold for 3-5 seconds, breathing steadily. Return to start and switch sides. This challenges your core’s ability to resist rotation while maintaining stability.
Complete 8 reps per side for 2-3 sets. Common mistakes: Twisting your torso, arching your back, or holding your breath. Fix: Move slower, reduce your range of motion, and focus on keeping your hips level.
Exercise 8: Heel Slides
Lie on your back with knees bent and feet flat. Engage your pelvic floor and press your lower back gently into the mat. Maintaining this engagement, slowly slide your right heel away from you, straightening your leg while keeping it on the ground. Slide it back to start.
This exercise is perfect for beginners or postpartum recovery because it’s low-intensity but highly effective for building mind-muscle connection. Complete 10-12 reps per side for 2 sets.
Progress to dead bugs once you can maintain pelvic floor engagement and a stable lower back throughout all reps.
Cool-Down: Integration and Release (2 minutes)
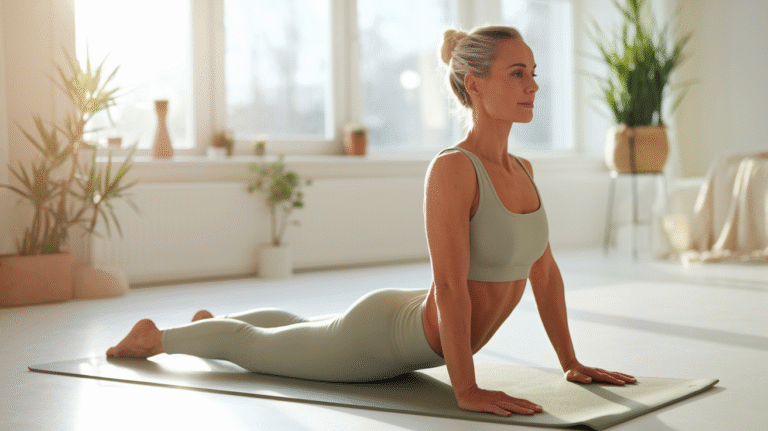
Exercise 9: Child’s Pose with Pelvic Floor Release
Kneel on your mat and sit back on your heels. Extend your arms forward and rest your forehead on the mat. This is important: pelvic floor training isn’t just about strengthening. You also need to learn to relax these muscles.
Breathe deeply into your back and sides. With each inhale, consciously release and soften your pelvic floor. Feel it gently expand and relax. Hold for 1 minute, focusing on the sensation of release.
Exercise 10: Supine Pelvic Tilts
Lie on your back with knees bent. Gently tilt your pelvis, pressing your lower back into the mat, then tilt the opposite direction, creating a small arch. Move slowly and mindfully, coordinating with your breath.
Complete 8-10 slow tilts. This gentle movement helps integrate everything you’ve worked on and reminds your body that core engagement should be dynamic, not rigid.
End by placing your hands on your belly and taking three deep breaths. Acknowledge the work you just did for your body. This moment of gratitude and awareness reinforces the mind-body connection you’re building.
Your 4-Week Progressive Plan for Real Results
Week 1-2: Building the Foundation
Frequency: Practice this routine 3-4 times per week. Don’t do it daily—your muscles need recovery time to adapt and strengthen.
Your focus these first two weeks is mind-muscle connection and proper form, not intensity. Use the lower end of the rep ranges provided. If an exercise calls for 8-10 reps, do 8. If it suggests 15-30 seconds, start with 15.
Keep a simple journal. After each workout, jot down which exercises felt easiest, which were most challenging, and any sensations you noticed. This tracking helps you recognize progress and identify patterns.
Realistic expectations: You’re learning a new skill. Some days you’ll struggle to find your pelvic floor. Other days it’ll click. Both experiences are normal and valuable. Don’t judge yourself—just show up and practice.
Week 3-4: Increasing Intensity
Frequency: Bump up to 4-5 times per week. Your body has adapted to the movements and is ready for more challenge.
Start adding progressions and variations. Try the single-leg glute bridge. Extend your bird dog hold for a few extra seconds. Move to the middle or upper end of the rep ranges.
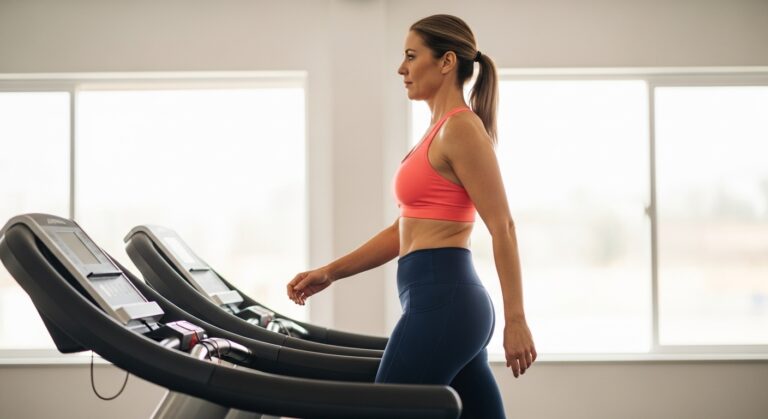
Begin incorporating pelvic floor awareness into your other workouts. When you’re doing squats, engage your pelvic floor as you stand up. During your walk or run, periodically check in and lift your pelvic floor for a few strides.
What results to expect: You should notice improved bladder control, less back pain, and better posture. You’ll feel more connected to your core during all activities. The exercises that felt impossible in week one now feel manageable.
Beyond Week 4: Maintaining and Advancing
After four weeks, this routine becomes your foundation. Continue it 3-4 times per week to maintain your gains. To keep progressing, add challenge in strategic ways.
Increase hold times on static exercises like bear plank. Add resistance by holding a light weight during dead bugs or wearing ankle weights during leg-based movements. Try more advanced variations like single-leg dead bugs or elevated bear planks.
Integrate pelvic floor awareness into everything you do. Before you lift something heavy, engage your pelvic floor. During high-impact cardio, maintain that gentle lift. This is how you make pelvic floor strength a lifestyle, not just a workout program.
Powerful habit stacking: Link your pelvic floor practice to existing habits. Do your breathing exercises while your coffee brews. Practice pelvic floor lifts during your commute. This integration makes the practice sustainable long-term.
Troubleshooting Common Challenges and Moving Forward
“I Can’t Feel My Pelvic Floor Working”
This is completely normal at first. Your brain hasn’t developed the neural pathways to these muscles yet. It’s like trying to wiggle your ears—some people can, some can’t, but everyone can learn with practice.
Try alternative cues. Instead of “lift,” try “squeeze and lift like you’re holding in gas.” Or “imagine you’re trying to stop peeing and pooping at the same time.” Graphic? Yes. Effective? Absolutely.
Practice in different positions. Some people feel their pelvic floor better lying down, others standing or sitting. Experiment to find what works for you. Use a mirror to watch your perineum (the area between your vagina/scrotum and anus)—you should see it lift slightly when you contract correctly.
Consider biofeedback. Pelvic floor physical therapists use special devices that provide visual or audio feedback when you contract correctly. A few sessions can accelerate your learning dramatically.
“I’m Leaking More Since I Started”
If symptoms worsen initially, you might be bearing down instead of lifting up, or you might be over-contracting. Pelvic floor dysfunction isn’t always about weakness—sometimes these muscles are too tight and need to learn to relax before they can strengthen properly.
Take a step back. Focus exclusively on the breathing and release exercises for a week. Make sure you’re truly relaxing your pelvic floor on the inhale, not maintaining constant tension.
If symptoms persist beyond two weeks, consult a pelvic floor physical therapist. They can assess whether you have hypertonicity (too much tension) or other issues that need specialized treatment.
“I Don’t Have 15 Minutes Every Day”
You don’t need daily practice. Three to four times per week delivers results. But if even that feels impossible, start smaller. Five minutes of breathing and dead bugs three times a week is infinitely better than planning for 15 minutes and doing nothing.
Break it up. Do your warm-up in the morning and your workout at lunch. Practice two exercises while dinner cooks and finish with cool-down before bed. Progress happens through consistency, not perfection.
Remember: you’re already spending time dealing with the consequences of a weak pelvic floor and core. Back pain appointments. Buying pads for leakage. Avoiding activities you love. Investing 15 minutes three times a week prevents all of that.
Taking Your Next Steps
You now have everything you need to build a powerful core and pelvic floor foundation. The exercises work. The progression plan is proven. The only variable is your commitment to showing up for yourself.
Start today. Not tomorrow, not Monday, not when life calms down. Grab your mat right now and do the warm-up. Just three minutes. Feel what it’s like to connect with these muscles. That’s your first step toward transformation.
Track your progress. Take note of your current symptoms—bladder leaks, back pain, posture issues. Check back in four weeks and notice what’s changed. The improvements will motivate you to keep going.
Join a community. Whether it’s an online group, a local fitness class, or just one friend who’s also working on core strength, accountability and support make the journey easier and more enjoyable.
Remember: your pelvic floor and deep core are the foundation for everything your body does. Strengthening them isn’t vanity—it’s investing in your quality of life, your confidence, and your long-term health. You deserve to move through life feeling strong, stable, and in control of your body.
The power to transform your core is literally in your hands. Now go claim it.