Postpartum Glutes Exercises to Rebuild Strength and Tone
Let’s talk about something many new moms experience but few people discuss openly: the “pancake butt” phenomenon.
You’ve just brought a beautiful life into this world, and somewhere along the way, your glutes seem to have gone on an extended vacation. You’re not imagining it, and you’re definitely not alone.
The physical journey of pregnancy and childbirth transforms your body in countless ways. Your muscles stretched, your posture shifted, and your body worked overtime for nine months (and beyond).
Now you’re navigating sleepless nights, constant lifting, and feeding positions that leave your back aching. The last thing you need is another unrealistic expectation about “bouncing back.”
Here’s what I’m promising you: practical, proven exercises that rebuild glute strength safely and effectively. This isn’t about fitting into pre-pregnancy jeans by next month or achieving some impossible Instagram aesthetic. This is about functional strength first—the kind that helps you lift your baby without wincing, carry a car seat without your lower back screaming, and move through your day with confidence and energy.
Strong glutes support everything you do as a new mom. They stabilize your pelvis, protect your lower back, and create a foundation for the core strength you’re rebuilding. And yes, with consistent effort, you’ll also notice improved tone and shape. But that’s the bonus, not the goal.
Your body created life. Now it’s time to give it the support it needs to thrive in this new chapter. With these five essential exercises and the right approach, you’ll rebuild strength that serves you every single day. Results are absolutely achievable—you just need the right roadmap and realistic expectations.
Why Your Glutes Need Extra Attention Postpartum
Understanding What Happened During Pregnancy
Pregnancy didn’t just change your body’s appearance—it fundamentally altered how your muscles function. Throughout those nine months, your body released a hormone called relaxin, which loosened your ligaments and joints to prepare for childbirth. While this was essential for delivery, it also affected muscle tone and pelvic stability in ways that linger postpartum.
As your belly grew, your center of gravity shifted forward. To compensate, your body adjusted your posture—often tilting your pelvis and overarching your lower back. This altered position meant your glutes couldn’t activate properly. They essentially “turned off” while other muscles took over the work. Your hip flexors tightened, your lower back overworked, and your glutes went into hibernation mode.
Add to this the extra weight you carried (all focused on your front side), and your glutes had even less opportunity to engage. By the time you delivered, these muscles had been underused for months. The result? That flat, weak feeling that catches you off guard when you catch your reflection.
The Essential Role of Strong Glutes for New Moms
Your glutes are the foundation of pelvic floor health and core stability. These three systems work together—when your glutes are weak, your pelvic floor has to compensate, and your core can’t function optimally. Rebuilding glute strength is essential for complete postpartum recovery.
Strong glutes prevent the lower back pain that plagues so many new mothers. Think about your daily activities: bending over the crib fifty times a day, carrying your baby on one hip, hunching over during feeding sessions, lifting the car seat in and out of the vehicle. Every single one of these movements requires glute strength. Without it, your lower back takes the beating.
Your glutes also improve posture when you’re holding and nursing your baby. Those long feeding sessions put tremendous strain on your upper back and neck—unless your glutes are properly supporting your pelvis and spine. When your glutes fire correctly, everything above them can relax and align.
The connection between glute activation and overall functional fitness is undeniable. Your glutes are the largest muscle group in your body. When they’re strong, everyday movements become easier, your energy improves, and you feel more capable in your new role as a mom.
When It’s Safe to Start Strengthening
Medical clearance is non-negotiable. Most healthcare providers give the green light around six to eight weeks postpartum for vaginal deliveries, but this timeline extends if you had a C-section or complications. Don’t skip this step—your body needs adequate healing time.
Your body will give you signs when it’s ready. Minimal bleeding, no pain during basic movements, and the ability to engage your core without discomfort are all positive indicators. You should be able to perform a gentle pelvic floor contraction without heaviness or pressure.
Starting slow is the ultimate strategy for long-term success. This isn’t a race. Pushing too hard too soon can lead to pelvic floor dysfunction, diastasis recti complications, or injury. The tortoise wins this race every single time. Begin with gentle activation exercises, master the mind-muscle connection, and progress gradually. Your body will thank you for the patience.
Preparing Your Body: The Complete Foundation
Reconnecting with Your Pelvic Floor First
Before you even think about glute exercises, you need to reconnect with your pelvic floor. These muscles form the base of your core, and they work in perfect coordination with your glutes during movement. Skipping this step is like trying to build a house without a foundation.
Start with simple breathing exercises. Lie on your back with your knees bent and feet flat on the floor. Place one hand on your chest and one on your belly. Inhale deeply through your nose, allowing your belly to expand (your pelvic floor gently releases). Exhale slowly through your mouth, drawing your belly button toward your spine (your pelvic floor lifts). This breath-to-movement connection is essential for everything that follows.
Practice gentle pelvic floor lifts throughout your day. Imagine you’re stopping the flow of urine or holding in gas (yes, we’re going there). Lift those muscles up and in, hold for three seconds, then release completely. The release is just as important as the lift—your pelvic floor needs to know how to relax and contract.
When you add glute exercises, you’ll coordinate this pelvic floor engagement with each movement. On the exertion phase (the hard part), you’ll exhale and gently lift your pelvic floor. This coordination protects your core and ensures proper muscle activation.
Activating Dormant Glutes with Easy Warm-Ups
Your glutes have been asleep for months. Before you ask them to work, you need to wake them up. These simple activation exercises prepare your body for the main workout and help you establish that crucial mind-muscle connection.
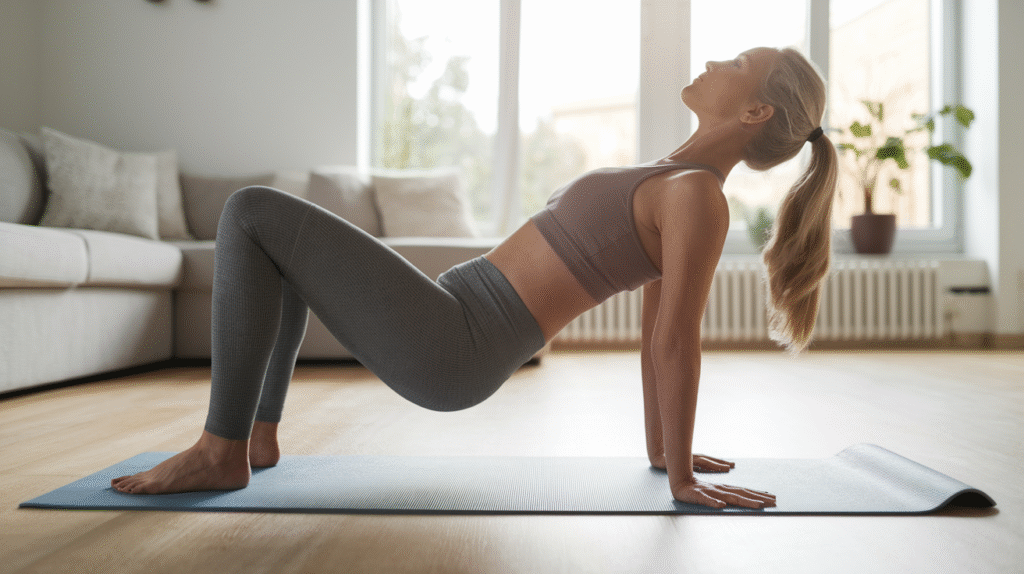
Start with glute bridges paired with breath work. Lie on your back with knees bent and feet hip-width apart. Inhale to prepare. As you exhale, lift your pelvic floor and press through your heels to lift your hips. Squeeze your glutes at the top, hold for two seconds, then lower with control. Perform 10-15 reps, focusing entirely on feeling your glutes do the work—not your hamstrings or lower back.
Clamshells wake up your gluteus medius (the side glute muscle). Lie on your side with your knees bent at 90 degrees, feet together. Keeping your feet touching, lift your top knee toward the ceiling while keeping your hips stacked. You should feel this in the side of your hip. Perform 15-20 reps per side.
Quadruped hip extensions offer gentle activation in a stable position. On your hands and knees, engage your core and lift one leg behind you, keeping your knee bent at 90 degrees. Press your heel toward the ceiling, squeezing your glute at the top. Lower with control. Perform 10-12 reps per side.
Setting Up for Success
The beauty of postpartum glute training is that you need very little equipment. A yoga mat, a resistance band, and maybe some sliders or a towel—that’s it. You can do these exercises in your living room during naptime or while your baby plays on a blanket next to you.
Create a quick 15-20 minute routine that fits realistically into your day. You’re not training for a bodybuilding competition—you’re rebuilding functional strength as a busy new mom. Three focused sessions per week will deliver amazing results without overwhelming your already packed schedule.
Consistency matters more than intensity. Ten minutes three times per week beats an hour-long session you can only manage once a month. Show up regularly, focus on quality movement, and trust the process. Your body will respond.
The 5 Essential Postpartum Glute Exercises
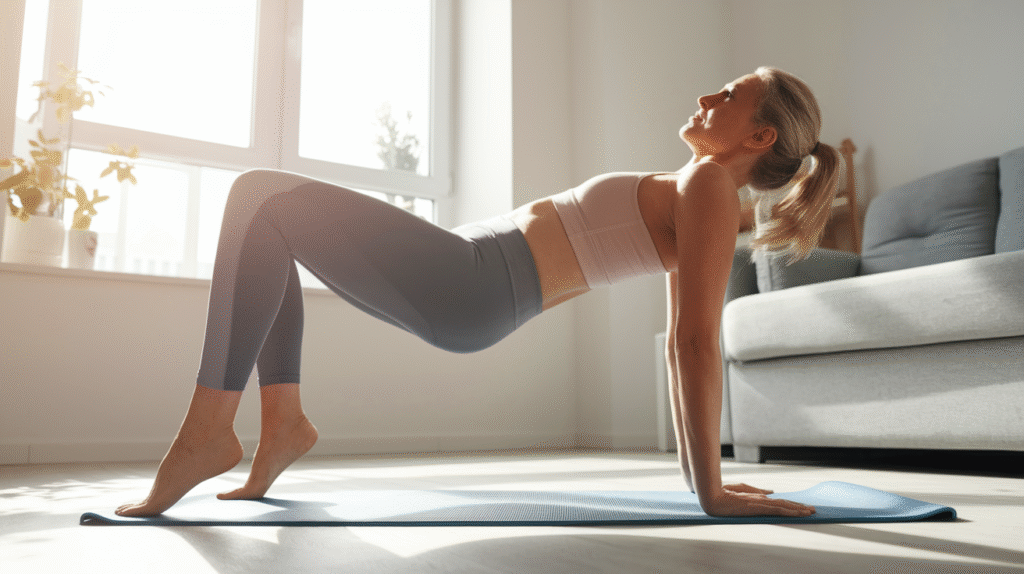
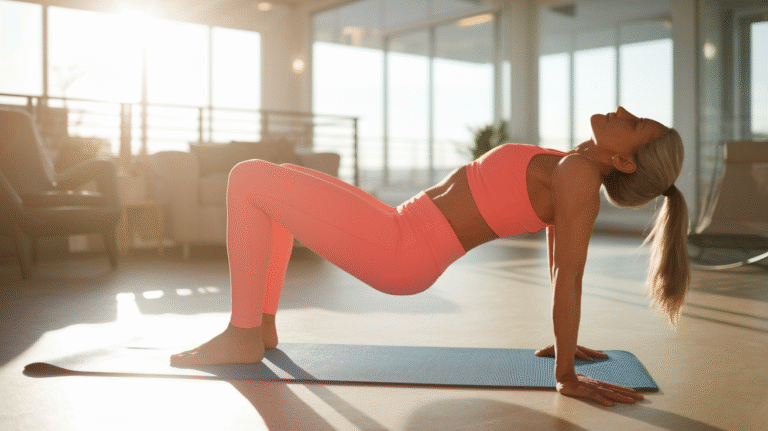
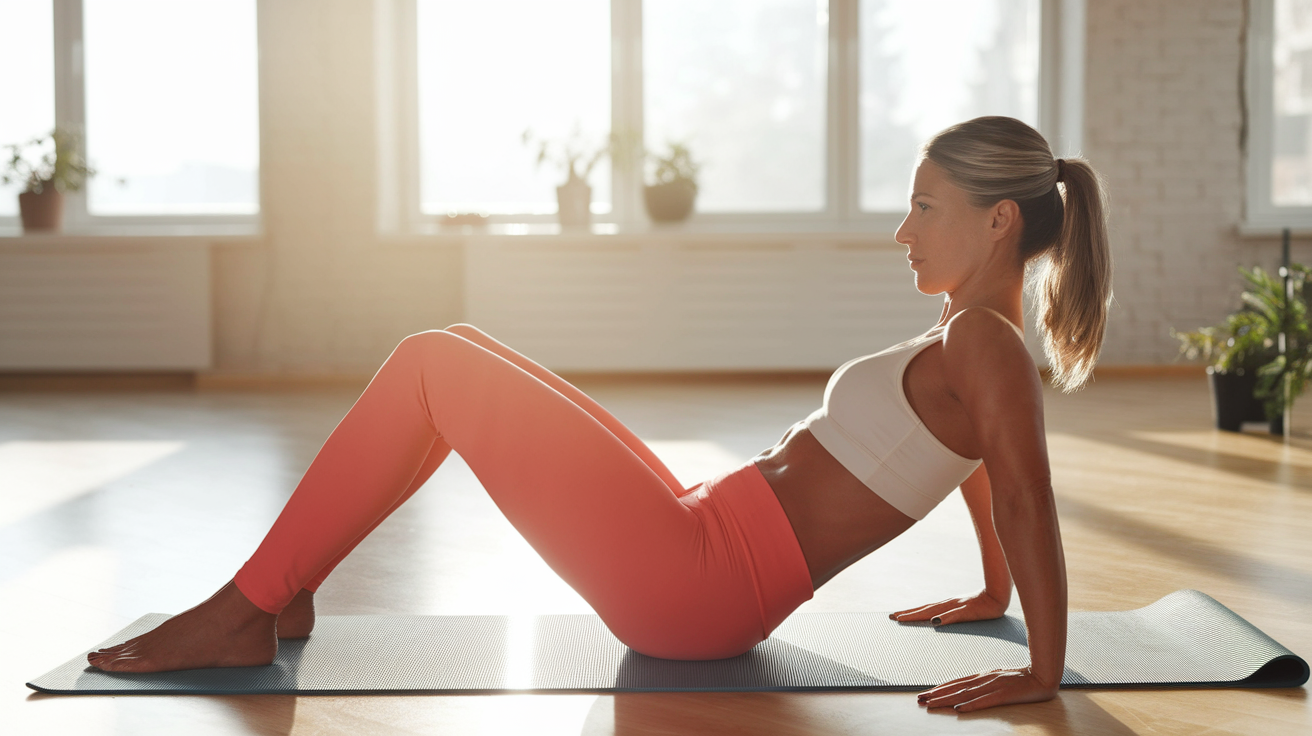
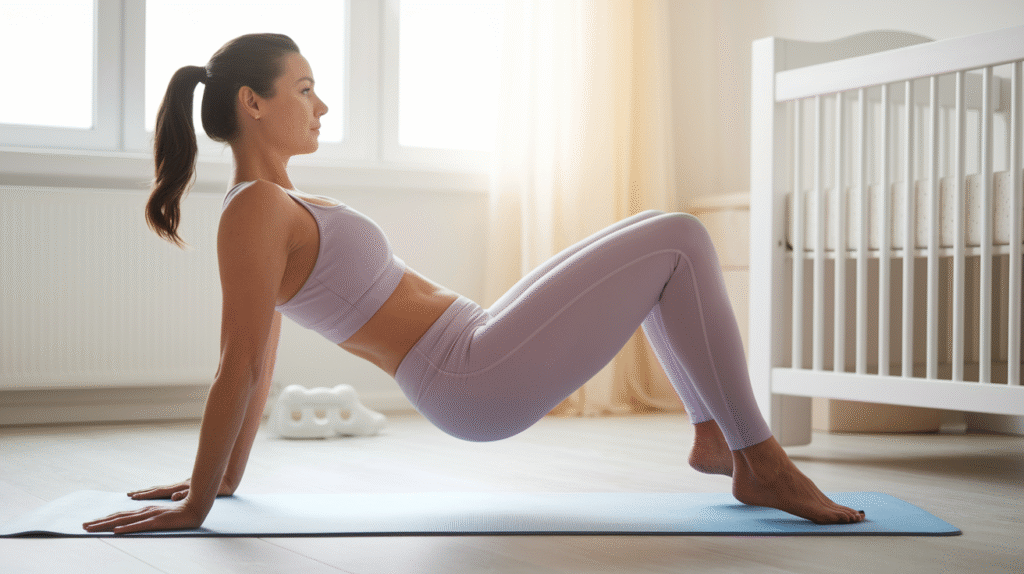
Exercise 1: Modified Glute Bridge (The Foundation Builder)
The glute bridge is the perfect starting point for rebuilding glute strength. This exercise allows you to focus purely on glute activation while your back stays supported on the ground.
How to perform it: Lie on your back with knees bent and feet flat on the floor, hip-width apart. Your feet should be close enough that you can almost touch your heels with your fingertips. Place your arms by your sides, palms down. Inhale to prepare. As you exhale, engage your pelvic floor and press through your heels to lift your hips toward the ceiling. Your body should form a straight line from knees to shoulders. Squeeze your glutes hard at the top, hold for two seconds, then lower with control.
Form cues that matter: Keep your ribs down—don’t arch your back to get higher. Press through your heels, not your toes. Your knees should track over your toes, not fall inward. Feel the work in your glutes, not your hamstrings or lower back.
Progression options: Once you’ve mastered the basic bridge with 15 reps feeling easy, try single-leg bridges. Extend one leg straight while lifting with the other. You can also elevate your feet on a low step or add a resistance band around your thighs for extra challenge.
Complete 2-3 sets of 10-15 reps, resting 30-60 seconds between sets.
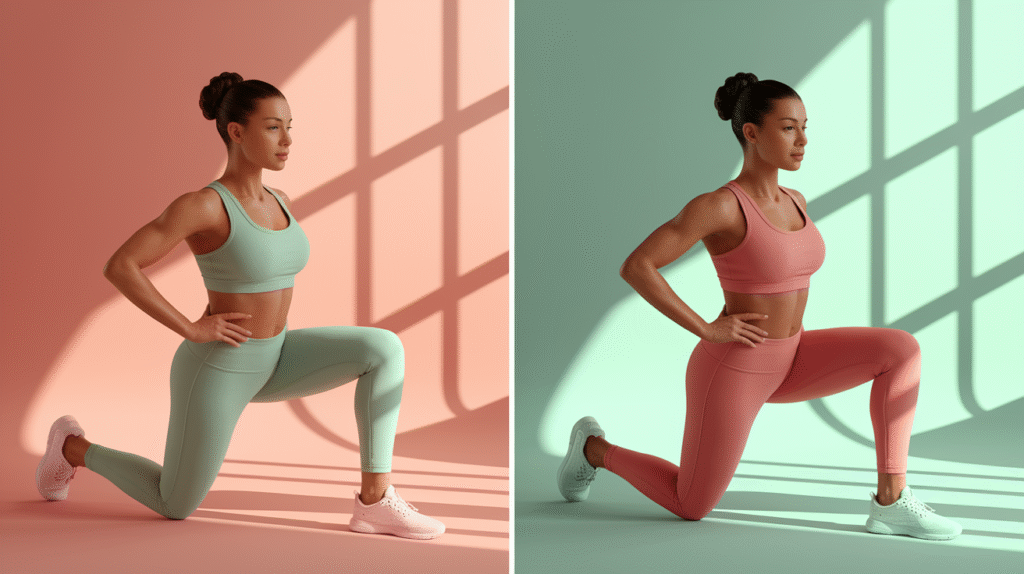
Exercise 2: Slider Lateral Lunge (Multi-Plane Strengthener)
Working in different planes of motion is effective for complete glute development. Most daily movements happen forward and backward, but your glutes also need lateral (side-to-side) strength for stability and injury prevention.
How to perform it: Stand tall with a slider under your right foot (or a towel on hardwood floors). Keep your left foot planted firmly. Shift your weight onto your left leg as you slide your right foot out to the side, bending your left knee and pushing your hips back into a single-leg squat position. Keep your chest up and your left knee tracking over your toes. Press through your left heel to return to standing, sliding your right foot back to the starting position.
Why this exercise is amazing: It strengthens your glutes and adductors (inner thighs) simultaneously—both muscle groups that need attention postpartum. It also mimics real-life movements like getting in and out of the car or reaching to the side while holding your baby.
Key form points: Keep your planted foot flat on the ground. Push your hips back like you’re sitting in a chair. Your sliding leg stays relatively straight. Don’t let your knee cave inward on the working leg.
Complete 2-3 sets of 8-10 reps per side, moving slowly and with control.
Exercise 3: Three-Way Glute Kickbacks (The Complete Sculptor)
This exercise targets all three areas of your glutes through three simple variations performed back-to-back. You’ll hit your upper glutes, side glutes, and the entire glute complex in one efficient movement.
Starting position: Get on your hands and knees with your hands directly under your shoulders and knees under your hips. Engage your core to keep your back flat—no sagging or arching.
Variation 1 (Straight back): Extend your right leg straight behind you, keeping your foot flexed. Lift your leg until your thigh is parallel to the ground, squeezing your glute at the top. Lower with control. This targets your upper glutes and hamstrings.
Variation 2 (Diagonal): From the same starting position, extend your right leg out at a 45-degree angle to the side and back. Lift and squeeze. This variation hits your gluteus medius—the side glute muscle essential for hip stability.
Variation 3 (Across the body): Extend your right leg and bring it across your body toward your left side, then lift. This creates full glute activation and challenges your stability.
Perform 8-10 reps of each variation on one side before switching legs. Complete 2 sets per side. The key is maintaining core stability throughout—don’t let your hips shift or your back arch.
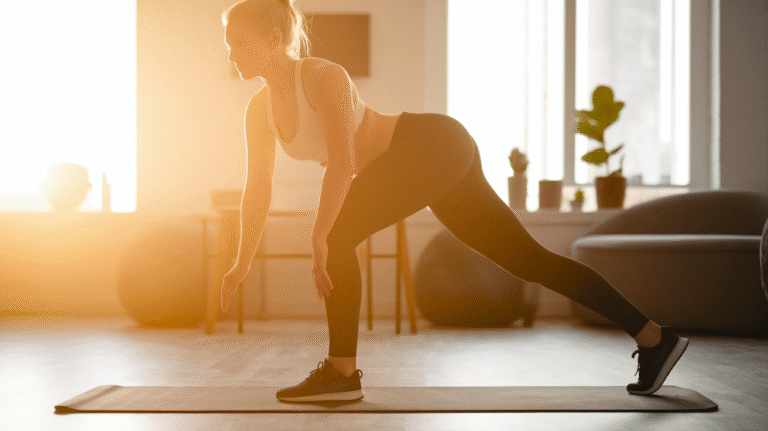
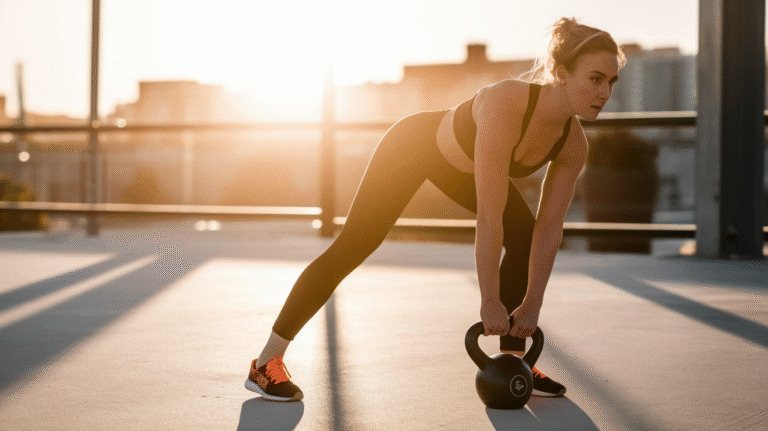
Exercise 4: Supported Single-Leg Deadlift (Functional Strength)
This exercise is perfect for real-life mom movements. Every time you bend down to pick up your baby, lift the car seat, or grab something off the floor, you’re performing a hip hinge. This exercise trains that pattern with proper glute activation.
How to perform it: Stand tall with your feet hip-width apart, holding onto a chair or wall for support with your left hand. Shift your weight onto your right leg with a slight bend in your knee. Engage your core and hinge forward at your hips, extending your left leg behind you for balance. Your torso and back leg should form a straight line parallel to the ground. You should feel a stretch in your right hamstring and glute working to control the movement. Press through your right heel to return to standing, squeezing your glute at the top.
Form cues for success: Keep your back flat—don’t round your spine. Your hips should stay level, not rotating open. The movement comes from your hip joint, not your lower back. Your standing knee stays slightly bent throughout.
Progression path: Start with just your bodyweight, using the chair for balance. As you get stronger, use less support from the chair. Eventually, you can hold a light dumbbell in your free hand for added resistance.
Complete 2-3 sets of 8-12 reps per side, focusing on control over speed.
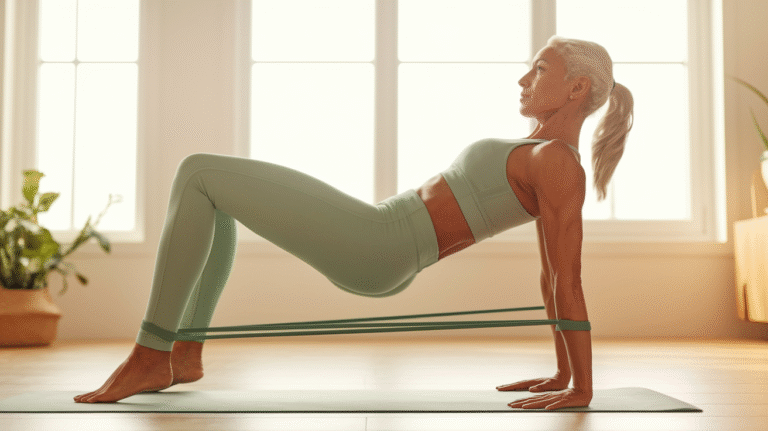
Exercise 5: Banded Side Steps (Glute Med Activator)
Your gluteus medius stabilizes your pelvis with every step you take. Weakness in this muscle leads to hip and knee pain, poor posture, and that characteristic “hip drop” when walking. This simple exercise strengthens this essential muscle.
How to perform it: Place a resistance band around your legs, either just above your knees or around your ankles (lower placement increases difficulty). Stand with your feet hip-width apart, creating tension in the band. Bend your knees slightly and push your hips back into a quarter-squat position. Maintain this athletic stance throughout the exercise. Step your right foot out to the side, then follow with your left foot, maintaining constant tension in the band. Take 10-15 steps to the right, then reverse direction.
Proper band placement matters: The band should have tension even in your starting position. If it’s loose, adjust your stance wider or use a tighter band. You should feel constant work in the sides of your hips.
Avoid these common mistakes: Don’t lean your upper body side to side—stay centered. Keep your knees tracking over your toes, not caving inward. Maintain that slight squat position throughout—don’t stand up tall between steps. Take deliberate steps, not tiny shuffles.
Complete 2-3 sets of 10-15 steps in each direction, resting between sets.
Creating Your Effective Postpartum Glute Routine
Your Quick Weekly Schedule
Three workouts per week on non-consecutive days is the sweet spot for postpartum glute training. This schedule gives your muscles time to recover while maintaining consistent stimulus for growth and strength. Try Monday, Wednesday, and Friday, or Tuesday, Thursday, and Saturday—whatever fits your life as a new mom.
Each workout takes just 15-20 minutes. Perform these exercises as a circuit: complete one set of each exercise, rest for 60 seconds, then repeat for 2-3 total rounds. This approach keeps your heart rate elevated while giving individual muscle groups adequate rest.
Sample workout structure: – Warm-up: Glute bridges with breath work (10 reps) – Exercise 1: Modified Glute Bridge (10-15 reps) – Exercise 2: Slider Lateral Lunge (8-10 reps per side) – Exercise 3: Three-Way Glute Kickbacks (8 reps each variation per side) – Exercise 4: Supported Single-Leg Deadlift (8-12 reps per side) – Exercise 5: Banded Side Steps (10-15 steps each direction) – Rest 60 seconds and repeat for 2-3 total rounds
Fit these workouts into your day whenever possible. Naptime is perfect, but so is letting your baby have tummy time on a blanket next to you. Some moms prefer early morning before everyone wakes up, while others squeeze it in after bedtime. There’s no perfect time—the best time is whenever you’ll actually do it.
Progressive Overload Made Simple
Progressive overload means gradually increasing the challenge to continue seeing results. In the postpartum period, this progression needs to be gentle and patient.
Week 1-2: Master the movements Focus entirely on form and mind-muscle connection. Can you feel your glutes working? Are you maintaining proper alignment? Is your pelvic floor coordinating with each movement? These weeks are about learning, not pushing limits.
Week 3-4: Increase reps and add holds Add 2-3 reps to each exercise. Include a 3-5 second hold at the top of each contraction, really squeezing your glutes. This time under tension builds strength effectively without adding external resistance.
Week 5-6: Introduce light resistance bands Add a resistance band to your bridges and side steps. Use the lightest band that creates a challenge—you should complete all reps with good form.
Week 7+: Add light weights when ready If you’re feeling strong and have medical clearance, introduce light dumbbells to your deadlifts and lunges. Start with 5-8 pounds and increase only when you can complete all sets with perfect form.
How to know when to progress: You should be able to complete all prescribed reps with good form, feeling challenged but not exhausted. The last 2-3 reps should be difficult but doable. If you’re breezing through workouts, it’s time to progress. If you’re struggling to finish or your form is breaking down, stay at your current level.
Listening to Your Body: Essential Warning Signs
Your body will communicate what it needs—you just need to listen. Normal postpartum sensations include muscle fatigue, mild soreness the next day, and that satisfying “worked out” feeling. These are all positive signs that you’re building strength.
Warning signs to stop immediately: – Heaviness or pressure in your pelvic floor during or after exercise – Any urinary leaking during movements – Pain (not muscle fatigue—actual pain) in your back, pelvis, or joints – Increased postpartum bleeding – Separation or “doming” in your abdominal wall during exercises
If you experience any of these symptoms, stop the workout and consult your healthcare provider. These signs indicate your body needs more healing time or modifications to your approach.
Rest when needed, resume when ready. Some days you’ll feel amazing and strong. Other days, sleep deprivation and the demands of new motherhood will leave you exhausted. Honor both experiences. Skipping a workout to rest is not failure—it’s listening to your body’s wisdom.
Patience is your most effective tool. Your body took nine months to change during pregnancy, and it needs time to rebuild. Celebrate small victories: feeling your glutes activate for the first time, completing a workout without pain, noticing improved posture when holding your baby. These wins matter more than any aesthetic change.
Conclusion
Strong glutes are essential for postpartum recovery and thriving in your daily life as a mom. They support your pelvic floor, protect your lower back, improve your posture, and give you the functional strength to handle everything motherhood throws at you—from countless diaper changes to chasing a toddler in a few years.
Rebuilding takes time, and that’s not just okay—it’s how your body is designed to heal. This is a journey, not a race to some arbitrary finish line. Every workout you complete is an investment in your long-term health and strength. Every time you choose to show up for yourself, you’re modeling self-care for your child.
Consistency with these simple exercises brings amazing results. You don’t need fancy equipment, expensive gym memberships, or hours of free time. You need these five proven exercises, 15-20 minutes three times per week, and the commitment to keep showing up for yourself.
Remember the bigger picture: you’re not just toning your glutes or trying to fit into old jeans. You’re building functional strength that serves you every single day. You’re creating a foundation for an active life with your growing family. You’re preventing pain and injury so you can fully enjoy motherhood.
Your action step for today: Don’t wait until you feel “ready” or until you have the perfect setup. Start with just one exercise today. Lie down on your living room floor right now and perform 10 glute bridges with breath work. Feel those muscles wake up. Tomorrow, add another exercise. Build your routine one day at a time.
Your body created life—an absolutely incredible feat. Now give it the support it needs to thrive. You deserve to feel strong, capable, and confident in your postpartum body. These five exercises are your roadmap. The rest is just showing up, one workout at a time. You’ve got this, mama.