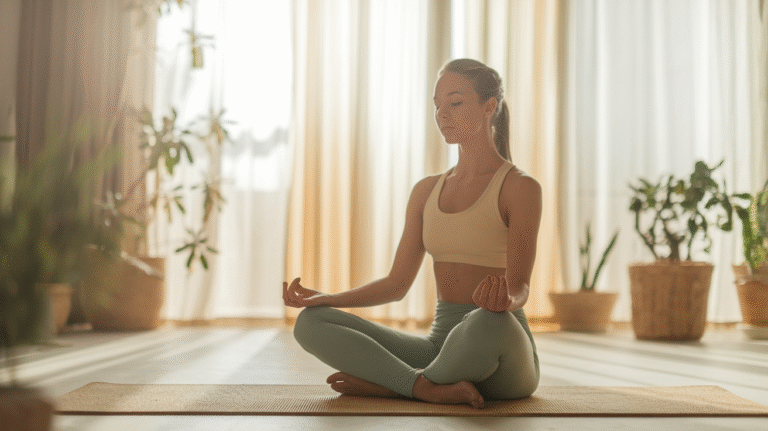
7 Best Hip-Opening Yoga Poses for Flexibility
Does Your Body Feel Like It’s Been Zip-Tied at the Hips?
You know that feeling when you stand up after a two-hour meeting and your hips literally creak? When tying your shoes requires a strategic approach because bending just… doesn’t happen anymore? I spent three years working a desk job where I’d realize at 4 PM that I hadn’t stood up since lunch.
My hips felt like they’d been sealed in concrete, and the lower back pain was so constant I thought it was just part of being an adult.
Here’s the reality: most of us are sitting 8-13 hours per day when we combine work, commuting, eating, and evening TV. That’s not a judgment—it’s just modern life.
But every hour you spend sitting, your hip flexors are shortening, your glutes are shutting off, and your body is literally adapting to a folded position.
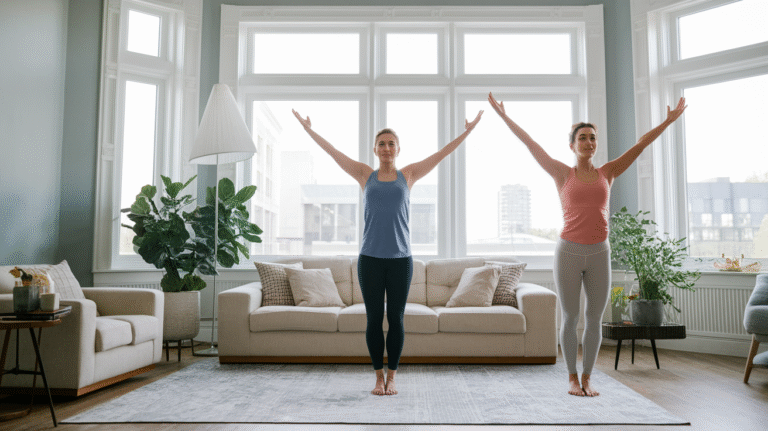
The good news? You don’t need a $200 monthly yoga studio membership or an Instagram-worthy flexibility level to fix this. Just 10-15 minutes of targeted hip-opening poses—done consistently in your living room, in whatever clothes you’re already wearing—can transform how your body feels and moves.
In this article, you’ll learn the 7 most effective hip-opening yoga poses that actually deliver results. Each one includes beginner modifications because I’m not here to show you what a professional yogi can do—I’m here to show you what works when you’re starting with tight, uncomfortable hips. You’ll understand exactly why your hips are tight, how to practice safely without wrecking your knees, and how to build a simple routine that fits into the life you actually have.
No experience required. No special equipment needed. Just a willingness to spend a few minutes on the floor and the patience to let your body adapt over weeks, not days.
Why Your Hips Are So Tight (And Why It Matters)

The Sitting Epidemic and Your Hip Flexors
When you sit, your hip flexors—the muscles connecting your thigh bones to your lower spine—are in a shortened position. Spend enough hours like this, and those muscles adapt. They actually get shorter and tighter, pulling your pelvis forward and creating that anterior pelvic tilt that makes your lower back arch excessively.
This isn’t about blaming your job or lifestyle. Your body is incredibly smart—it adapts to what you ask it to do most often. If you sit 10 hours a day, your body assumes that’s the position it needs to be optimized for. The problem is that this optimization makes everything else harder: walking, running, squatting, even standing comfortably.
The domino effect is real. Tight hip flexors pull your pelvis out of alignment. That misalignment forces your lower back to compensate, creating chronic tension and pain. Your glutes stop activating properly because they’re constantly overstretched. Your hamstrings tighten up trying to stabilize what your glutes should be handling. It’s a whole-body problem that starts at your hips.
The Hidden Cost of Tight Hips
Research consistently shows that limited hip mobility is one of the strongest predictors of lower back pain in desk workers. But the impact goes beyond just discomfort. When your hips can’t move through their full range of motion, every athletic movement suffers. Your squat depth decreases. Your running stride shortens. Your risk of knee and ankle injuries increases because those joints have to compensate for what your hips can’t do.
I’ve watched people struggle through workouts, thinking they’re just “not athletic,” when the real issue is that their hips are so restricted they can’t get into proper positions. You can’t build strength effectively if your body can’t access the positions where muscles are supposed to work.
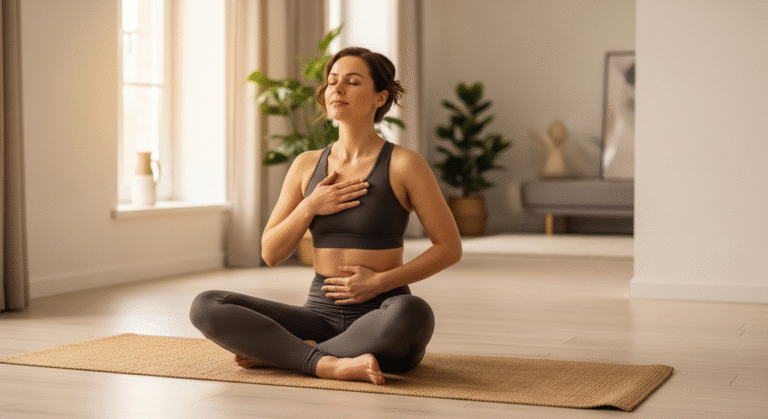
There’s also the emotional component. Multiple studies have found that the hips are a common area where we store stress and emotional tension. The psoas muscle—your primary hip flexor—is directly connected to your nervous system’s stress response. When you’re chronically stressed, that muscle stays contracted. Hip-opening poses don’t just stretch muscles; they can trigger genuine emotional releases. Don’t be surprised if you feel unexpectedly emotional during deep hip openers—it’s a normal physiological response.
How Hip-Opening Yoga Creates Effective Change
Unlike aggressive static stretching that can actually damage connective tissue, yoga poses work with your body’s natural flexibility mechanisms. They target not just the hip flexors but also the glutes, inner thighs (adductors), outer hips, and external rotators—all the muscle groups that control hip movement.
The combination of gentle sustained stretching with controlled breathing activates your parasympathetic nervous system, which literally signals your muscles that it’s safe to relax and lengthen. This is why forcing a stretch or bouncing never works—you’re triggering your body’s protective reflexes instead of its relaxation response.
Hip-opening yoga also improves circulation to the hip joint itself, bringing fresh blood flow and nutrients to an area that gets compressed all day. Over time, this proven approach increases your actual range of motion, not just your temporary flexibility after stretching.
Before You Begin: Essential Tips for Safe Hip Opening

Listen to Your Body, Not Your Ego
Here’s what I wish someone had told me when I started: there’s a massive difference between the discomfort of a good stretch and the sharp pain of potential injury. A productive stretch feels like tension, pressure, maybe even intensity—but it shouldn’t feel like something is tearing or pinching.
The moment you feel sharp pain, especially in your knee or deep in your hip joint, back off immediately. That’s not your body “opening up”—that’s your body screaming that something is wrong. Most hip injuries in yoga happen because people push past this signal, thinking they need to look like the person next to them or match the instructor’s depth.
Flexibility builds over weeks and months, not minutes. Your connective tissue needs time to adapt. Pushing aggressively can create micro-tears that actually make you tighter as scar tissue forms. I’ve seen people set their progress back months by trying to force a pose they weren’t ready for.
Protect Your Knees in Hip Openers
This is critical: all rotation in hip-opening poses must come from your hip joint, never from your knee. Your knee is a hinge joint—it’s designed to bend and straighten, not rotate. When you force it to twist (especially in poses like pigeon), you damage the meniscus and ligaments.
If you feel any strain in your knee during a hip opener, you’ve gone too deep or your alignment is off. Use props without hesitation. A folded blanket under your knee isn’t cheating—it’s smart training. A yoga block under your hip in pigeon pose isn’t a sign of weakness—it’s proper progression.
I spent six weeks recovering from knee inflammation because I thought I should be able to do full pigeon pose after two weeks of practice. Don’t be me. Props and modifications are tools that let you access the powerful benefits of these poses without the injury risk.
When to Practice for Best Results
Your muscles are more flexible when they’re warm. Trying to do deep hip openers first thing in the morning when your body is cold and stiff is setting yourself up for frustration. The absolute best time is after a workout when your muscles are already warm and pliable, or after a hot shower or bath.
That said, consistency beats perfect timing. If the only time you can practice is first thing in the morning, do a few minutes of gentle movement first—cat-cow stretches, leg swings, or just walking around. Even two minutes of warm-up makes a significant difference.
Here’s the game-changer: 5 minutes of hip opening every single day will give you better results than 30 minutes once a week. Your nervous system and connective tissue respond to frequent, regular stimulus. Daily practice teaches your body that this new range of motion is safe and necessary, not just an occasional weird thing you’re asking it to do.
Breathing technique matters more than you think. Slow, deep breaths signal your nervous system to relax. On each exhale, you can often sink slightly deeper into a stretch as your muscles release tension. Never hold your breath—that creates tension and defeats the entire purpose.
The 7 Most Powerful Hip-Opening Yoga Poses

1. Low Lunge (Anjaneyasana) – The Hip Flexor Liberator
What it targets: Hip flexors, quads, groin, and psoas muscle
Start in a kneeling position and step your right foot forward so your knee is directly over your ankle. Your left knee stays on the ground behind you (use padding—seriously, protect that knee). Place your hands on your right thigh or reach them overhead. The key is to gently press your hips forward while keeping your torso upright.
You should feel this stretch along the front of your left hip and thigh. If you don’t feel much, tuck your tailbone slightly under and press your hips forward another inch. Common mistake: letting your front knee drift past your toes, which puts unnecessary stress on the knee joint. Keep that shin vertical.
Modifications: If your balance is shaky, keep your hands on blocks on either side of your front foot. If your back knee hurts even with padding, try this pose standing with your back foot on a chair instead. For less intensity, don’t press your hips as far forward.
Hold time: 30-60 seconds per side, repeating 2-3 times if you’re really tight
Pro tip: Draw your inner thighs toward each other (without actually moving your feet) to engage your hip stabilizers. This creates a more effective stretch and protects your SI joint. When I started actively engaging my inner thighs instead of just passively sinking, I felt the stretch move exactly where it needed to be.
2. Pigeon Pose (Eka Pada Rajakapotasana) – The Deep Release
What it targets: Outer hips, glutes, piriformis, and hip rotators
From hands and knees, bring your right knee forward and place it behind your right wrist. Your right foot slides toward your left hip. The exact angle of your shin depends on your flexibility—it might be almost parallel to the front of your mat, or it might be at a 45-degree angle. Both are fine. Extend your left leg straight behind you.
Square your hips toward the front of your mat. This is crucial—if your right hip is hiking up, you’re not getting the full benefit and you’re stressing your knee. Use a folded blanket or block under your right hip to level yourself out.
You can stay upright with hands on the floor, or fold forward over your front leg for a deeper stretch. This pose is intense. You’ll feel it deep in your outer right hip and glute.
Modifications: If this bothers your knee at all, do reclined pigeon instead (lie on your back, cross right ankle over left thigh, pull left thigh toward chest). You get 80% of the benefit with zero knee risk. You can also do figure-4 stretch standing against a wall. For supported pigeon, place a bolster or stack of blankets under your chest when you fold forward.
Hold time: 1-2 minutes per side (work up to this—start with 30 seconds)
Pro tip: Pigeon pose transforms tight hips, but it requires patience. Most people try to go too deep too fast. Your first few weeks, focus on the setup and alignment, not on how far you can fold. The depth will come. I couldn’t fold forward at all for the first month—I just sat upright and breathed. Now it’s my favorite pose.
3. Bound Angle Pose (Baddha Konasana) – The Inner Thigh Opener
What it targets: Inner thighs, groin, hip adductors
Sit on the floor and bring the soles of your feet together, letting your knees fall open to the sides. Hold your feet or ankles with your hands. Sit up tall through your spine—this isn’t about rounding forward, it’s about length. If your knees are way up in the air, that’s completely normal for tight hips.
From here, you can either stay upright and focus on lengthening your spine, or you can hinge forward from your hips (not your lower back) to deepen the stretch. The forward fold is optional and should only happen if you can maintain a relatively straight spine.
Modifications: Sit on a folded blanket or cushion to tilt your pelvis forward—this makes the pose immediately more accessible. Place yoga blocks or pillows under your knees for support if they’re floating high. You can also sit with your back against a wall for support. There’s no shame in any of these—they’re smart progressions.
Hold time: 1-3 minutes
Pro tip: Never push your knees down with your hands or elbows. This is a common instruction that can damage your hip joints. Instead, let gravity do the work. As you breathe and relax, your knees will gradually lower on their own over weeks of practice. The proven approach is patience, not force.
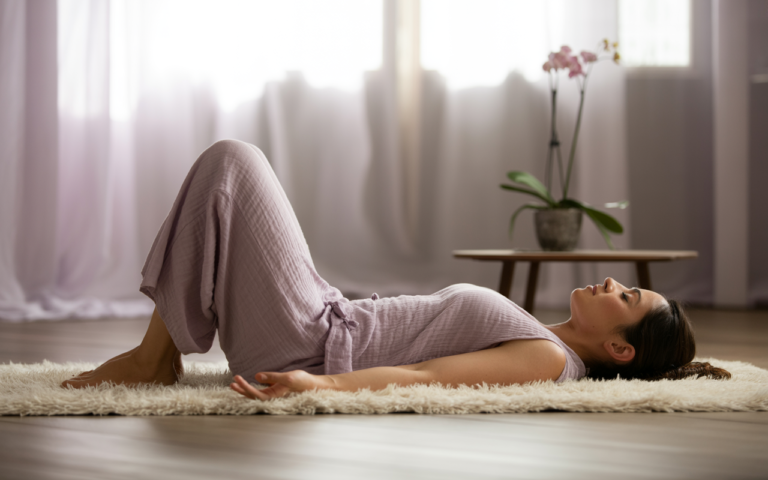
4. Happy Baby Pose (Ananda Balasana) – The Gentle Reliever
What it targets: Inner thighs, hamstrings, lower back, and hips
Lie on your back and draw your knees toward your chest. Open your knees slightly wider than your torso and bring them up toward your armpits. Reach up and grab the outsides of your feet (or your ankles, or behind your knees—whatever you can reach). Gently pull your knees down toward the floor on either side of your body.
Keep your lower back pressed into the floor and your tailbone heavy. You can rock gently side to side for a massage effect along your spine.
Modifications: If you can’t reach your feet, use a yoga strap or belt looped around each foot. If even that’s too much, just hold behind your thighs and pull your knees toward your chest. You can also do one leg at a time, keeping the other foot flat on the floor.
Hold time: 1-2 minutes
Pro tip: This is the most accessible hip opener for beginners and delivers proven results quickly. It’s also fantastic for lower back relief. When my hips are really tight or I’m having a high-pain day, this is where I start. The lying position means you can completely relax without worrying about balance, and gravity assists the stretch naturally.
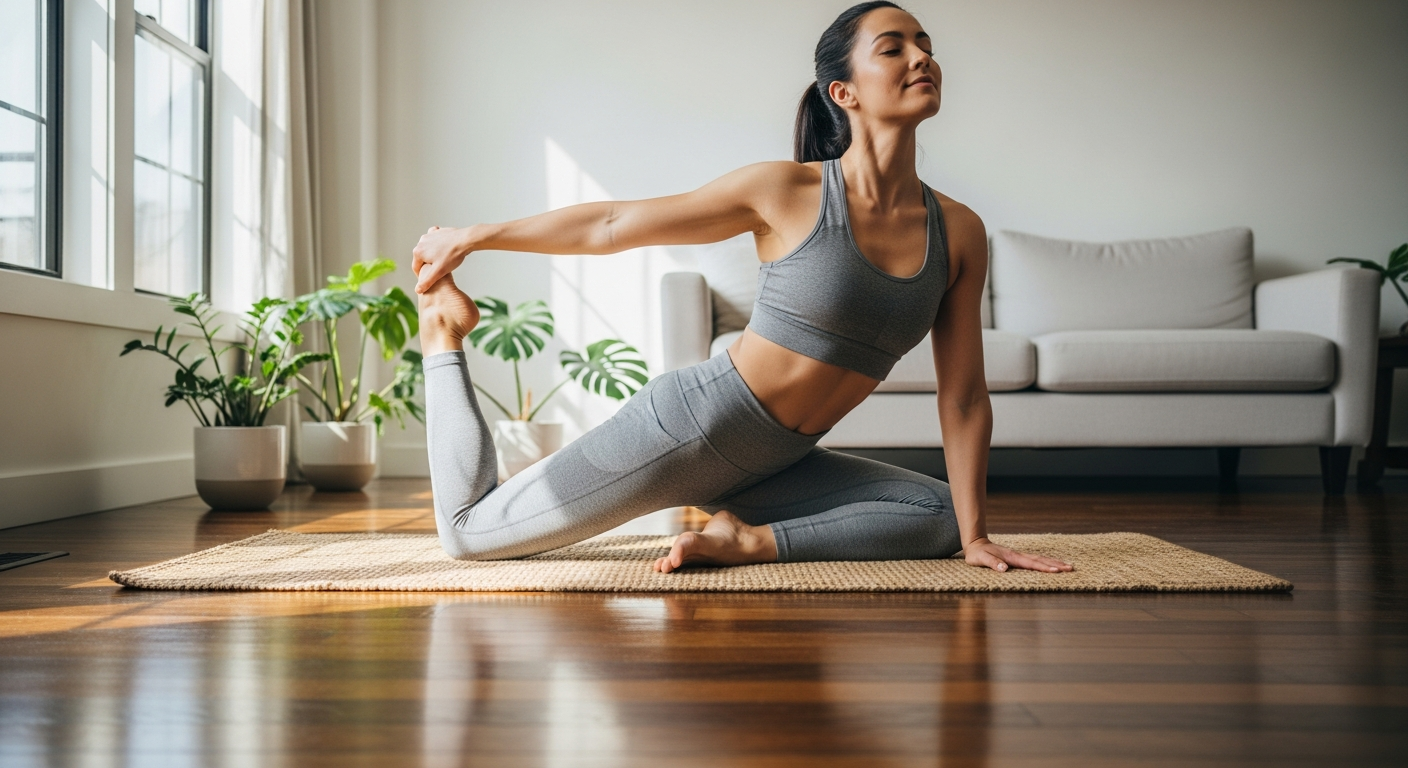
5. Lizard Pose (Utthan Pristhasana) – The Intense Hip Opener
What it targets: Hip flexors, hamstrings, groin, quads
Start in a low lunge position, then walk your front foot to the outer edge of your mat, so it’s outside of your hand. Lower down onto your forearms if you can (or stay on your hands—this is intense enough). Your back knee can be down or lifted—down is easier, lifted is more challenging.
You should feel this deeply in your front hip, inner thigh, and possibly your back hip flexor. This pose is called “intense” for a reason. It’s one of the more advanced hip openers.
Modifications: Keep your hands on blocks instead of lowering to forearms. Keep your back knee down. Take a smaller stance—your front foot doesn’t have to be all the way to the edge of your mat. Even a few inches wider than low lunge will give you benefits.
Hold time: 30-60 seconds per side
Pro tip: This powerful pose is genuinely advanced. Don’t rush into it. I couldn’t do lizard pose properly for six months, and that’s okay. The modification with hands on blocks and back knee down is still incredibly effective. Build up slowly, and don’t let ego push you deeper than your body is ready for.
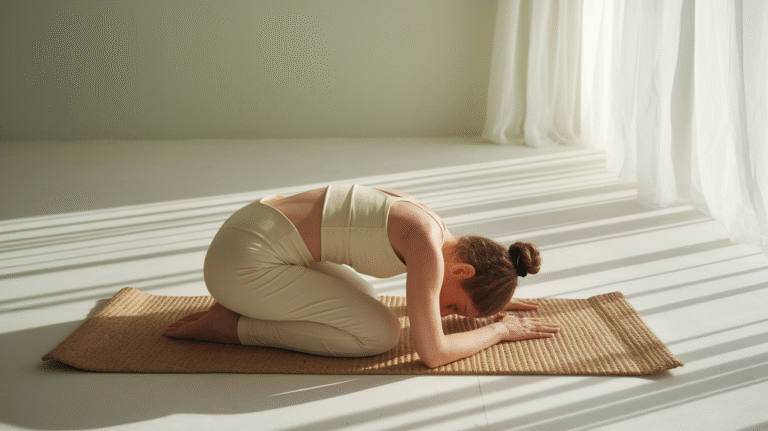
6. Frog Pose (Mandukasana) – The Inner Hip Transformer
What it targets: Inner thighs, groin, hip adductors
Start on your hands and knees with padding under your knees (this is non-negotiable—use a thick mat, blankets, or towels). Slowly slide your knees apart, keeping them in line with your hips. Flex your feet so your inner ankles and feet are flat on the floor. Lower down to your forearms and let your hips sink back toward your heels.
The stretch happens along your inner thighs and deep in your groin. Start with your knees just slightly wider than hip-width and gradually increase the distance over multiple sessions. This pose builds intensity fast.
Modifications: Don’t go as wide. Stay on your hands instead of forearms. Place a bolster or folded blanket under your chest for support. You can also do this pose against a wall, which limits how far you can sink and makes it more controlled.
Hold time: 1-2 minutes (build up gradually—start with 30 seconds)
Pro tip: Move slowly and breathe deeply. The intensity in frog pose can build quickly, and your instinct might be to tense up or hold your breath. That’s counterproductive. Each exhale, see if you can relax a tiny bit more. I set a timer for this one because time moves differently when you’re in an intense stretch—what feels like two minutes is often 30 seconds.
7. Reclined Figure-4 Stretch (Supta Kapotasana) – The Accessible Alternative
What it targets: Outer hips, glutes, IT band, piriformis
Lie on your back with both knees bent and feet flat on the floor. Cross your right ankle over your left thigh, just above the knee, creating a “4” shape with your legs. Reach your right arm through the opening and clasp your hands behind your left thigh (or on top of your left shin). Gently pull your left thigh toward your chest until you feel a stretch in your right outer hip and glute.
Keep your head and shoulders relaxed on the floor. Your right knee should press gently away from you to maintain the stretch.
Modifications: If you can’t reach your thigh, use a strap or belt. You can also do this with your left foot on a wall, which gives you something to press against and makes the stretch more controlled. Place a small pillow under your head if your neck is uncomfortable.
Hold time: 45-90 seconds per side
Pro tip: This is the perfect alternative to pigeon pose when pigeon bothers your knees.