3 Cozy Home Gym Setup Ideas
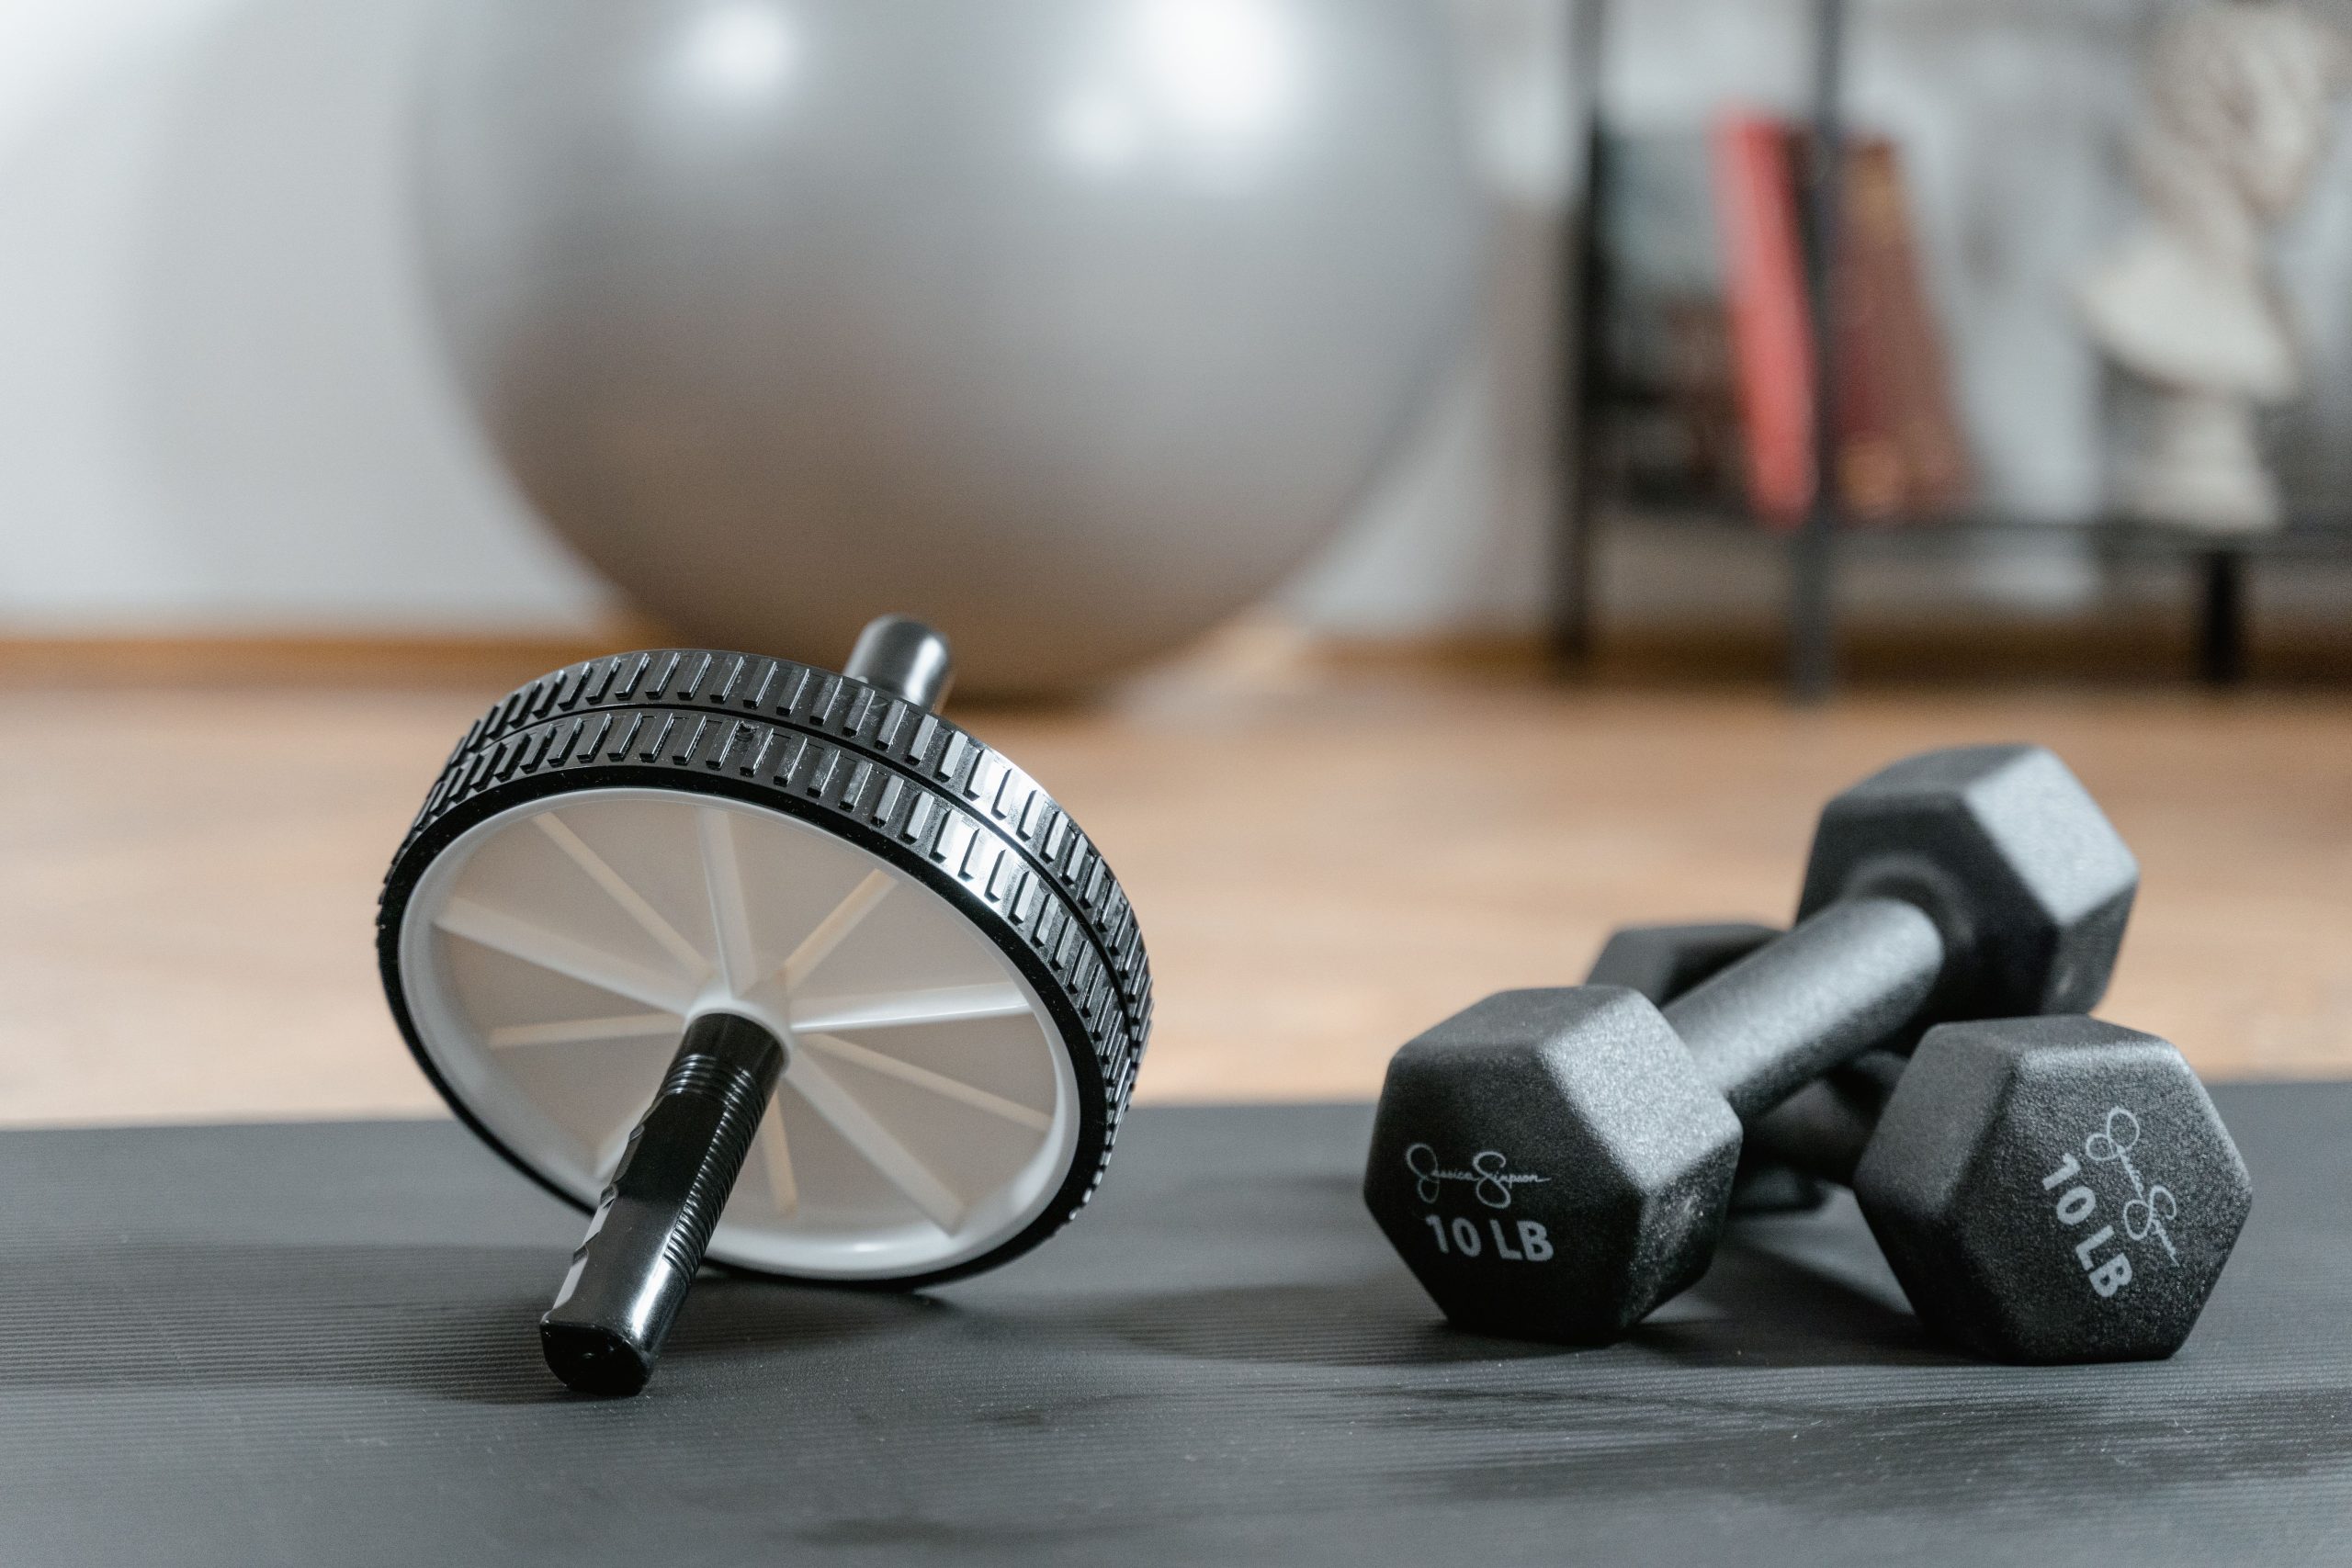
The most common mistake I see in home gyms? Treating them like storage closets for equipment. A treadmill shoved in a spare bedroom corner, resistance bands tangled in a basket, harsh fluorescent lighting that makes you want to skip your workout before you’ve started. But your gym doesn’t have to feel like a punishment box—it can be the room you actually want to spend time in.
Over the past two years, I’ve designed three home gyms for friends and renovated my own garage into a space that’s equal parts functional and genuinely inviting. The difference? Treating it like you’d treat any other room in your home. Soft ambient lighting, a thoughtful colour palette, smart storage that keeps equipment hidden, flooring that’s both practical and warm underfoot.
This guide walks you through every decision: measuring your awkward corner, choosing equipment that doesn’t scream “gym,” soundproofing without breaking the bank, and styling it so you’ll actually enjoy being there. Whether you have £500 or £5,000 to invest, you’ll find a blueprint that fits your space and budget.
Measuring Your Space: Finding the Perfect Home Gym Corner
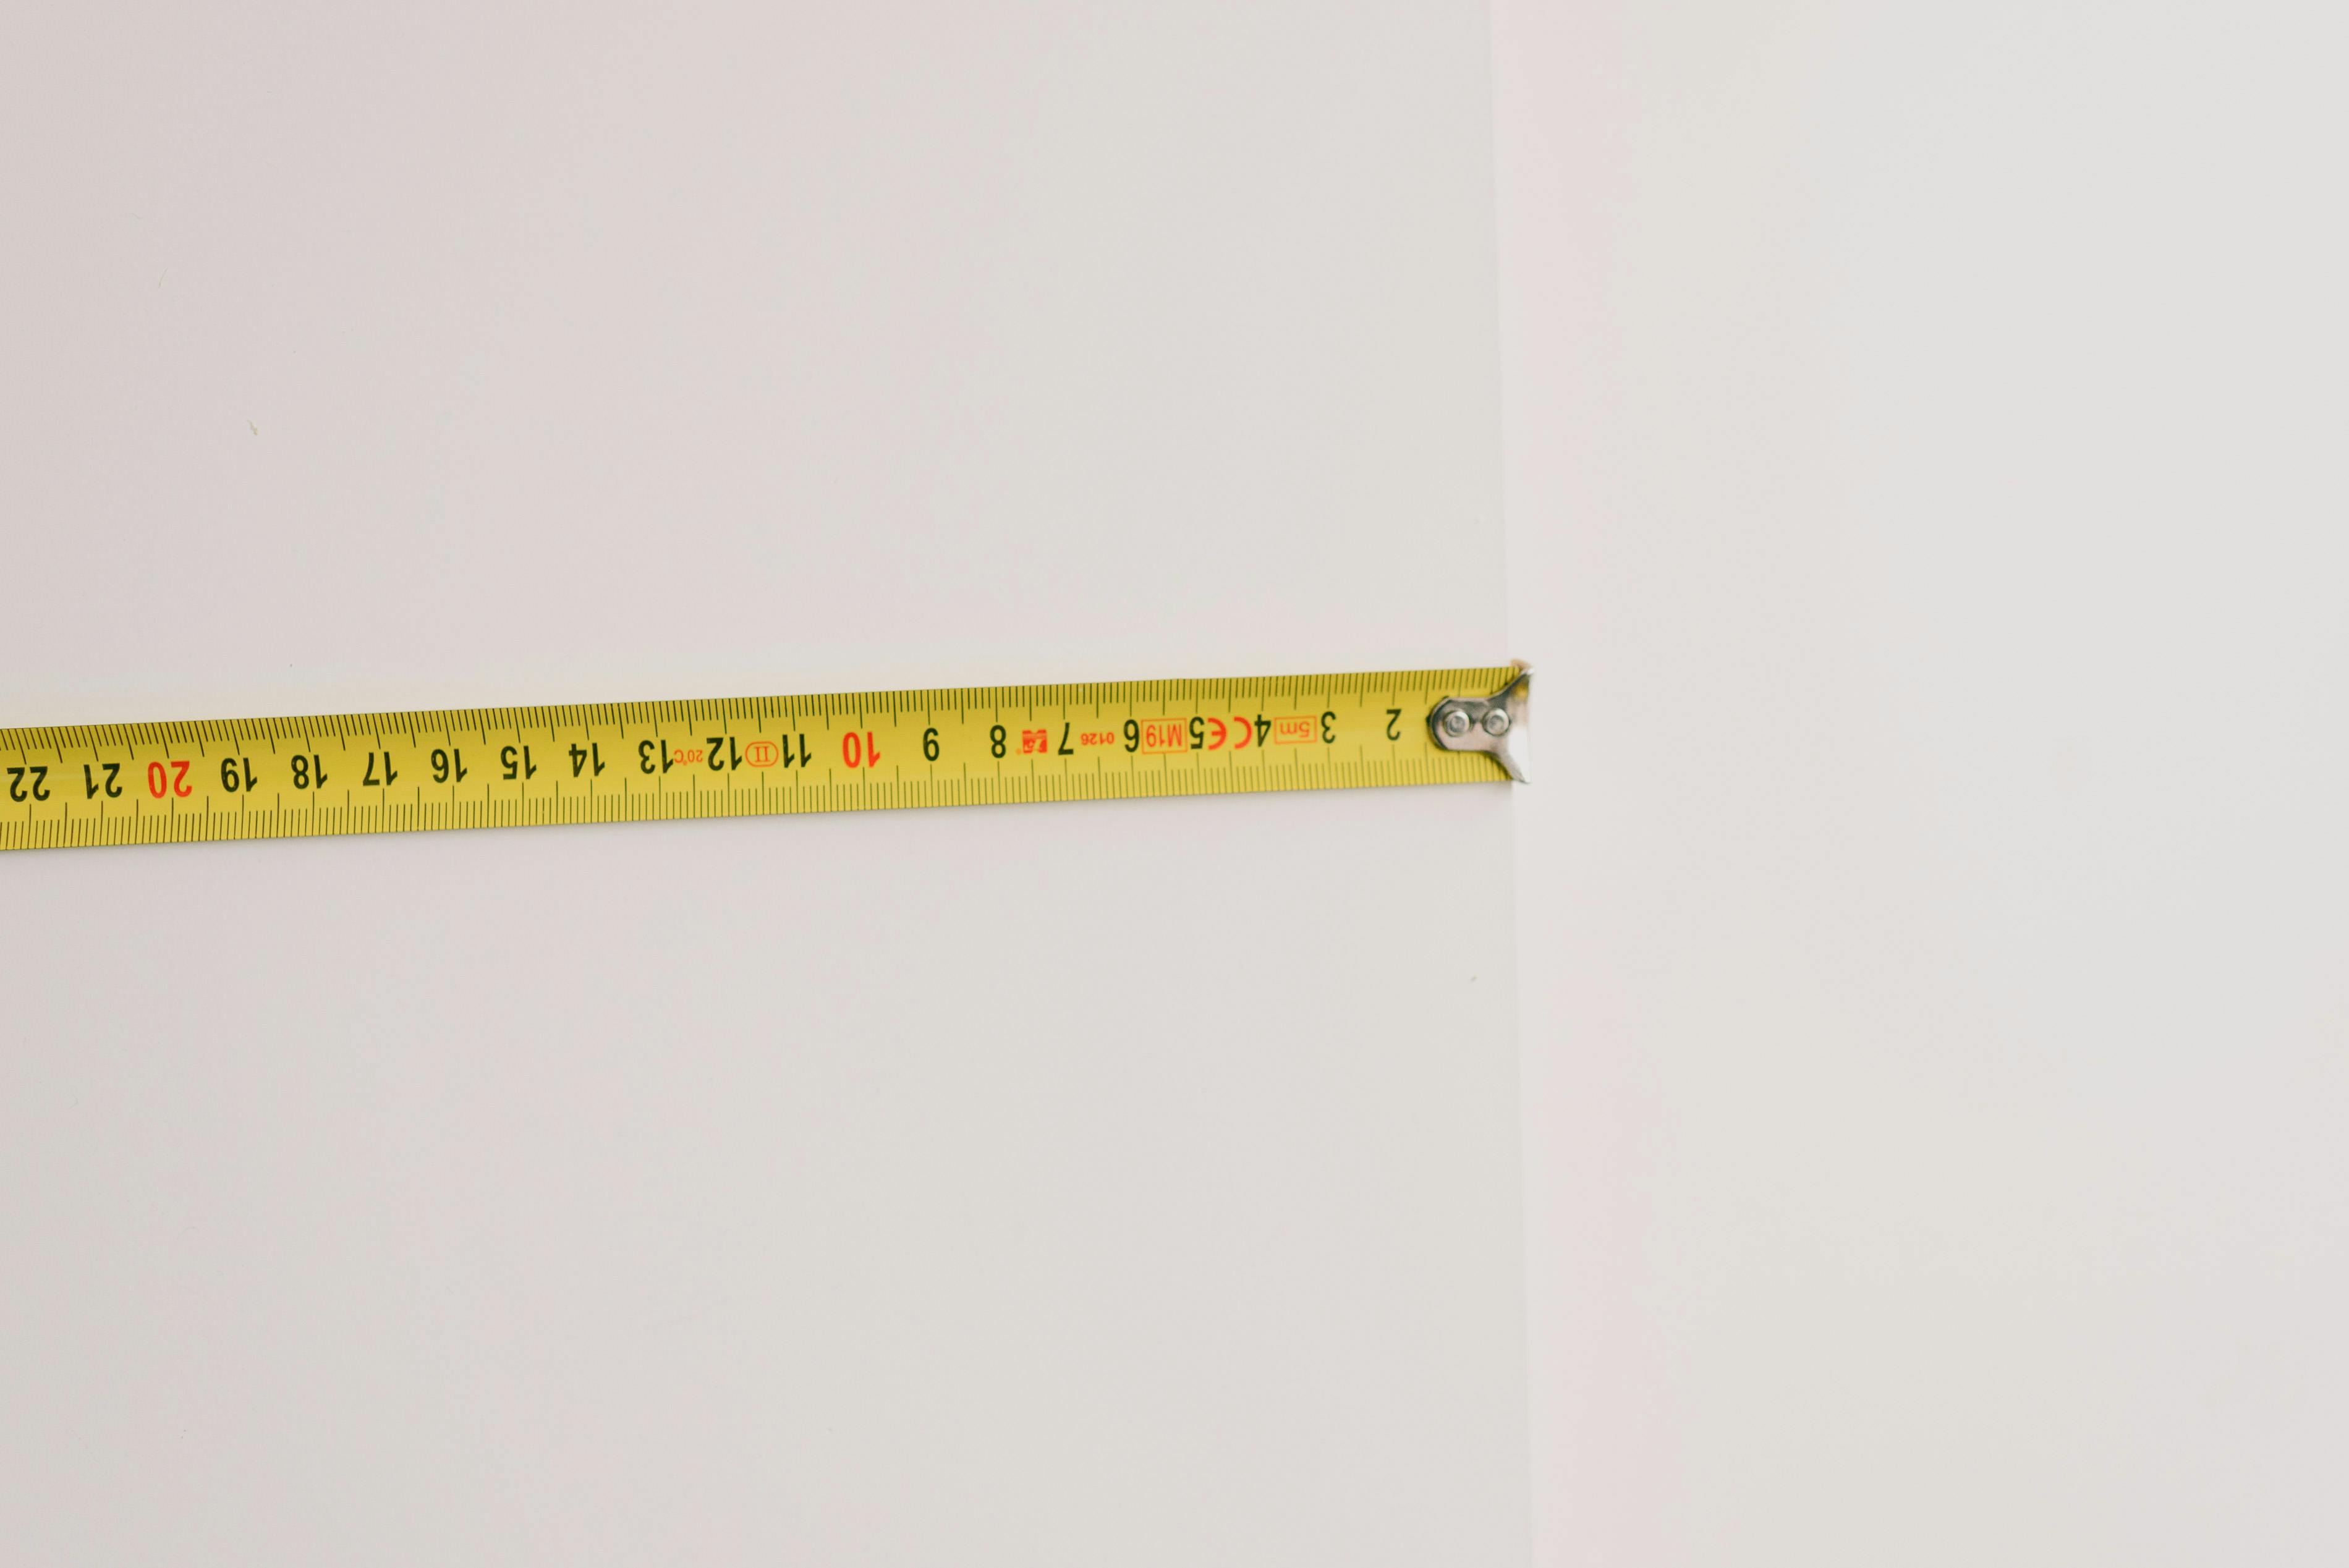
Before you buy a single dumbbell, grab a measuring tape and actually measure. I learned this the hard way when I ordered a rowing machine that looked “compact” online, only to discover it needed 7 feet of length and barely fit in my spare bedroom. The difference between a cozy, functional gym and a cramped obstacle course comes down to honest measurements and realistic space assessment.
Start by identifying your available space. Are you working with a corner of your bedroom, a section of your living room, a garage, or a dedicated spare room? Measure length, width, and ceiling height.
Most compact home gyms need a minimum 5 feet by 8 feet zone for basic strength training and stretching, though yoga or Pilates can work in 4 feet by 6 feet. If you’re considering cardio equipment like a treadmill or stationary bike, add another 2-3 feet of length. Write these measurements down—don’t rely on memory.
Next, consider traffic flow and sightlines. The most common decorating mistake I see is placing a gym in a high-traffic area where it visually dominates the room. If your home gym lives in a multi-use space, position it where it won’t block doorways or create visual clutter from your main seating area.
A corner placement naturally creates a defined zone while keeping the equipment from feeling intrusive. If you’re in a bedroom, align your setup parallel to the wall rather than perpendicular—this makes the room feel larger.
Check your lighting and ventilation too. Natural light makes workouts more energizing, so near a window is ideal (though direct sun can fade equipment). If that’s not possible, note where you’ll need to add task lighting. Ventilation matters more than people think—a stuffy corner gym feels claustrophobic fast. Ensure there’s air circulation or plan for a small portable fan in your budget.
Finally, account for wall space. You’ll want at least one clear wall for mirrors (which make small spaces feel bigger and help with form) and potentially wall-mounted storage. Take photos of your space from multiple angles—this visual reference becomes invaluable when you’re shopping for furniture and equipment.
Essential Equipment for Compact, Aesthetic Home Gyms

Here’s the most common mistake I see: people buy full equipment suites designed for sprawling commercial gyms, then wonder why their living room feels like a warehouse. The secret to a cozy home gym isn’t owning everything—it’s owning the right things that earn their square footage through versatility and visual appeal.
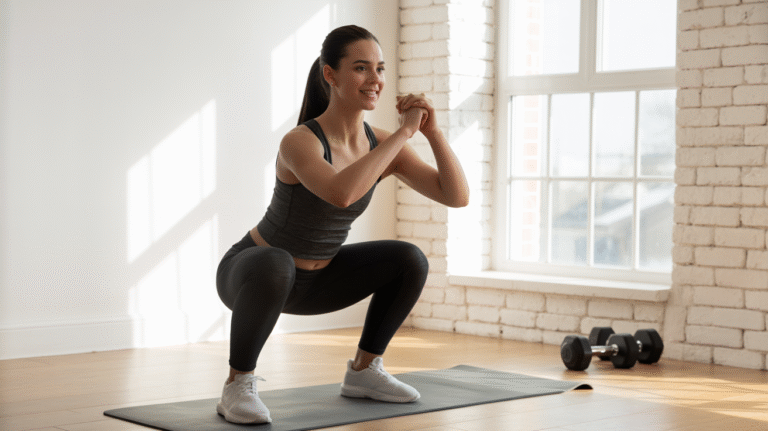
Start with adjustable dumbbells. This is non-negotiable. A single set of sleek metal or powder-coated adjustable dumbbells (think Bowflex or the more budget-friendly Yes4All, around $150–$400) replaces an entire rack of fixed weights.
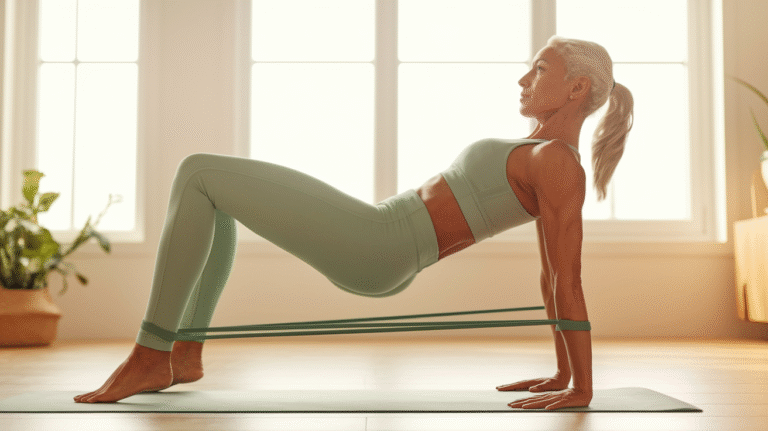
They stack vertically in a corner or slide into a narrow storage cube, and they look intentional rather than cluttered. Pair these with a resistance band set in coordinating colours—I went with sage green and charcoal from Lululemon’s equipment line, which actually elevates the room aesthetically rather than screaming “gym.”
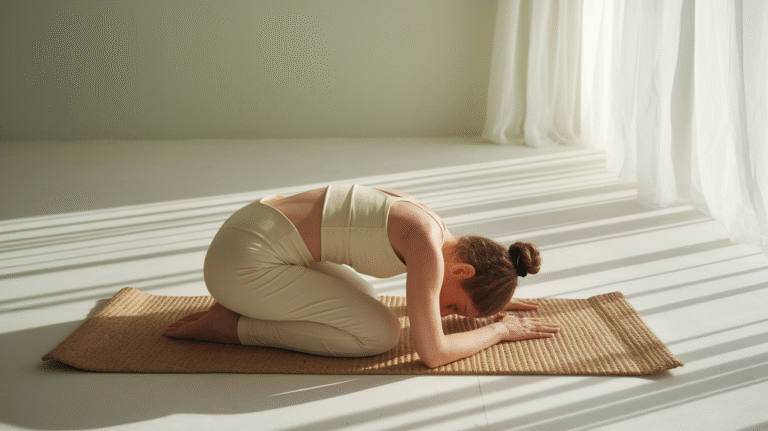
A yoga mat serves double duty as both functional equipment and a visual anchor. I chose a 4mm natural rubber mat in warm grey from Manduka (around $88) that I roll and tuck into a woven jute container when not in use.
This single piece grounds the space and signals intentionality. For upper body work, suspension trainers like TRX ($189) or the budget alternative Monkii Bars ($35) attach to a pull-up bar and fold away completely—they’re invisible when not in use.
The final essential piece depends on your goals. If cardio matters, a compact rowing machine (Concept2’s Model D, $895, or WaterRower at $1,495, are investments that look like furniture) beats a treadmill every time in a small space.
If strength is your focus, a weight bench that doubles as seating—like the Titan Fitness adjustable bench in matte black ($150–$300)—justifies its footprint. I’ve seen people successfully use a sturdy ottoman with storage underneath, which costs $80–$150 and fits seamlessly into a bedroom corner.
The principle here is the 60-30-10 rule applied to equipment: 60% of your workout capacity should come from one or two multi-use pieces (dumbbells, resistance bands, rowing machine). 30% from secondary tools (mat, suspension trainer, bench). 10% from specialty items you actually use weekly. This approach keeps your space breathing while maximizing function.
Flooring & Soundproofing: The Foundation of Your Cozy Gym
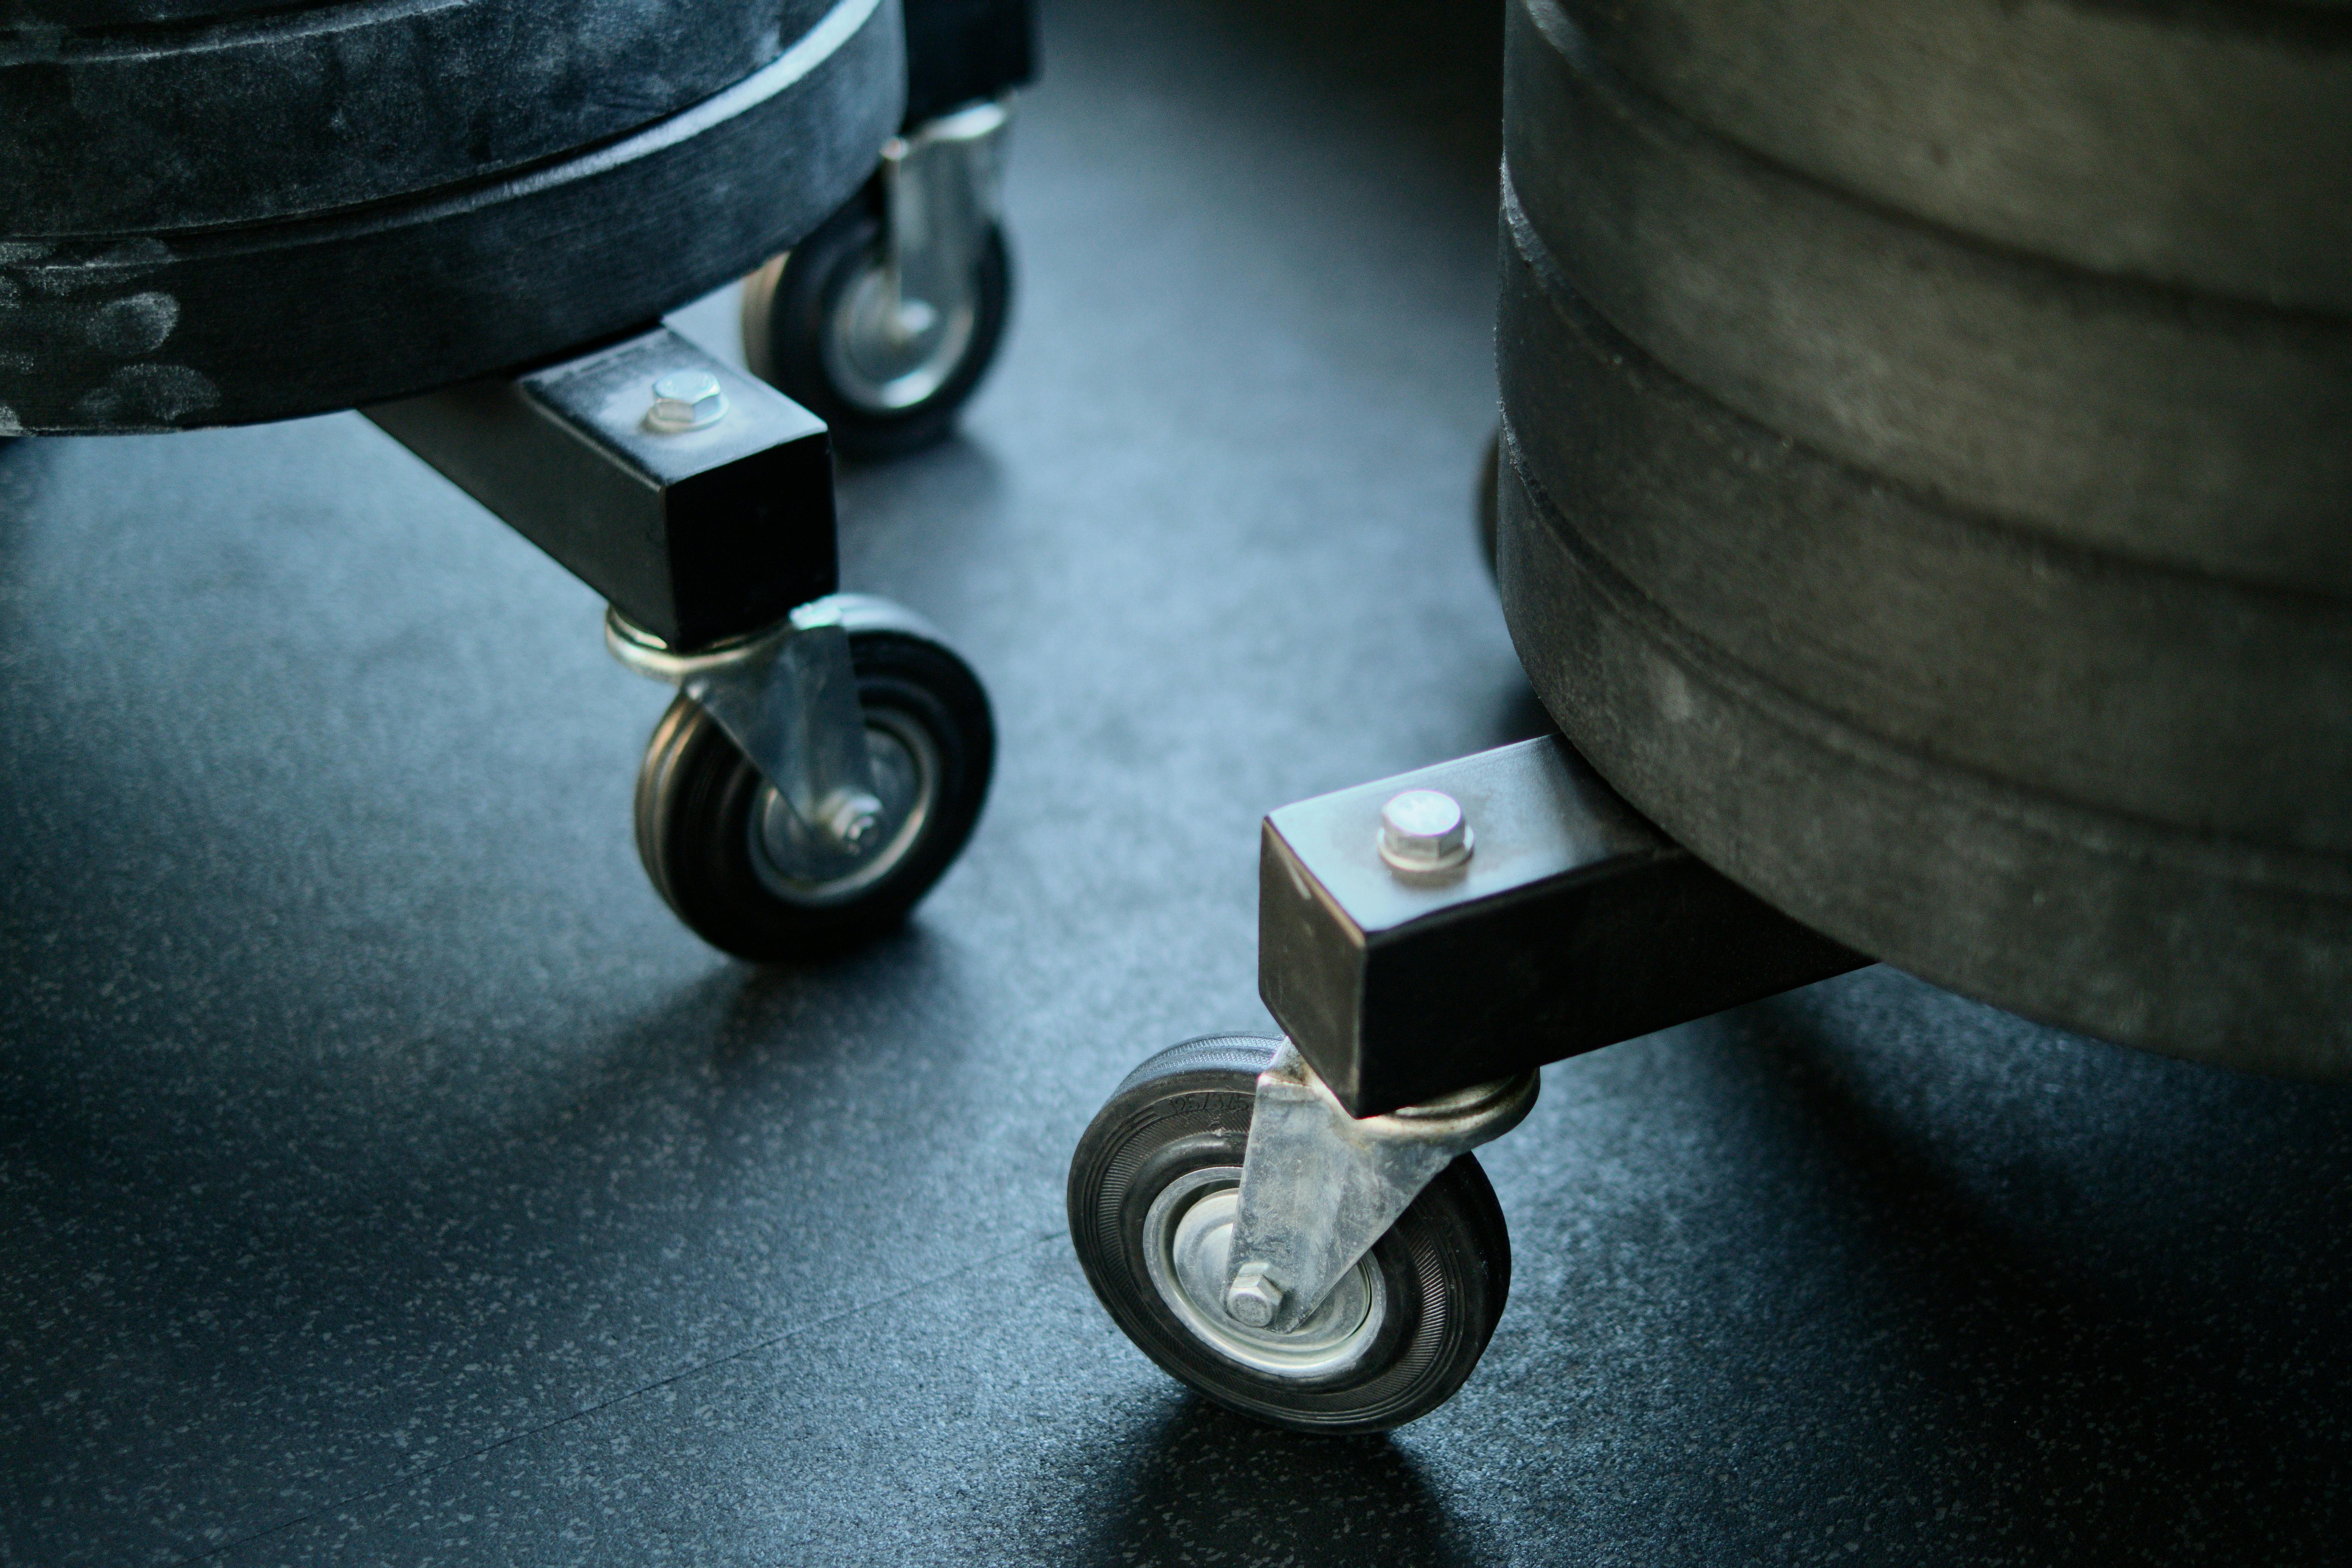
Before you hang a single mirror or roll out a yoga mat, address what’s beneath your feet. Flooring is the unglamorous hero of a home gym—it protects your subfloor from dropped weights, reduces noise that travels to neighbours or downstairs rooms, and sets the visual tone for the entire space.
I learned this the hard way after my first kettlebell session sent reverberations through my apartment building. The right foundation transforms a gym from an apologetic corner into a legitimate training space.
Rubber interlocking tiles are the gold standard for compact home gyms. They’re affordable (roughly $1–3 per square foot), easy to install without tools, and genuinely effective at dampening impact noise. I use 3/8-inch thickness tiles in a charcoal grey across my 6×8 workout zone—they look intentional rather than makeshift, and they’ve cut noise transmission by about 60%.
Brands like Rubber-Cal and Greatmats offer neutral colours that won’t clash with your design scheme. For a budget option, closed-cell foam mats ($0.50–1 per square foot) work surprisingly well for yoga or Pilates-focused gyms, though they won’t handle heavy barbell work. The common mistake? Choosing thin, cheap foam that compresses within weeks and offers zero sound protection.
If you’re renting or want a more refined aesthetic, consider a combination approach. Lay down thin acoustic underlayment (around $0.75 per square foot) beneath a natural rubber or cork mat. This hybrid gives you soundproofing without the “gym floor” visual—I’ve seen this work beautifully in apartments where owners paired it with a Scandinavian-style wood-look vinyl plank border. The cork also adds warmth and won’t feel cold underfoot during morning workouts.
For wall soundproofing, you don’t need expensive panels everywhere. Target the wall behind where you’ll do the most impact work—that’s where sound escapes fastest. Acoustic foam tiles ($15–40 per panel) come in various colours and patterns; I’ve used charcoal ones to create a subtle grid accent wall that doubles as functional noise control. Alternatively, fabric-wrapped acoustic panels ($30–80 each) look intentional enough to be part of your design rather than a problem-solving afterthought.
Design Elements That Transform Your Gym from Functional to Stunning
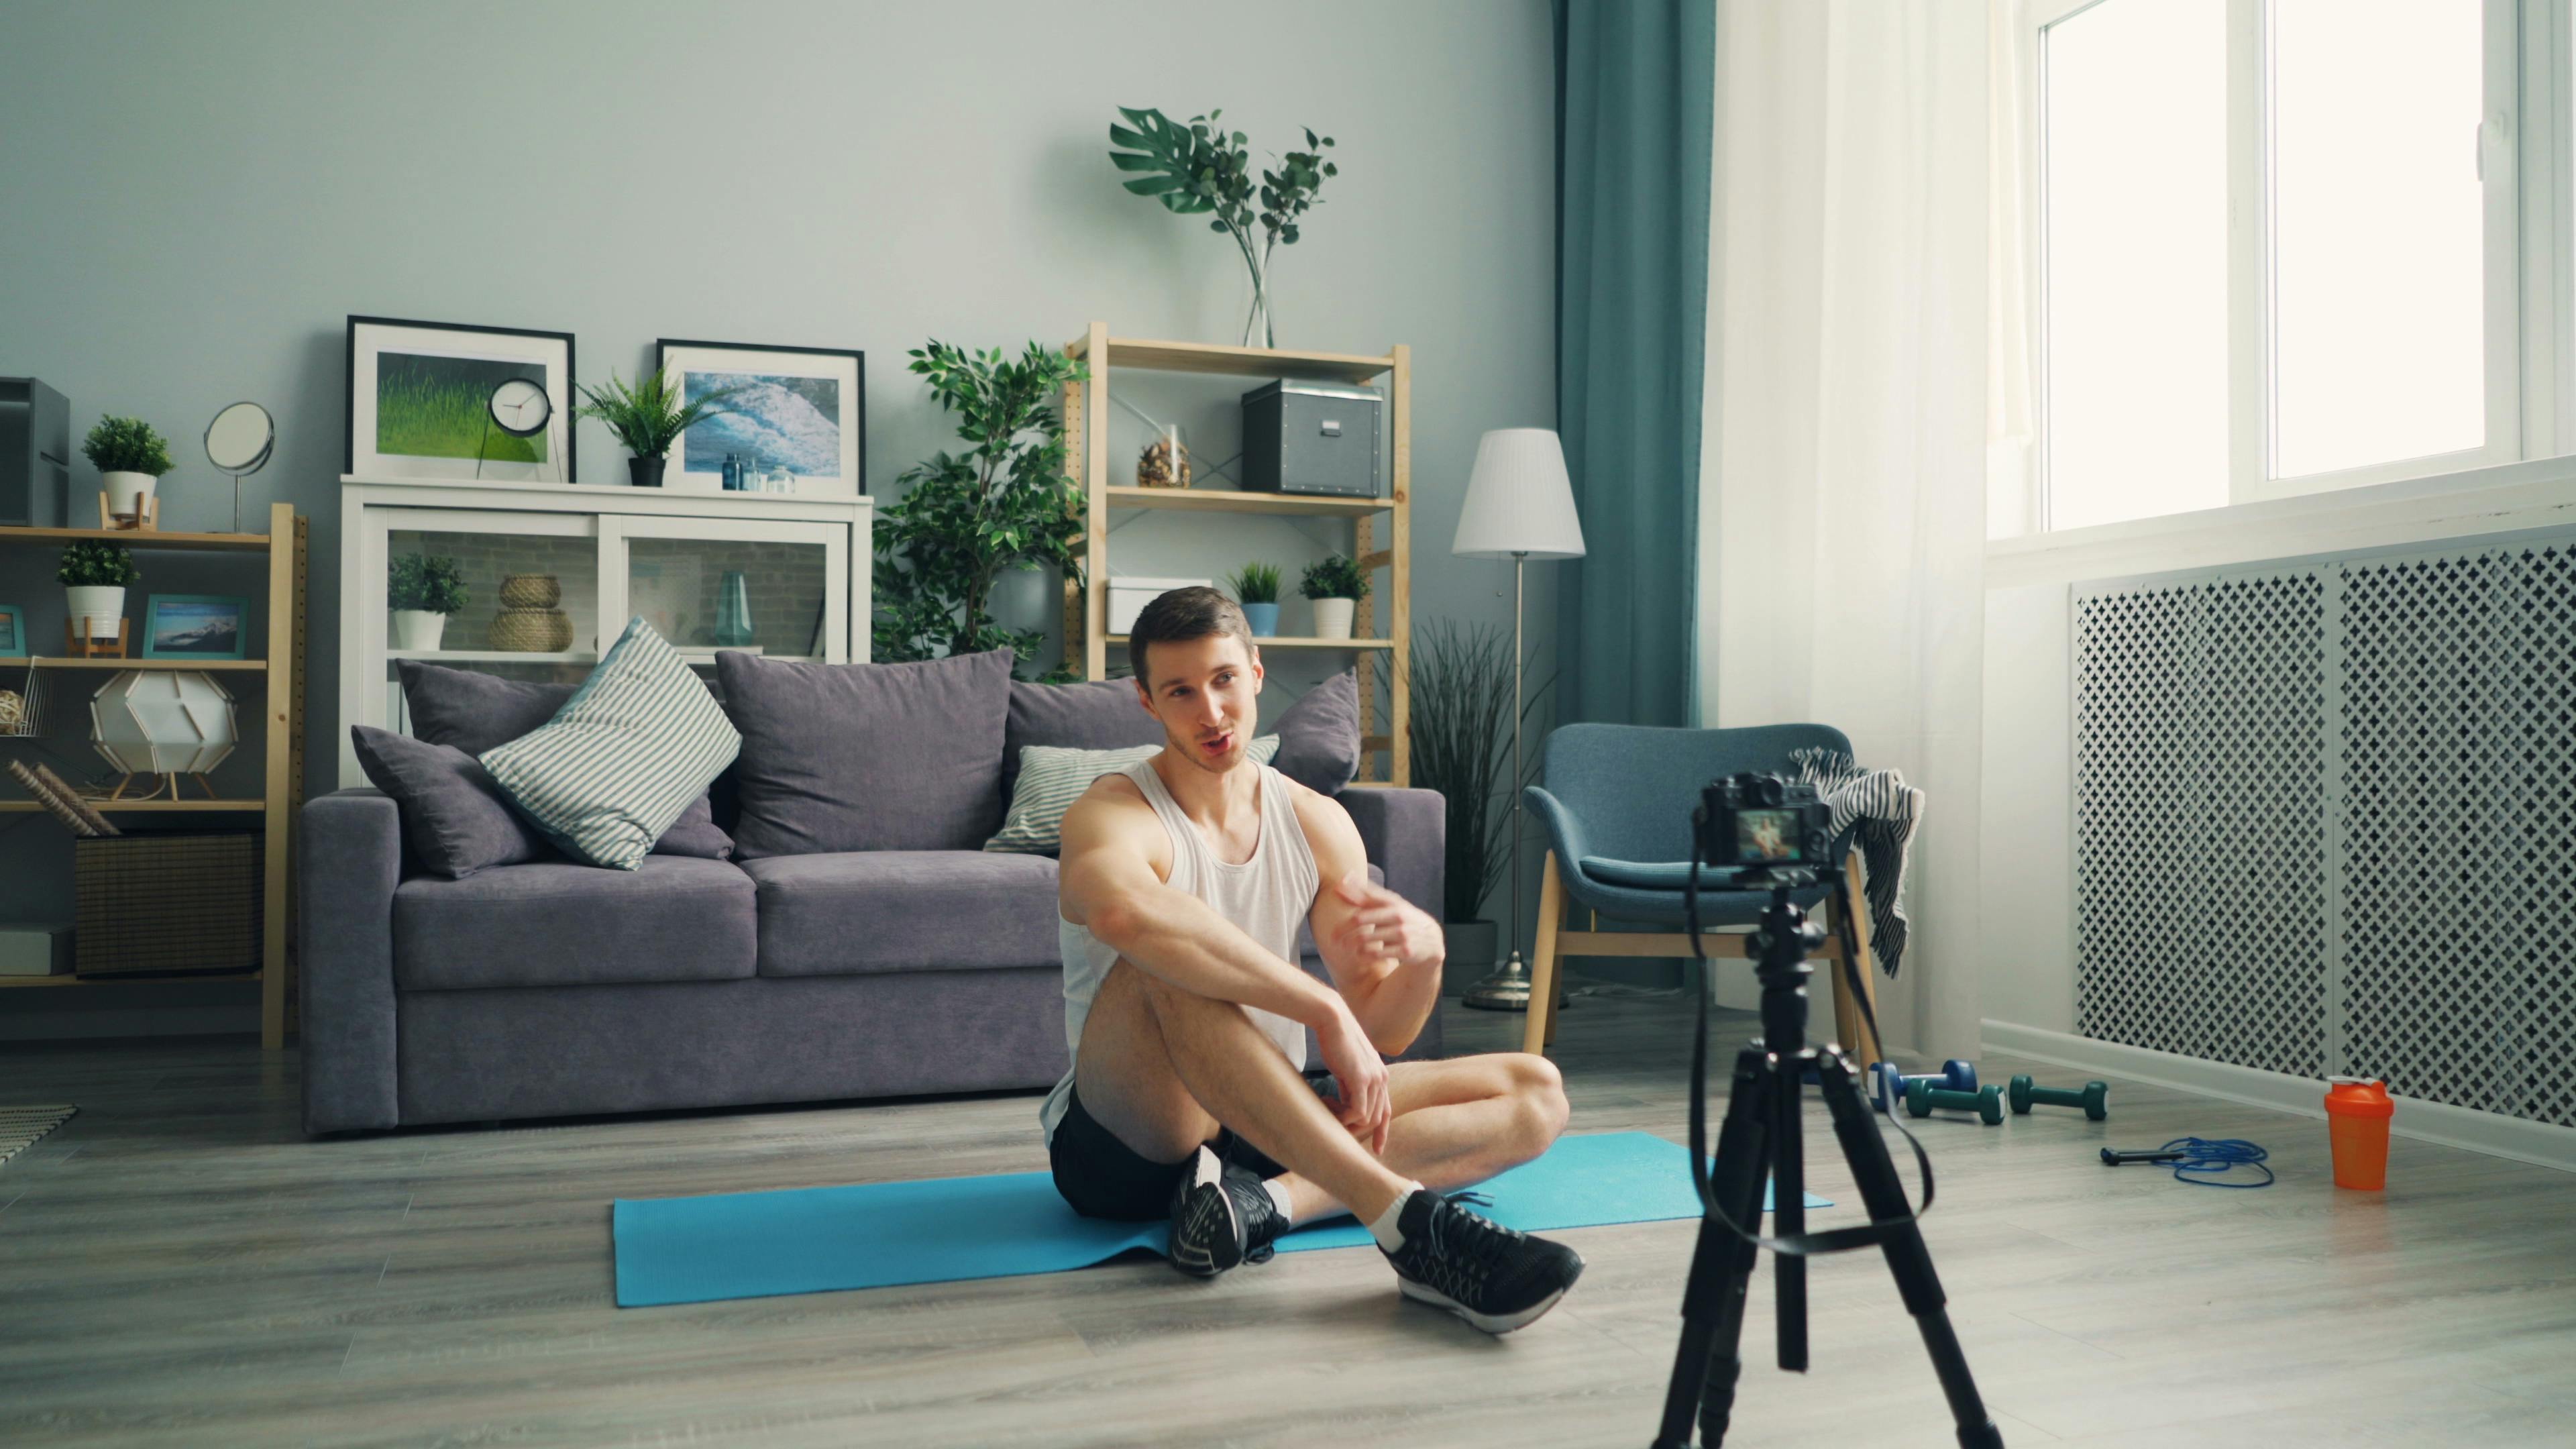
Here’s the honest truth: a home gym with bare walls and mismatched equipment feels like a punishment chamber, not a space you’ll actually want to use. I learned this the hard way after setting up my first home gym in a spare bedroom with nothing but grey concrete, white walls, and a lonely yoga mat.
Six months later, I’d painted an accent wall in deep forest green, added warm brass sconces, and suddenly I was doing morning workouts consistently. The space had become somewhere I wanted to be.
Lighting is your most powerful design tool here. Overhead fluorescents will drain your motivation faster than a failed deadlift. Instead, layer your lighting: install warm-toned LED panels (2700K colour temperature) on the ceiling for overall brightness, then add a pair of adjustable brass or matte black wall sconces at mirror height if you have one.
This combination mimics natural light while creating visual interest. If budget is tight, a $30 LED strip behind a shelf does wonders and costs less than a single pair of dumbbells.
Colour psychology matters more than you’d think in a workout space. Neutrals like soft grey or warm taupe feel calming, while jewel tones—emerald, sapphire, or deep terracotta—energize without overwhelming.
Apply the 60-30-10 rule: 60% neutral walls, 30% a secondary colour (perhaps on one accent wall or via storage units), and 10% accent colours through accessories like a patterned yoga mat or motivational art. I used this formula in my gym by keeping walls soft greige, painting one wall deep teal, and adding coral-toned throw pillows on a small reading bench.
Mirrors serve dual purposes—they’re functional for form-checking and they visually expand tight spaces. Position a large mirror opposite a window if possible to bounce natural light. Avoid the common mistake of covering every wall with mirrors; one strategically placed mirror (around 4×6 feet) is more sophisticated than a gym-class aesthetic.
Finally, add one personal element that has nothing to do with fitness: a small plant, framed art, or a wooden shelf with books. This signals to your brain that this is a room you’ve invested in thoughtfully, not just a storage area for equipment.
Storage & Organization: Hiding Equipment When Not in Use
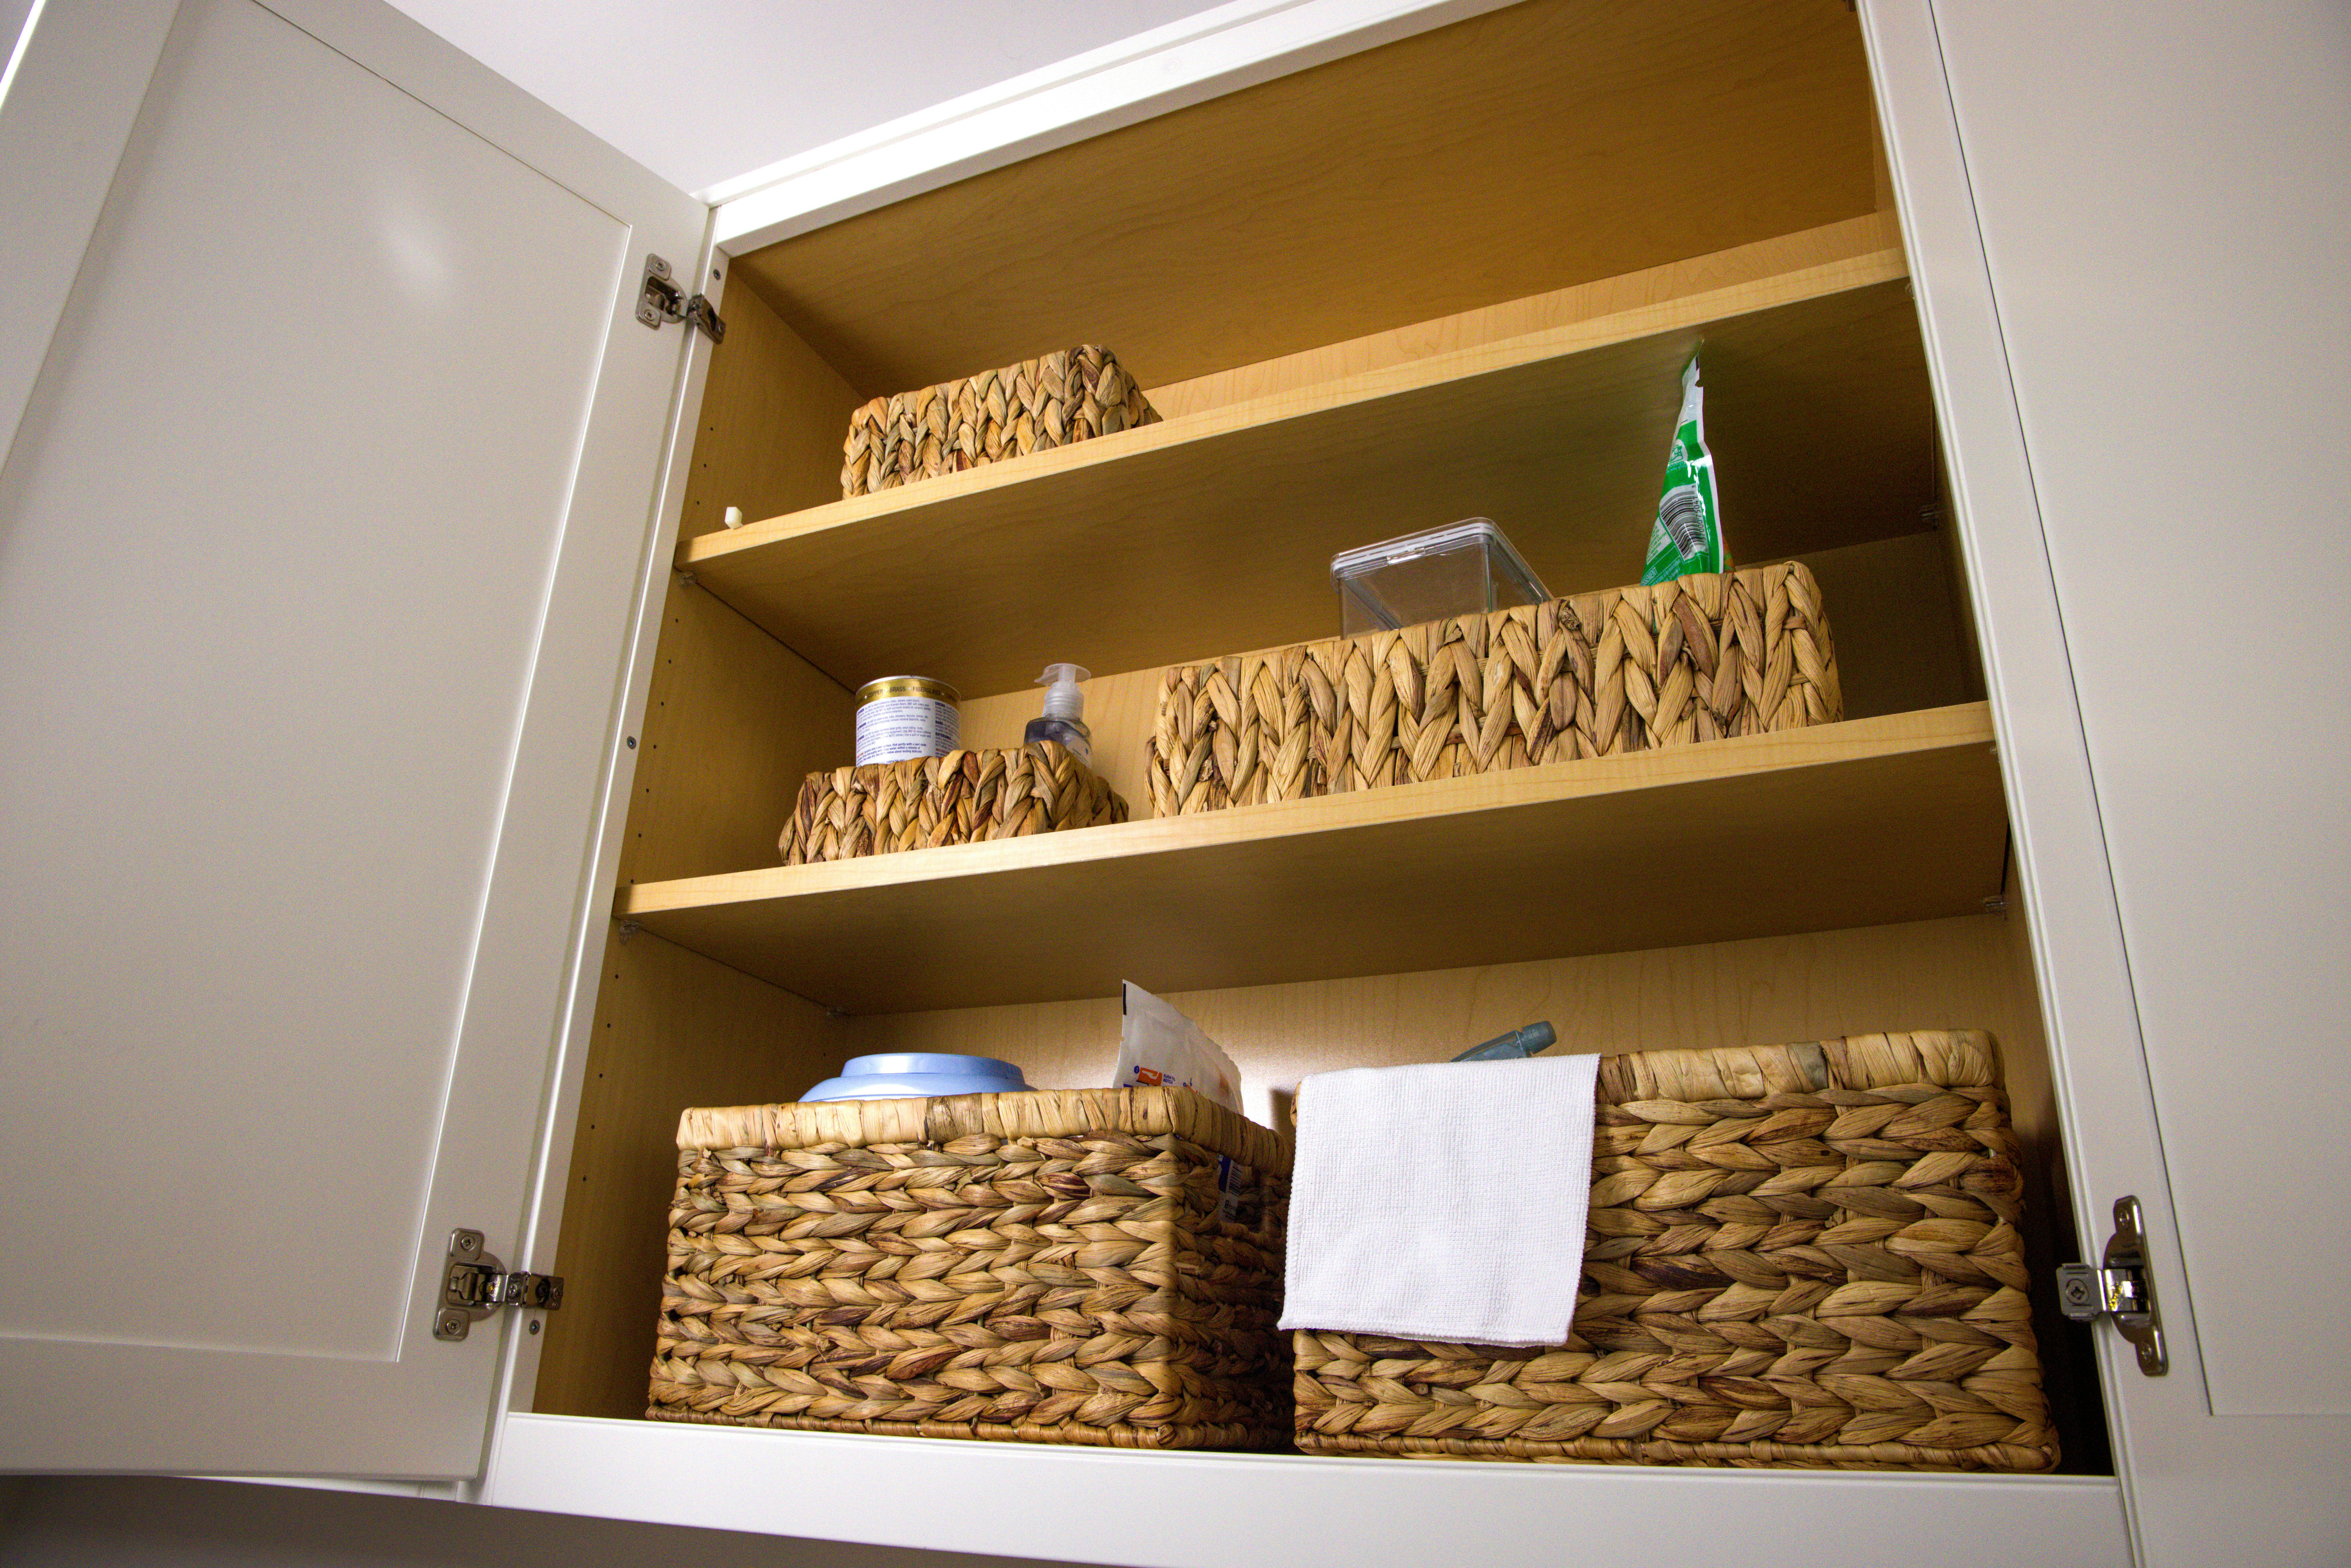
Here’s the honest truth: a beautiful home gym only stays beautiful if you can tuck the clutter away. I learned this the hard way after leaving resistance bands draped over my bedroom chair for three weeks. The moment your equipment becomes visual noise, that cozy sanctuary feeling evaporates. Strategic storage isn’t just practical—it’s what separates an Instagram-worthy gym from a glorified equipment graveyard.
The most common mistake I see is treating storage as an afterthought. People buy the mat, the dumbbells, the foam roller—then panic when there’s nowhere to put them.
Instead, plan your storage system before (or alongside) purchasing equipment. Vertical wall space is your secret weapon here. Wall-mounted pegboards with powder-coated finishes (think matte black or soft white) hold resistance bands, jump ropes, and light dumbbells without eating floor space. Brands like Rogue or even affordable IKEA alternatives run $40–$150 depending on size and material quality.
For heavier items, low-profile storage benches with lift-top compartments work beautifully. I use a cream linen bench at the foot of my gym corner—it looks like bedroom furniture, but it houses my 20–35 lb dumbbells and yoga blocks inside. This follows the 60-30-10 design rule: your storage pieces should blend into the background 60% of the time, becoming invisible to the overall room aesthetic. Expect to spend $150–$400 for quality here.
Don’t overlook closed storage. Woven baskets (natural seagrass or rattan) tucked under a console table hide foam rollers and smaller accessories while adding warmth. A sleek cabinet or armoire—even a narrow wardrobe from IKEA ($100–$300)—transforms your gym into a multi-functional room. When guests visit, close the doors and suddenly you’re just in a stylish bedroom again.
Label everything. Clear acrylic labels or a simple label maker mean you’ll actually return items to their designated spots instead of creating new piles. This small habit prevents the slow creep of chaos that undoes all your design work. Your future self—and your space—will thank you.
Budget Breakdowns: Three Tiers to Fit Your Investment Level

I’ve designed home gyms for everyone from the student with a $300 corner to the enthusiast dropping $5,000. The truth? Your budget doesn’t determine whether your space feels cozy—intentionality does. Here’s how to think about investment across three realistic tiers.
The Starter Tier ($300–$600): This is the “test drive” budget, and it’s where most people begin. Invest in one quality piece—a yoga mat from Manduka or Liforme ($80–$120), adjustable dumbbells from Yes4All ($150–$200), and a simple wooden shelf from IKEA for rolled towels and water bottles ($40–$80).
Add a mirror from Target ($30–$50) and soft overhead lighting via a clip lamp ($25–$40). The common mistake here? Buying five cheap items instead of two excellent ones. Cheap equipment feels cheap, and that affects how often you’ll actually use the space.
The Mid-Range Tier ($1,000–$2,500): This is where your gym truly becomes a retreat. Here, I’d allocate roughly 40% to equipment (a quality stationary bike like Peloton Digital at $44/month or a used Bowflex, $600–$1,000), 30% to flooring and acoustics (interlocking foam tiles, $200–$400, plus acoustic panels, $150–$300), and 30% to design elements (paint, better lighting, a small side table, plants). This tier transforms the space from functional to Instagram-worthy without breaking the bank.
The Premium Tier ($2,500+): Allocate here toward statement pieces: a Peloton bike ($1,500–$2,000), professional rubber flooring ($800–$1,200), custom shelving ($400–$800), and high-end lighting like a dimmable pendant ($200–$400). The investment pays dividends in durability and the psychological shift of having a “real” gym in your home.
Across all tiers, prioritize this order: flooring first (it anchors the room), then one hero equipment piece, then lighting, then aesthetics. A $400 home gym with excellent lighting and a single beautiful mirror will feel more luxurious than a $1,200 gym crammed with mismatched equipment under fluorescent bulbs.
Your Next Steps
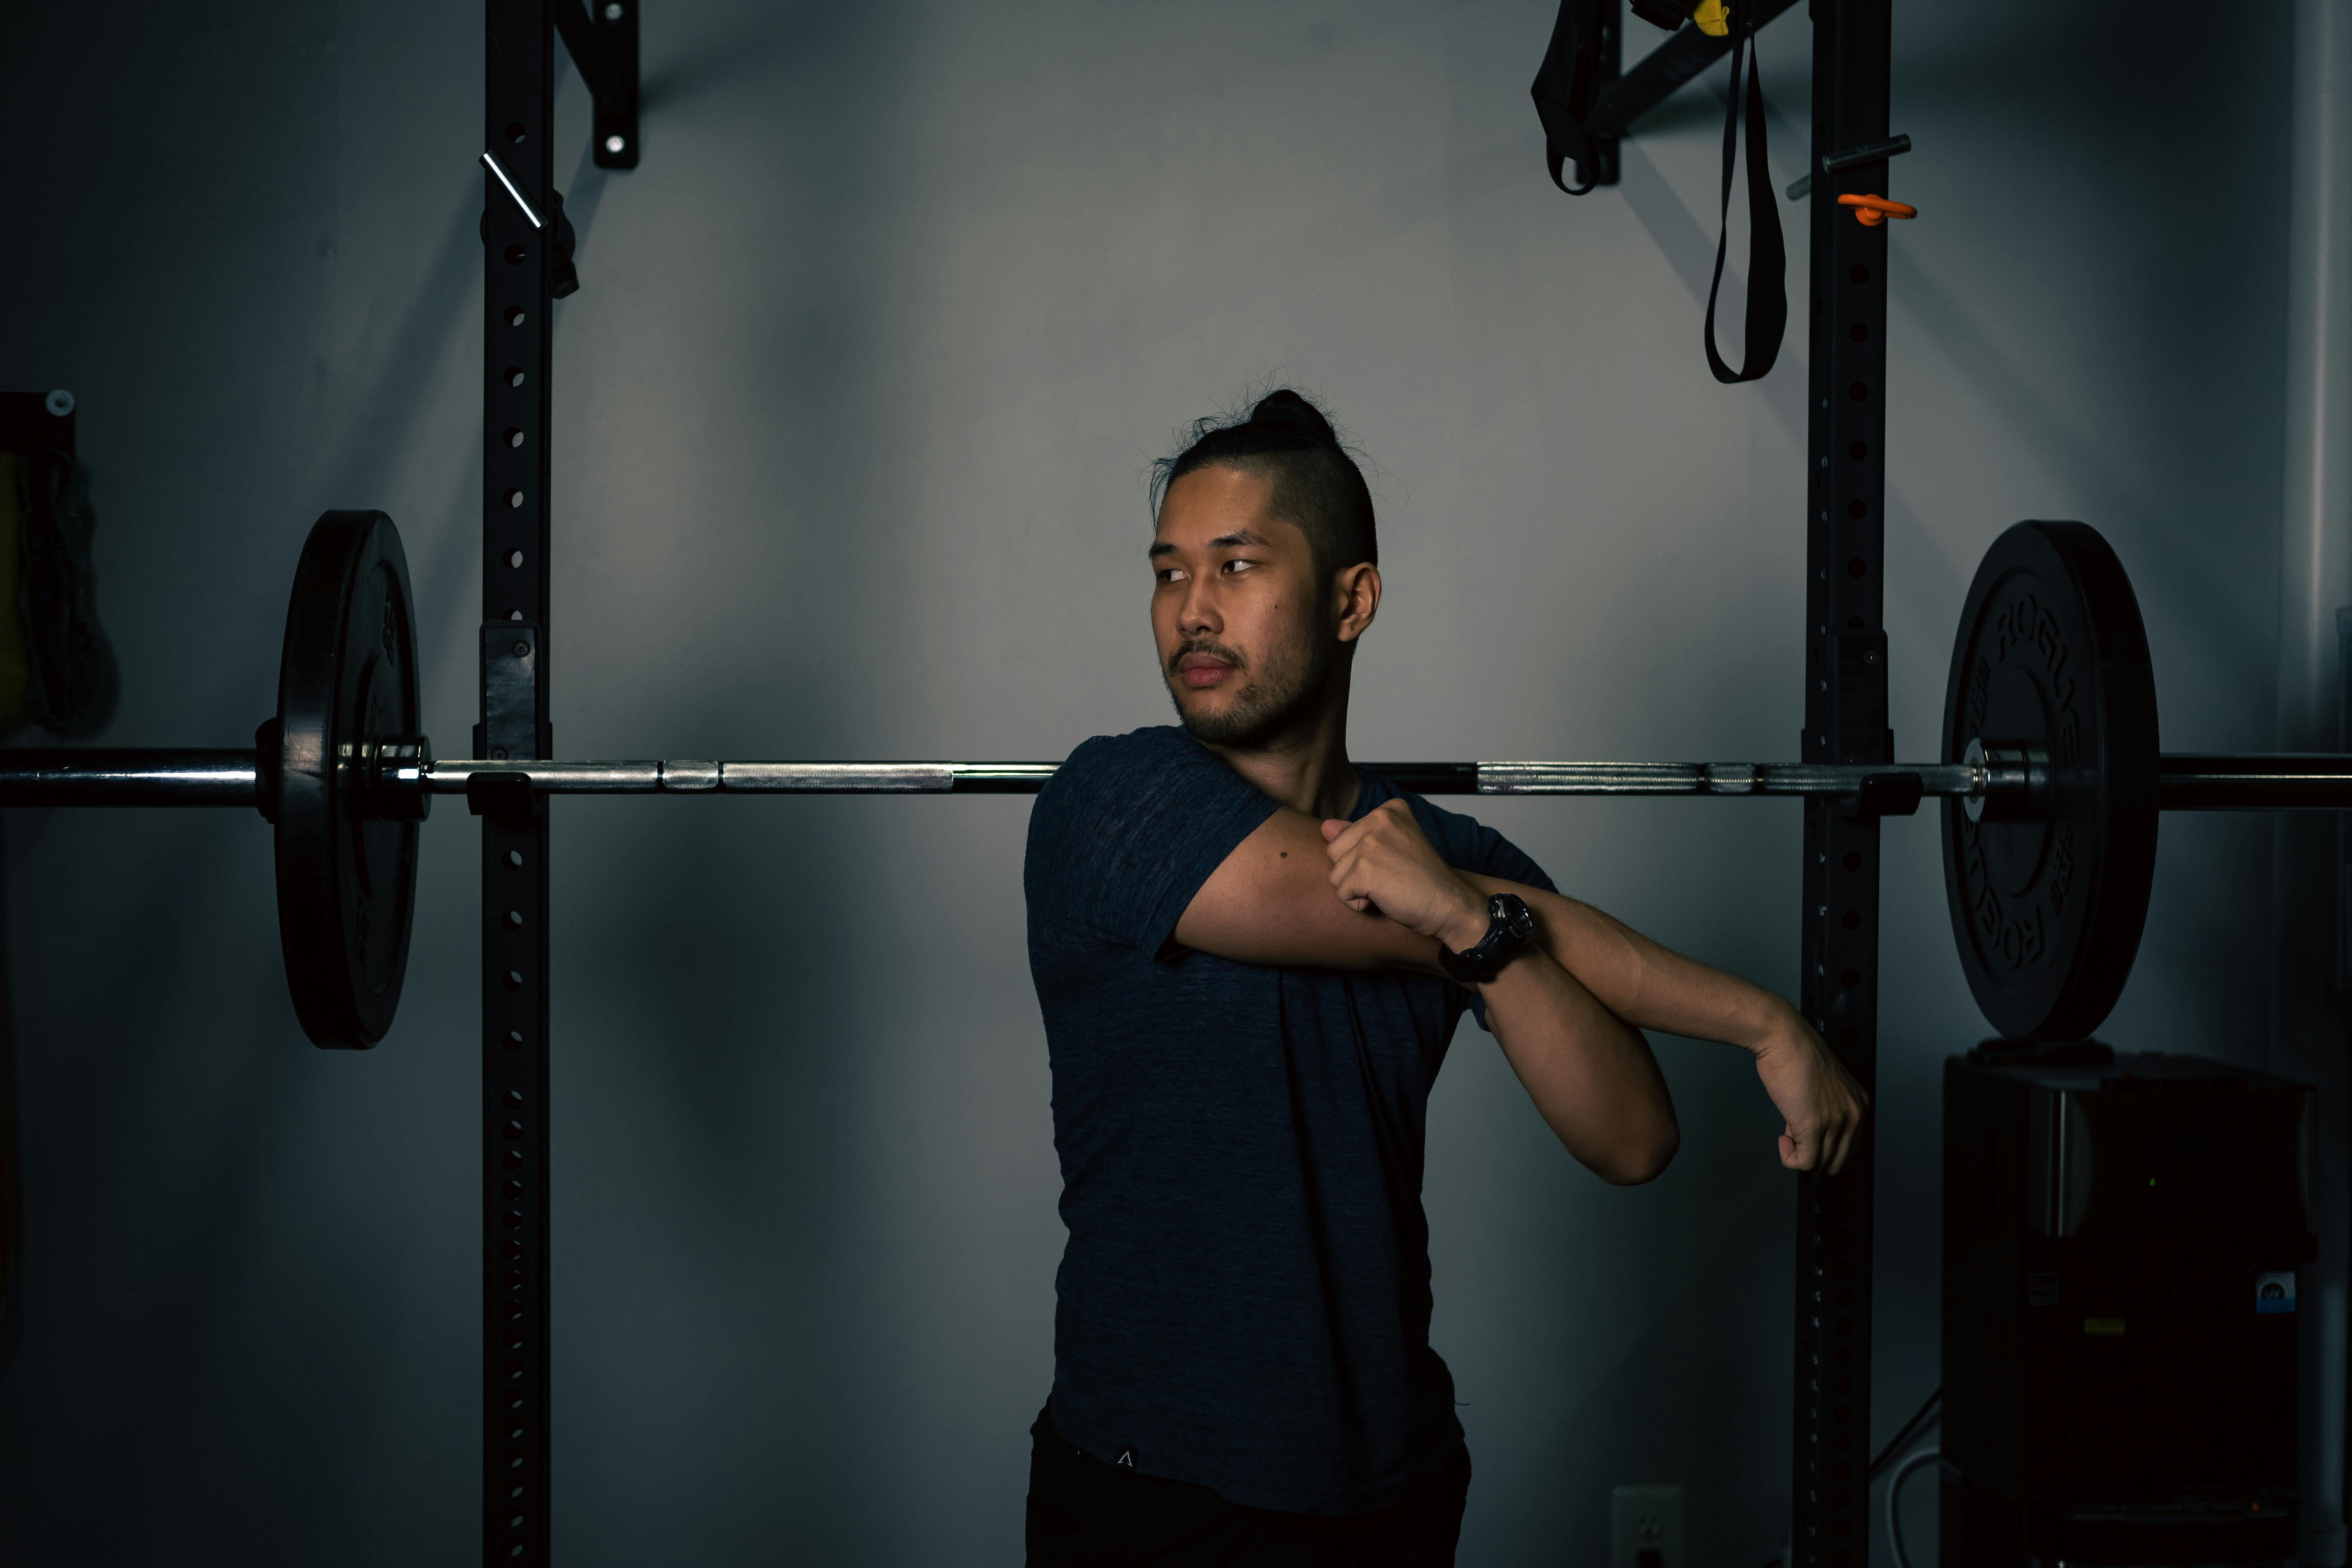
A cozy home gym isn’t about cramming equipment into a spare corner or choosing between aesthetics and function—it’s about designing a space that actually draws you in when motivation is low. You now have a complete framework: measuring your square footage honestly, selecting equipment that earns its visual weight, anchoring the room with proper flooring and sound control, layering in design elements that feel intentional rather than utilitarian, and hiding what you don’t use daily.
Whether you’re working with a $500 budget focused on a single yoga mat and mirror setup, a mid-range $2,000 investment in a dumbbell rack and statement lighting, or going all-in with $5,000+ for a fully designed strength training sanctuary, the principles remain the same.
The common mistake I see repeatedly? People buy equipment first and design around it afterward, ending up with a room that feels like a commercial gym’s reject pile. You’re avoiding that trap by thinking spatially and aesthetically from the start.
Your next step is immediate and concrete: this week, measure your chosen space (length, width, ceiling height, natural light sources, and electrical outlets), then take three photos from different angles. Before you spend a single dollar, open a Pinterest board or notes app and collect 5-10 gym spaces that make you want to work out—not because they’re fancy, but because something about the colour palette, lighting, or layout feels right to you.
Notice patterns: Are you drawn to minimalist whites and greys? Warm wood with plants? Moody jewel tones? This visual research takes 30 minutes and will guide every decision that follows, from paint colour to equipment finish.
Once you’ve identified your aesthetic direction, return to the equipment and storage sections with fresh eyes, and start with one anchor piece—a mirror, a mat, or a single functional element that also looks intentional. Build from there. Your cozy gym will evolve as you use it, and that’s exactly how it should.
Pin this for later