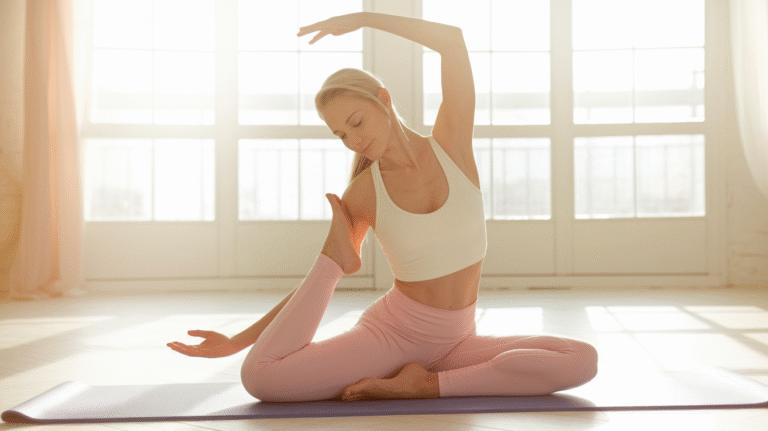
5 Functional Exercises That Protect Your Joints After 40
Let’s be honest—somewhere around 40, your body starts sending different signals. That morning stiffness lasts a little longer.
Your knees make sounds they never made before. The workout routine that served you well for years suddenly leaves you sore in all the wrong places.
Here’s the truth: Your joints don’t have to be the limiting factor in your fitness journey.
The problem isn’t your age. It’s that most traditional exercise programs weren’t designed with joint protection in mind. They focus on isolated muscle groups and repetitive movements that can actually accelerate wear and tear on vulnerable joints.
Functional exercises change everything. These movements mirror real-life activities, strengthen the stabilizing muscles around your joints, and build practical strength that translates to everyday life—whether you’re carrying groceries, playing with grandkids, or simply getting up from the floor with confidence.
Here’s what you’ll learn in this guide:
– Why traditional exercises might be sabotaging your joints (and what to do instead) – 5 powerful functional movements that protect and strengthen simultaneously – How to perform each exercise safely, even if you’re a complete beginner – A simple routine you can start today—in just 15 minutes
These aren’t complicated gym exercises requiring expensive equipment. They’re proven, science-backed movements you can do at home, at your own pace, with modifications for every fitness level.
Ready to move better, feel stronger, and protect your joints for decades to come? Let’s transform how you approach fitness after 40.
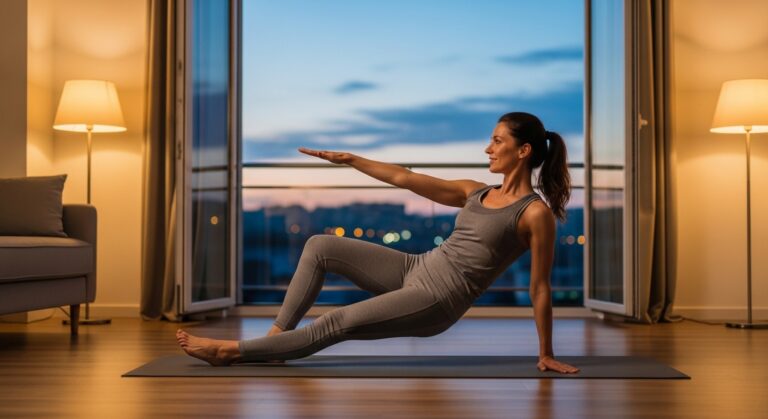
Why Functional Exercises Are Game-Changers for Joint Health After 40
The Problem with Traditional Workouts
Traditional gym routines typically isolate individual muscles—think bicep curls, leg extensions, or crunches. While these exercises build muscle, they often neglect the complex coordination your body needs for real-world movement.
The result? You might have strong quadriceps but weak stabilizing muscles around your knees. Your shoulders might look defined but lack the rotational strength needed to reach overhead safely. This imbalance creates joint stress and increases injury risk during everyday activities.
After 40, your joints have less tolerance for repetitive stress. The cartilage that cushions your joints becomes thinner. Ligaments lose some elasticity. Recovery takes longer. Continuing with high-impact, isolated movements accelerates this natural wear and tear.
What Makes Functional Exercises Different
Functional exercises train movements, not muscles. They engage multiple joints and muscle groups simultaneously, exactly as your body works in daily life.
When you perform a squat, you’re not just working your legs—you’re training your ankles, knees, hips, and core to coordinate seamlessly. This coordination strengthens the entire kinetic chain, distributing force across multiple joints instead of overloading any single area.
These movements emphasize controlled motion through full ranges of movement, which promotes joint lubrication and maintains flexibility. They build the stabilizing muscles that traditional exercises often miss—the smaller, deeper muscles that protect your joints during unexpected movements.
The Science-Backed Benefits You’ll Experience
Research confirms what physical therapists have known for years: functional training delivers powerful benefits for joint health, especially after 40.
Increased bone density and reduced fracture risk: Weight-bearing functional movements stimulate bone growth, helping counteract age-related bone loss. Studies show that multi-directional exercises are particularly effective at improving bone density in the hips and spine.
Improved joint lubrication through controlled movement: Your joints don’t have direct blood supply—they rely on movement to circulate synovial fluid that nourishes cartilage. Functional exercises promote this healthy circulation without excessive impact.
Strengthened stabilizing muscles that protect vulnerable joints: The rotator cuff muscles in your shoulder, the muscles surrounding your knee, and your deep core muscles all become more resilient, creating a protective framework around your joints.
Enhanced proprioception: This is your body’s awareness of where it is in space. After 40, proprioception naturally declines, increasing fall risk. Functional exercises challenge your balance and coordination, maintaining this crucial sense.
Built practical strength that translates to everyday activities: You’re not just getting stronger in the gym—you’re making every movement in daily life easier and safer.
The best part? You’ll notice improvements quickly. Most people report better mobility and reduced joint discomfort within 2-3 weeks of consistent practice.
Exercise #1 – Controlled Squats: The Foundation of Joint-Friendly Strength
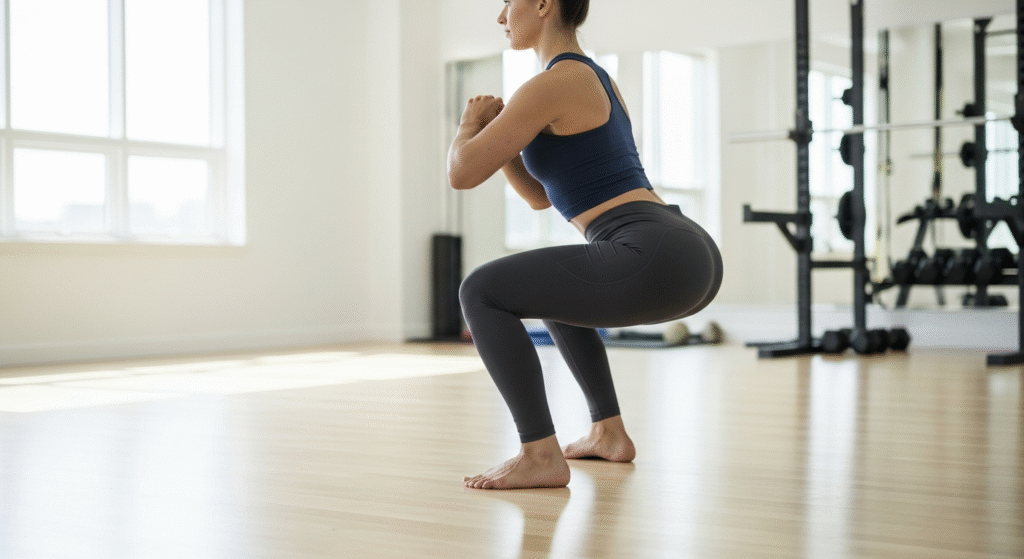
Why This Exercise Protects Your Joints
Squats are the ultimate functional movement. Every time you sit down, stand up, or pick something off the floor, you’re essentially performing a squat. By training this pattern with proper form, you’re bulletproofing your body for countless daily activities.
Unlike leg presses or leg extensions that isolate your quadriceps, controlled squats engage your entire lower body as an integrated unit. Your ankles, knees, and hips learn to work together, distributing force efficiently and reducing stress on any single joint.
The key word here is “controlled.” Speed creates momentum that masks weakness and increases joint stress. Slow, deliberate squats build genuine strength in the positions where your joints are most vulnerable.
How to Perform It Safely (Step-by-Step)
Starting Position:
Stand with feet shoulder-width apart, toes slightly turned out (about 10-15 degrees). This natural angle allows your knees to track properly and reduces torque on your knee joints. Keep your chest proud and core gently engaged—imagine someone is about to tap your belly, and you’re bracing lightly. Your arms can extend forward for balance or rest on your hips.
The Movement:
Initiate by pushing your hips back, as if you’re reaching for a chair behind you. This hip-hinge pattern is crucial—it keeps the load distributed across your posterior chain rather than dumping everything onto your knees.
Lower down only as far as comfortable. Forget what you’ve heard about “proper” squat depth—your range will improve naturally over time. For now, even a quarter squat builds effective strength and protects your joints.
Keep your knees tracking over your toes, not caving inward. Think about gently pushing your knees outward as you descend. Press through your entire foot to stand back up—you should feel your weight distributed from heel to toe, not just on your toes.
Focus on tempo: 3 seconds down, 1 second up. This controlled descent is where the real strength-building happens.
Beginner Modification: Hold onto a chair back or countertop for support. There’s no shame in using assistance—you’re still building strength and reinforcing proper movement patterns.
Sets and Reps: Start with 2 sets of 8-10 reps, resting 60 seconds between sets. As this becomes easier, add a third set before increasing reps.
Common Mistakes to Avoid
Knees collapsing inward: This valgus collapse creates dangerous shearing forces on your knee joints. If you notice this happening, reduce your depth and focus on actively pushing your knees outward. You can even place a resistance band around your thighs to create external resistance that cues proper alignment.
Rising onto toes: This shifts excessive load to your knee joints. Keep your weight distributed across your entire foot—imagine you’re trying to grip the floor with your toes while keeping your heels planted.
Rushing the movement: Speed reduces effectiveness and increases injury risk. If you can’t maintain control throughout the entire range, you’re moving too fast or going too deep.
Going too deep too soon: Depth comes with mobility. Forcing depth before your ankles, hips, and thoracic spine have adequate mobility creates compensation patterns that stress your joints. Progress gradually.
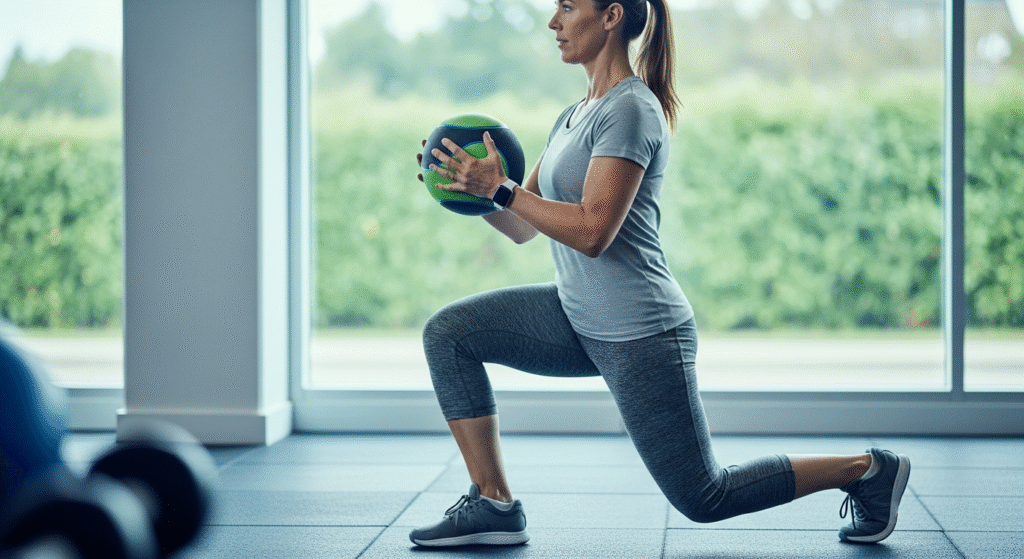
Exercise #2 – Multidirectional Stepping: Train Your Body for Real Life
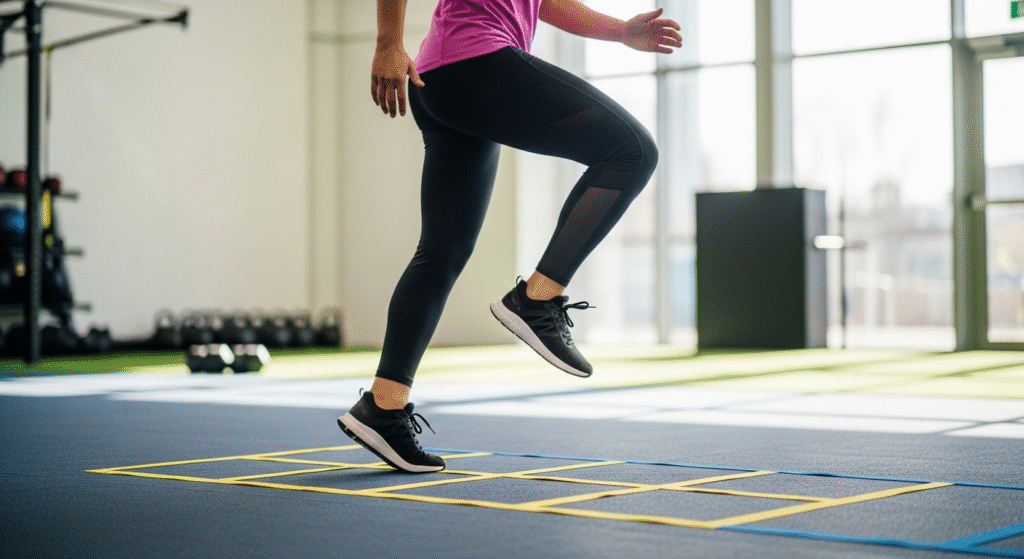
Why Movement in All Directions Matters
Life doesn’t happen in straight lines. You sidestep to avoid obstacles, pivot to reach for something, step backward down stairs, and move diagonally across rooms dozens of times daily. Yet most exercise programs focus exclusively on forward movement—running, walking, cycling.
This creates a dangerous gap. When you suddenly need to move laterally or diagonally, your body lacks the strength and coordination to do so safely. Your joints, unprepared for these movement patterns, become vulnerable to injury.
Multidirectional stepping trains your body for the unpredictable nature of real life. It builds dynamic stability—your joints’ ability to remain secure during movement in any direction. This is the difference between confidently navigating uneven terrain and anxiously watching every step.
The Basic Pattern (Progress at Your Pace)
Level 1 – Controlled Stepping (Weeks 1-3):
Stand with good posture, hands on hips or extended out for balance. You’ll move in four directions: side-to-side, forward-and-back, and diagonally in both directions.
Start with side-to-side: Take 4 controlled steps to your right, then 4 steps back to your left. Continue for 15 seconds. Focus on keeping your hips level—don’t let one hip drop as you step.
Move to forward-and-back: 4 steps forward, 4 steps backward, continuing for 15 seconds. Keep your core engaged and avoid leaning forward or backward.
Finish with diagonal stepping: 4 steps moving diagonally forward-right, then 4 steps diagonally back-left. Switch to forward-left and back-right. Continue for 15 seconds per diagonal direction.
Rest 30 seconds, then repeat the entire sequence 3 times.
Level 2 – Single-Leg Emphasis (Weeks 4-6):
Use the same stepping pattern, but pause briefly on one foot between each step. This seemingly small change dramatically increases the balance challenge and builds crucial joint stability. Your ankles, knees, and hips must work harder to maintain control, strengthening all the small stabilizing muscles.
Level 3 – Adding Hops (Week 7+):
Once you’re comfortable with Level 2, replace some steps with small hops. Start conservatively—just 2-3 hops per direction. Always land softly with bent knees, never locked legs. This weight-bearing impact stimulates bone density while training your joints to absorb force safely.
How This Protects Your Joints Long-Term
Multidirectional movement creates resilient joints by exposing them to varied stress in a controlled environment. Your body adapts by strengthening tissues in multiple planes of motion, not just one.
This exercise also improves your balance and proprioception—your body’s internal GPS. Better proprioception means faster reflexes when you slip or stumble, reducing fall risk significantly. For adults over 40, fall prevention is one of the most important aspects of joint protection.
The bone-density benefits are substantial too. Research shows that multi-directional, weight-bearing exercises are more effective at building bone than single-plane movements. Stronger bones mean better joint support and reduced fracture risk.
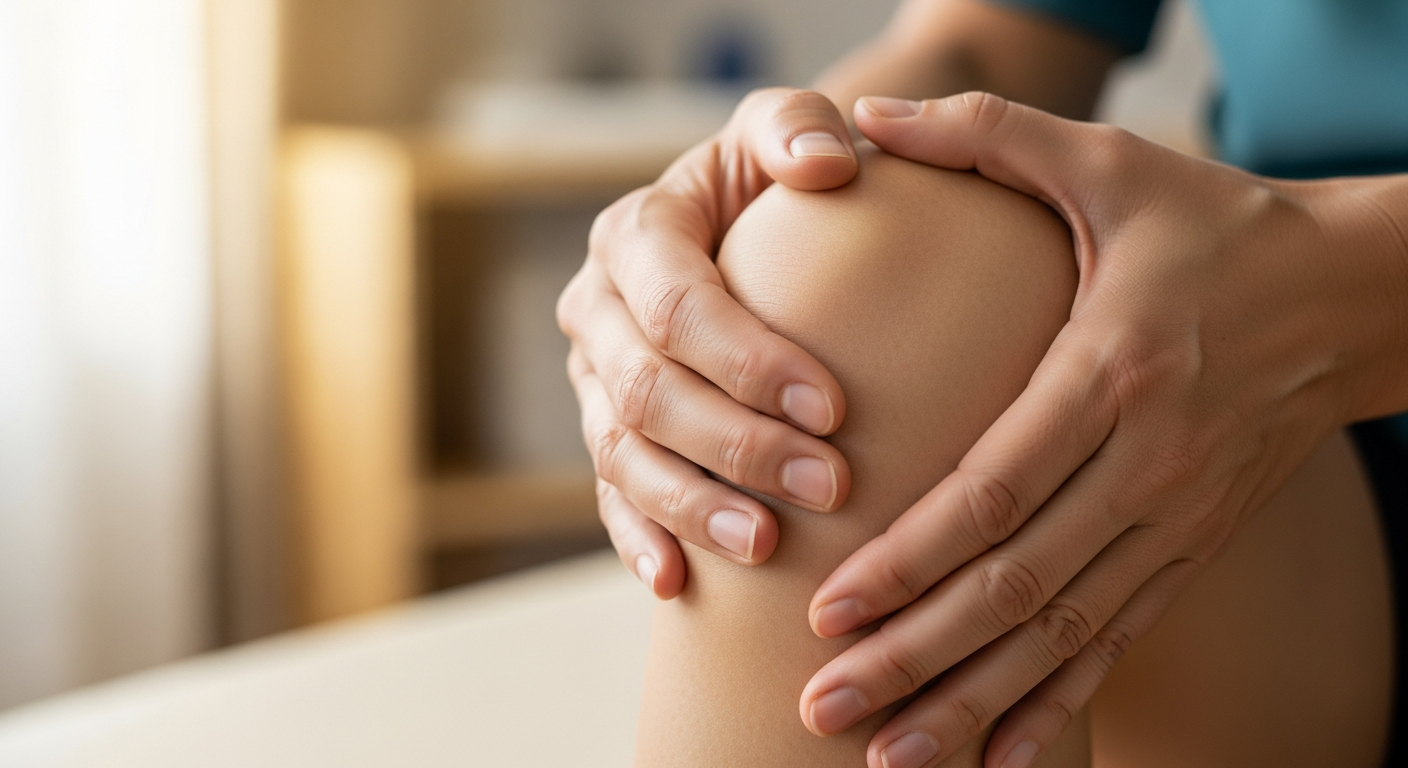
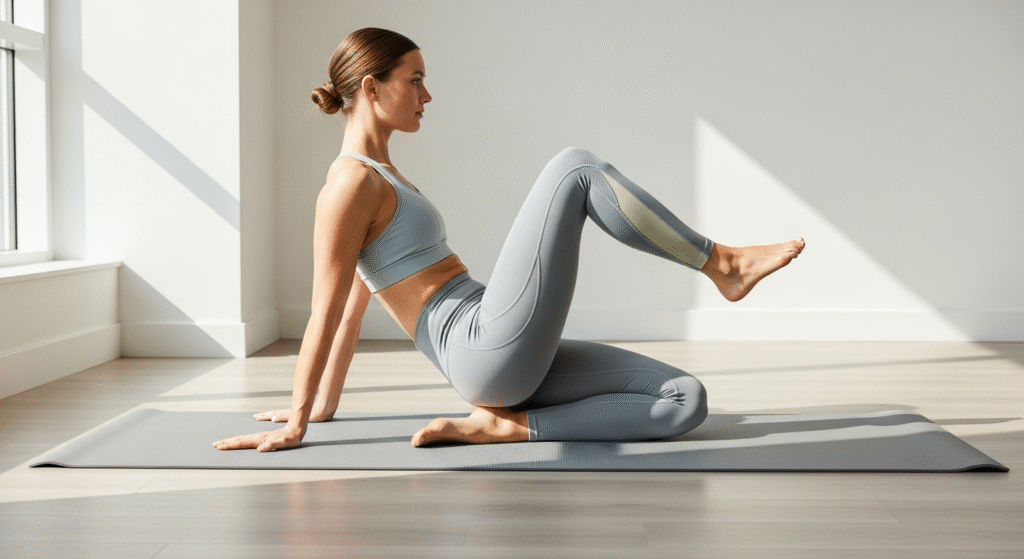
Exercise #3 – 90/90 Hip Rotations: Unlock Tight Hips and Save Your Knees
The Hidden Cause of Joint Pain
Your hips are the foundation of your lower body. When hip mobility becomes restricted—which happens to almost everyone after 40—your body doesn’t simply accept the limitation. It compensates.
Your lower back hyperextends to make up for limited hip extension. Your knees twist and torque to compensate for poor hip rotation. Your ankles roll inward because your hips can’t rotate outward properly. This compensation cascade creates pain and dysfunction throughout your entire kinetic chain.
Hip tightness is particularly problematic because it’s often invisible. You can walk, sit, and move through daily life without realizing your hip mobility has declined. But every movement is slightly compromised, placing subtle stress on surrounding joints that accumulates over time.
The 90/90 hip rotation specifically targets internal and external hip rotation—the movements most people lose first and need most for healthy knees and pain-free movement.
The Technique That Gets Results
Setup:
Sit on the floor using a yoga mat or carpet for comfort. Position your right leg in front of your body with your knee bent at 90 degrees—your shin should be roughly perpendicular to your body. Position your left leg behind you, also bent at 90 degrees, with your shin parallel to your body.
Both knees should form right angles. Your right foot should point left, your left foot should point right. If this position feels impossible, you’re not alone—it reveals exactly where your hip mobility needs work.
The Movement:
Keep your hips grounded—both sit bones should maintain contact with the floor. This is crucial. Lean forward slightly over your front shin, hinging from your hips, not rounding your spine. You should feel a stretch deep in your right hip—not pain, just gentle tension. This targets your external rotators.
Hold this position for 5-10 seconds, breathing normally. Deep breathing helps your nervous system relax, allowing the stretch to be more effective.
Return to center, then carefully switch your legs so your left leg is in front. Repeat the forward lean over your left shin. Complete 6-8 reps per side, moving slowly and deliberately between positions.
Key Points:
Move slowly and deliberately—this isn’t about speed or how many reps you can complete. It’s about spending time in positions that restore mobility. If you can’t get into the starting position comfortably, sit on a folded towel or yoga block. This elevation makes the position more accessible while still providing benefits.
Never push through sharp pain—gentle tension is effective and safe. Sharp pain signals you’re pushing too far.
Modifications for Different Mobility Levels
If you can’t sit on the floor comfortably: Perform a similar rotation pattern while seated in a chair. Sit at the edge, place your right ankle on your left knee (figure-4 position), and lean forward gently. This modified version still improves hip rotation.
If the stretch feels too intense: Reduce the forward lean or widen the angle of your front leg slightly. Progress is made through consistent, gentle work, not aggressive stretching.
To increase the challenge: Once the basic position feels comfortable, try rotating your torso toward your front leg or reaching your hands further forward. These variations deepen the stretch and challenge your hip mobility further.
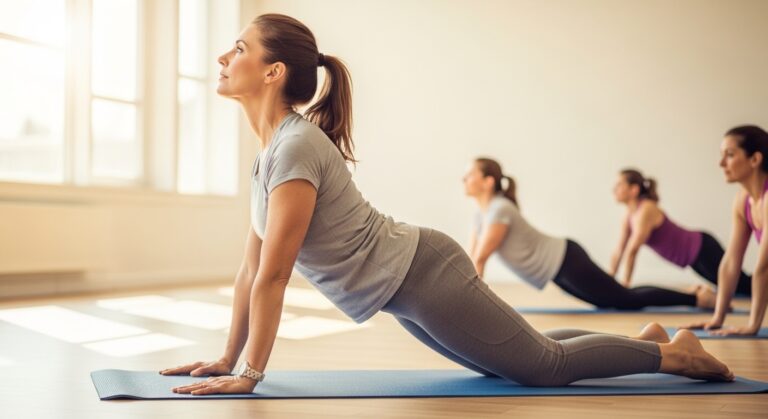
Exercise #4 – Wall Push-Ups with Shoulder Blade Control: Protect Your Shoulders and Wrists
Why Shoulder Health Matters More Than You Think
Your shoulders are the most mobile joints in your body—which makes them inherently unstable. After 40, the rotator cuff muscles that stabilize your shoulders naturally weaken, and decades of poor posture (hello, desk work and smartphones) create imbalances that set the stage for injury.
Shoulder problems don’t just affect your upper body. Compromised shoulder function alters how you move your entire spine, leading to neck pain, upper back tension, and even lower back issues. Protecting your shoulders protects your whole kinetic chain.
Traditional push-ups, while excellent exercises, can be problematic for people over 40 with existing shoulder issues or poor scapular control. Wall push-ups provide the same strengthening benefits while allowing you to control the intensity and focus on proper shoulder blade movement.
The Technique for Joint-Friendly Upper Body Strength
Starting Position:
Stand facing a wall, about arm’s length away. Place your hands on the wall at shoulder height and slightly wider than shoulder-width apart. Your fingers should point upward, and your wrists should be comfortable—not bent at extreme angles.
Step back slightly so your body forms a gentle angle to the wall. Engage your core as if someone is about to tap your stomach. Your body should form a straight line from head to heels—don’t let your hips sag or pike upward.
The Movement:
Before you even bend your elbows, focus on your shoulder blades. Draw them together slightly, as if you’re gently pinching a pencil between them. This scapular retraction activates your mid-back muscles and creates a stable platform for the movement.
Slowly bend your elbows, lowering your chest toward the wall. Keep your elbows at roughly a 45-degree angle from your body—not flared out to the sides (which stresses your shoulder joints) and not tucked tight to your ribs (which limits your range of motion).
Lower for 2-3 seconds until your nose nearly touches the wall. Pause briefly, then press back to the starting position, taking 1-2 seconds. As you press away, think about pushing the wall away from you, not just straightening your arms.
Key Focus Points:
Throughout the movement, maintain that gentle shoulder blade retraction. Your shoulder blades should glide smoothly along your ribcage, not wing out or elevate toward your ears. This scapular control is what protects your shoulder joints.
Keep your neck neutral—imagine balancing a book on your head. Don’t let your head jut forward as you lower down.
Sets and Reps: Start with 2 sets of 10-12 reps, resting 45-60 seconds between sets. As this becomes easier, step further from the wall to increase the challenge before moving to a lower surface like a countertop.
Progressive Variations for Continued Results
Easier variation: Stand closer to the wall, reducing the angle and the amount of bodyweight you’re pressing. Even a minimal angle builds strength.
Moderate progression: Once wall push-ups feel easy, progress to countertop push-ups, then to a sturdy chair or bench, gradually lowering the surface height.
Advanced variation: Add a 3-second pause at the bottom position. This isometric hold dramatically increases shoulder stability and strength.
The beauty of this progression is that you can continue challenging yourself indefinitely while maintaining perfect form and joint safety.
Exercise #5 – Single-Leg Romanian Deadlift (Supported): Build Balance and Posterior Chain Strength
Why Single-Leg Work Is Essential After 40
Life happens on one leg more than you realize. Every step you take, every stair you climb, every time you stand from a seated position—you’re momentarily balancing on one leg. Yet most exercise programs focus on bilateral (two-legged) movements.
This creates a dangerous weakness. Your dominant leg becomes stronger while your non-dominant leg lags behind. This imbalance alters your gait, creates uneven stress on your joints, and increases injury risk.
Single-leg exercises expose and correct these imbalances. They also dramatically improve balance and proprioception—crucial factors for preventing falls and maintaining independence as you age.
The Romanian deadlift pattern specifically strengthens your posterior chain (glutes, hamstrings, and lower back)—the muscles that support your spine, protect your knees, and power virtually every functional movement you perform.
How to Perform This Joint-Protecting Movement
Starting Position:
Stand next to a wall, chair, or countertop that you can use for light balance support. Place your fingertips on the support—you’re using it for balance only, not to hold your body weight.
Stand on your right leg with a slight bend in your knee (never locked). Engage your core gently. Your left leg will move behind you during the exercise, but start with both feet on the ground.
The Movement:
Keeping your right knee slightly bent, hinge forward at your hips while simultaneously extending your left leg behind you. Imagine your torso and left leg are a seesaw—as your torso lowers, your leg rises.
The key is the hip hinge: push your hips backward as you lower your torso. Your spine should remain neutral—not rounded, not hyperextended. Think about keeping your chest proud throughout the movement.
Lower until you feel a gentle stretch in your right hamstring or until your torso is roughly parallel to the floor—whichever comes first. You don’t need to touch the floor. The stretch and balance challenge are what create the benefit.
Pause briefly at the bottom, then engage your right glute and hamstring to pull yourself back to standing. Your left leg returns to the ground.
Breathing: Inhale as you lower, exhale as you return to standing. This breathing pattern helps stabilize your core.
Sets and Reps: Perform 8-10 reps on your right leg, rest 30 seconds, then complete 8-10 reps on your left leg. Complete 2-3 sets per leg.
Common Mistakes and How to Fix Them
Rotating your hips: Your hips should remain square to the ground throughout the movement. If your hips rotate open, you’re losing the stability benefit. Slow down and reduce your range of motion.
Rounding your spine: This places dangerous stress on your lower back. If you can’t maintain a neutral spine, you’re hinging too far forward. Reduce your range—even a small hinge builds strength.
Locking your standing knee: A locked knee places excessive stress on the joint. Maintain a slight bend throughout the entire movement.
Relying too heavily on support: Use your fingertips for balance only. If you’re gripping hard or pulling yourself up with your hand, the exercise is too challenging. Reduce your range of motion and build up gradually.
Why This Exercise Protects Multiple Joints
This movement builds hip stability, which protects your lower back and knees. It strengthens your ankles through the balance challenge, reducing ankle sprain risk. It teaches proper hip hinge mechanics that translate to safer lifting in daily life.
The unilateral (single-leg) aspect corrects imbalances that cause uneven joint wear. Over time, both legs become equally strong, creating symmetrical movement patterns that distribute stress evenly across your joints.
Putting It All Together: Your 15-Minute Joint-Protection Routine
You now have five powerful functional exercises that protect and strengthen your joints. Here’s how to combine them into an effective routine you can perform 3-4 times per week.
The Complete Routine:
Warm-up (2 minutes): March in place, perform arm circles, and do some gentle torso rotations. The goal is to increase blood flow and prepare your joints for movement.
Exercise 1 – Controlled Squats: 2 sets of 8-10 reps, 60 seconds rest between sets (3 minutes)
Exercise 2 – Multidirectional Stepping: 3 rounds of the complete pattern (side-to-side, forward-back, diagonals), 30 seconds rest between rounds (3 minutes)
Exercise 3 – 90/90 Hip Rotations: 6-8 reps per side, moving slowly between positions (3 minutes)
Exercise 4 – Wall Push-Ups: 2 sets of 10-12 reps, 45 seconds rest between sets (3 minutes)
Exercise 5 – Single-Leg Romanian Deadlift: 2 sets of 8-10 reps per leg, 30 seconds rest between legs (4 minutes)
Cool-down (2 minutes): Gentle stretching focusing on areas that feel tight.
Total time: 15-17 minutes
Progression Strategy:
For the first 2-3 weeks, focus exclusively on form. Master the movement patterns before increasing intensity. Take videos of yourself to check your form, or work with a trainer for initial feedback.
Weeks 4-6: Increase reps by 2-3 per exercise or add an additional set. Progress to Level 2 of the multidirectional stepping.
Weeks 7+: Continue progressing based on how you feel. Some days you’ll feel strong and can push harder. Other days, maintaining your baseline is the victory. Listen to your body—this is a sustainable, long-term approach, not a sprint.
Important Reminders:
Consistency beats intensity. Performing this routine three times per week with moderate effort produces better results than occasional heroic workouts.
Joint pain during exercise is a signal to modify, not push through. Gentle tension and muscle fatigue are normal. Sharp, localized joint pain means you need to reduce range, slow down, or consult a professional.
Recovery matters more after 40. Take at least one day off between sessions. Your joints need time to adapt and strengthen.
These functional exercises aren’t just protecting your joints—they’re giving you the strength, mobility, and confidence to live actively for decades to come. Your future self will thank you for starting today.