7 Pelvic Floor Home Exercises Without Equipment
Let’s talk about something that affects every single person but rarely gets the attention it deserves: your pelvic floor. These hidden muscles work tirelessly to support your bladder, bowels, and reproductive organs, yet most of us don’t think about them until something goes wrong.
Here’s the truth: pelvic floor health isn’t just a postpartum concern or something only women need to worry about. Whether you’re an athlete looking to improve core strength, someone dealing with occasional leaks when you laugh or sneeze, or simply want to maintain your quality of life as you age, these muscles matter.
The good news? Strengthening your pelvic floor doesn’t require expensive equipment, gym memberships, or even leaving your living room. The seven proven exercises I’m sharing today take just 10-15 minutes and deliver real results when practiced consistently.
You’ll learn exactly how to perform each movement with proper form, understand why each exercise works, and discover how to build these simple practices into your daily routine. No complicated equipment. No confusing jargon. Just straightforward techniques that strengthen and restore pelvic floor health from the comfort of your own home.
Understanding Your Pelvic Floor: The Foundation for Success
What Is Your Pelvic Floor and Why Does It Matter?
Think of your pelvic floor as a hammock of muscles stretching from your pubic bone to your tailbone. These muscles form the foundation of your core, working constantly to support your bladder, bowels, and reproductive organs. When they’re strong and functioning properly, you don’t even notice them. When they’re weak or dysfunctional, life gets uncomfortable fast.
Your pelvic floor controls bladder and bowel function, stabilizes your core during movement, supports your spine, and plays a crucial role in sexual health. These muscles coordinate with your deep abdominal muscles and diaphragm to create intra-abdominal pressure during activities like lifting, coughing, or exercising.
Pay attention to these warning signs that your pelvic floor needs attention: leaking urine when you cough, sneeze, laugh, or exercise; feeling sudden, urgent needs to urinate; experiencing lower back pain that doesn’t respond to typical treatments; feeling pressure or heaviness in your pelvic region; or noticing decreased sensation during intimacy. These symptoms aren’t normal, and you don’t have to live with them.
How to Find and Engage Your Pelvic Floor Muscles
Before you start exercising, you need to locate these muscles. The classic method involves imagining you’re stopping the flow of urine mid-stream. You should feel a lifting and tightening sensation internally. That’s your pelvic floor engaging. However, don’t practice this technique while actually urinating—it can disrupt normal bladder function over time.
A better visualization technique is the “elevator lift.” Imagine your pelvic floor is an elevator on the ground floor. As you engage these muscles, the elevator rises slowly from the first floor to the second, then third. You’re drawing the muscles up and in, not bearing down or pushing out. The movement should feel internal and subtle, not forceful.
Common mistakes sabotage your efforts. Don’t hold your breath—breathing naturally is essential for proper pelvic floor function. Don’t clench your glutes, inner thighs, or abs—your pelvic floor should activate independently. Don’t bear down or push out—you’re lifting up and drawing in. Start gently. These muscles fatigue quickly when you’re first building strength.
Who Benefits from These Exercises?
Pregnant women preparing for childbirth and new moms recovering postpartum see tremendous benefits from pelvic floor training. These exercises speed recovery, reduce incontinence risk, and restore core function after delivery.
Anyone experiencing incontinence or urgency—regardless of age or gender—improves with consistent practice. Athletes and fitness enthusiasts discover that a strong pelvic floor enhances performance, prevents injury, and creates better core stability during high-impact activities.
Aging adults maintain independence and quality of life through pelvic floor strength. These muscles naturally weaken with age, but exercise reverses that decline. People recovering from pelvic surgery or dealing with chronic conditions like prolapse benefit from structured pelvic floor training under professional guidance.
The bottom line? Nearly everyone benefits from these exercises. Your pelvic floor supports you through every movement, every day. Keeping it strong is one of the smartest investments you can make in your long-term health.
The 7 Most Effective Pelvic Floor Exercises (No Equipment Needed!)
Exercise #1: The Classic Kegel (Done Right)
Kegels remain the gold standard for pelvic floor strengthening because they work. The key is performing them correctly, which most people don’t do at first.
Start in a comfortable position—sitting, standing, or lying down all work perfectly. Take a normal breath, then gently engage your pelvic floor muscles using that “elevator lift” visualization. Draw up and in, holding the contraction for 3-5 seconds initially. Release slowly and completely, resting for the same amount of time you held the contraction.
Begin with 10 repetitions, three times daily. As you build strength over 2-3 weeks, gradually increase your hold time to 10 seconds. Quality matters more than quantity—10 perfect Kegels beat 50 sloppy ones every time.
Quick tip: Set reminders on your phone for morning, afternoon, and evening Kegel sessions. Link them to existing habits like brushing your teeth or making coffee. The beauty of Kegels is you can do them anywhere—in your car, at your desk, or while watching TV—and nobody knows.
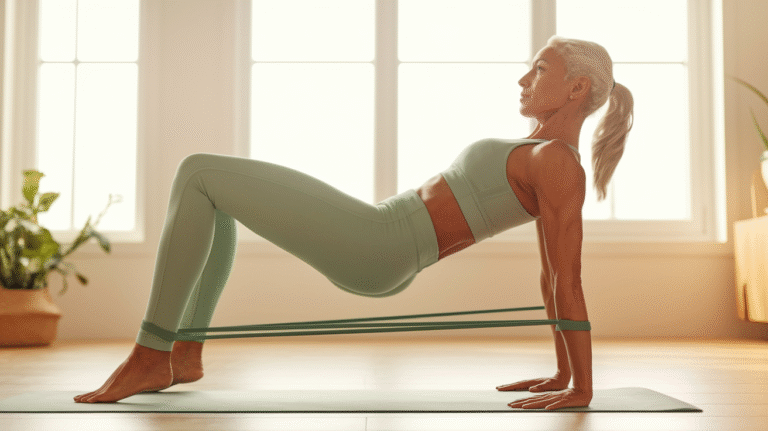
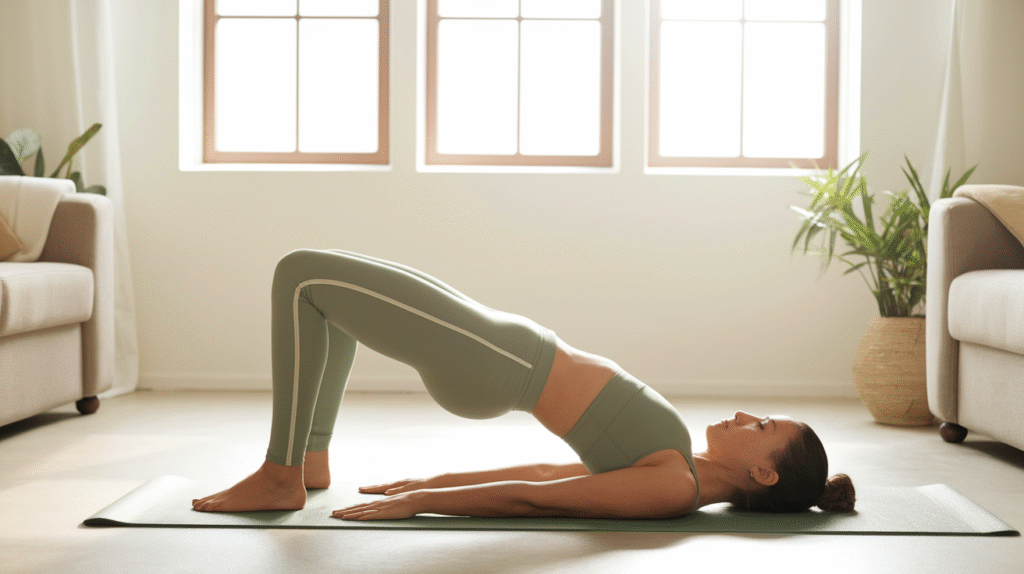
Exercise #2: Bridge Pose with Pelvic Floor Activation
This exercise combines glute strengthening with pelvic floor engagement, creating a powerful combination for core stability and lower body strength.
Lie on your back with knees bent and feet flat on the floor, hip-width apart. Place your arms alongside your body, palms down. Before you lift, engage your pelvic floor muscles with that drawing-up sensation. Maintaining that engagement, press through your heels and lift your hips toward the ceiling until your body forms a straight line from shoulders to knees.
Hold this position for 10-15 seconds, breathing naturally while keeping your pelvic floor activated. Lower slowly and completely release your pelvic floor before repeating. Complete 10-15 repetitions.
For beginners, start with shorter holds and fewer reps. Advanced practitioners can add single-leg variations—extend one leg straight while holding the bridge position, alternating legs between reps. This challenges balance and increases the demand on your pelvic floor and core.
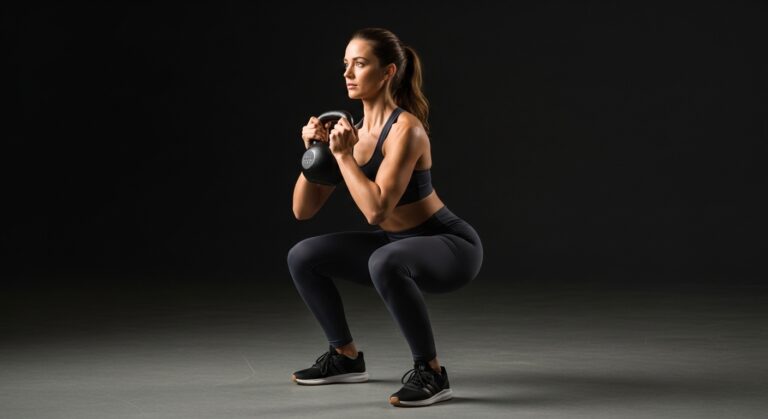
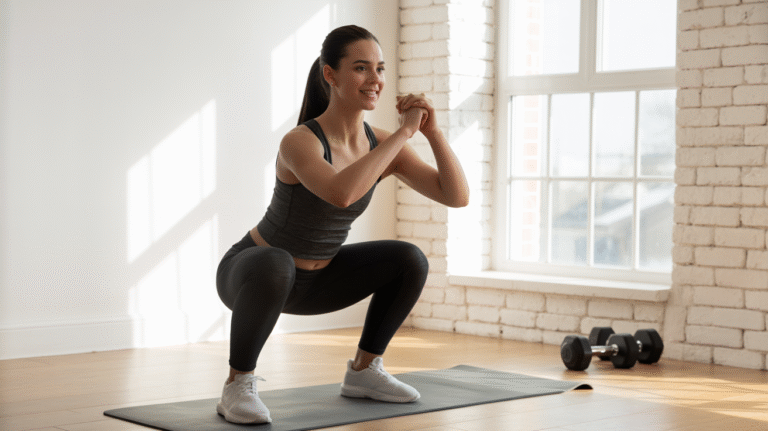
Exercise #3: Deep Squat Holds
Here’s something that surprises most people: squats aren’t just for strengthening your pelvic floor—they also promote essential flexibility and relaxation in these muscles. A tight, overactive pelvic floor causes just as many problems as a weak one.
Stand with feet slightly wider than hip-width, toes pointed slightly outward. Slowly lower into a deep squat, keeping your heels on the ground if possible. Your hips should drop below your knees, and your torso stays upright. Rest your elbows on the inside of your knees and bring your palms together in a prayer position.
Hold this position for 30-60 seconds, breathing deeply into your belly. With each exhale, consciously relax your pelvic floor, allowing it to gently release and lengthen. This counterbalances all the strengthening work and maintains healthy muscle function.
If your heels lift off the ground, place a rolled towel under them for support. If deep squatting feels too intense, hold onto a sturdy surface for balance or don’t squat quite as low. Work within your comfortable range and gradually increase depth as your flexibility improves.
Exercise #4: Bird Dog with Core Connection
This stability exercise strengthens your entire core-pelvic floor system, improving coordination and control during dynamic movement.
Start on your hands and knees with your wrists under your shoulders and knees under your hips. Engage your pelvic floor and draw your navel gently toward your spine. Maintaining this core connection, extend your right arm forward and left leg back simultaneously, creating a straight line from fingertips to toes.
Hold for 5-10 seconds while breathing steadily, keeping your hips level and your pelvic floor engaged. Return to the starting position and repeat on the opposite side. Complete 10 repetitions per side.
Focus on stability over speed. Your hips shouldn’t rotate or drop as you extend your limbs. Your lower back shouldn’t arch. If maintaining proper form proves challenging, start with just arm extensions or just leg extensions until you build sufficient core strength for the full movement.
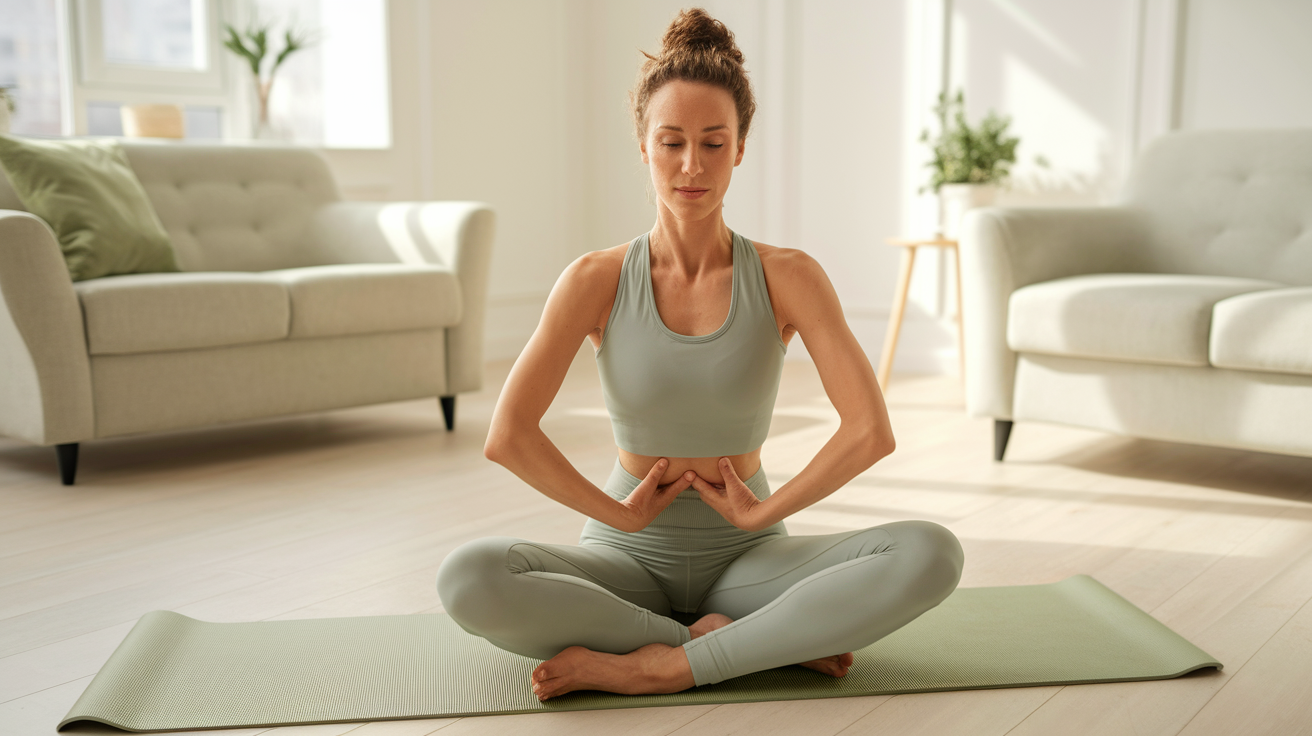
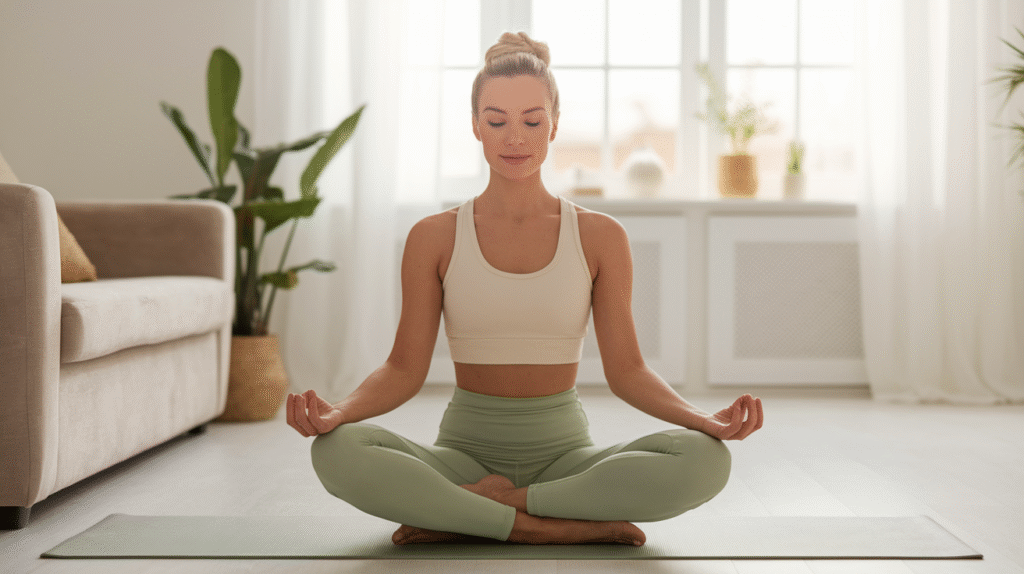
Exercise #5: Diaphragmatic Breathing (The Ultimate Foundation Exercise)
Proper breathing is the foundation of pelvic floor health. Your diaphragm and pelvic floor work together with every breath—when your diaphragm descends on the inhale, your pelvic floor gently releases. When your diaphragm rises on the exhale, your pelvic floor naturally lifts.
Lie on your back with knees bent and one hand on your chest, the other on your belly. Inhale slowly through your nose, directing the breath into your belly so the hand on your stomach rises while the hand on your chest stays relatively still. Your pelvic floor should gently release and descend with this inhale.
Exhale slowly through your mouth, feeling your belly fall and your pelvic floor naturally lift back up. Don’t force the lifting—let it happen organically with the exhale. Practice for 5-10 minutes daily, especially when you’re stressed or notice tension in your pelvic region.
This simple practice reduces pelvic floor tension, improves coordination between your breathing and pelvic floor muscles, and creates a calm, focused state that enhances all your other exercises. Many people discover their pelvic floor symptoms improve dramatically just from proper breathing alone.
Exercise #6: Wall Sits with Pelvic Floor Pulses
This exercise builds serious strength by combining isometric leg work with dynamic pelvic floor activation.
Stand with your back against a wall, feet hip-width apart and about two feet from the wall. Slide down until your thighs are parallel to the floor, as if sitting in an invisible chair. Your knees should be directly above your ankles, not extending past your toes.
Hold this position while performing pelvic floor pulses: engage your pelvic floor for 2-3 seconds, release for 2-3 seconds, and repeat. Continue these pulses for 30-60 seconds total. Rest, then complete 2-3 sets.
You’ll feel the connection between your leg muscles, core, and pelvic floor immediately. This exercise teaches your pelvic floor to work while your legs are under load—exactly what happens during daily activities like lifting groceries, climbing stairs, or picking up children.
If 60 seconds feels too challenging, start with 20-30 seconds and gradually build endurance. The burning in your thighs means you’re building strength throughout your entire lower body and core system.
Exercise #7: Happy Baby Pose (The Perfect Relaxation Exercise)
Releasing tension is just as important as building strength. This gentle yoga-inspired stretch opens your hips and allows your pelvic floor to fully relax.
Lie on your back and draw your knees toward your chest. Grab the outside edges of your feet with your hands, opening your knees wider than your torso. Gently pull your feet down toward the floor while keeping your lower back pressed into the ground. Your ankles should be directly above your knees.
Hold for 1-2 minutes, breathing deeply and consciously relaxing your pelvic floor with each exhale. Rock gently side to side if it feels good. This position creates space in your pelvis and releases tension in your pelvic floor, hips, and lower back.
Use this exercise after your strengthening work, when you’re feeling pelvic tension or discomfort, or anytime you need a gentle, restorative stretch. Many people find this pose incredibly soothing and make it part of their bedtime routine.
Creating Your Easy Home Routine: Quick Tips for Success
How Often Should You Practice?
Consistency beats intensity when it comes to pelvic floor training. Daily practice delivers the best results, but these muscles need rest too. Aim for 10-15 minutes of focused exercise once or twice daily—morning and evening sessions work well for most people.
Your pelvic floor muscles fatigue quickly when you’re first starting out. You might only manage a few quality repetitions before they tire. That’s completely normal. As you build strength over 2-4 weeks, you’ll notice you can perform more repetitions with better control.
The best times to fit these exercises into your schedule are first thing in the morning before your day gets busy, during your lunch break for a midday reset, or in the evening as part of your wind-down routine. Many people successfully practice while watching TV, reading, or even during their commute (the breathing and Kegels work great in the car).
Building Your Perfect Pelvic Floor Workout
Here’s a simple 10-minute beginner routine that combines strengthening and relaxation: Start with 2 minutes of diaphragmatic breathing to center yourself and wake up your pelvic floor connection. Perform 10 classic Kegels with 5-second holds. Complete 10 bridge poses with pelvic floor activation. Hold a deep squat for 60 seconds. Finish with 2 minutes in happy baby pose to release any tension.
For a complete 15-minute routine using all seven exercises: Begin with 2 minutes of diaphragmatic breathing. Do 10 Kegels with 5-second holds. Complete 10 bridge poses. Perform 10 bird dogs per side. Hold a deep squat for 60 seconds. Do 2 sets of 30-second wall sits with pelvic floor pulses. End with 2 minutes in happy baby pose.
Progress safely by gradually increasing hold times before adding repetitions. When you can comfortably hold Kegels for 10 seconds, add single-leg bridge variations or longer wall sit holds. Listen to your body—if you feel pain, excessive fatigue, or worsening symptoms, scale back and consult a healthcare provider.
Essential Tips for Maximum Results
Regular practice matters more than perfect practice when you’re starting out. Doing these exercises imperfectly five days a week beats doing them perfectly once a week. Build the habit first, refine the technique as you go.
Balance strengthening with relaxation. Many people focus solely on tightening and strengthening, creating an overactive, tense pelvic floor that causes different problems. Include relaxation exercises like deep squats and happy baby pose in every session.
Track your progress by noting symptoms weekly. Are you leaking less? Feeling less urgency? Experiencing better core stability during workouts? These functional improvements matter more than how many reps you can do. Most people notice initial improvements within 4-6 weeks of consistent practice, with continued gains over 3-6 months.
Watch for warning signs that require professional attention: worsening symptoms despite consistent practice, pain during exercises, visible or palpable bulging in your vaginal or rectal area, or symptoms that significantly impact your quality of life. A pelvic floor physical therapist can assess your specific situation and create a personalized treatment plan.
Common Questions and Troubleshooting
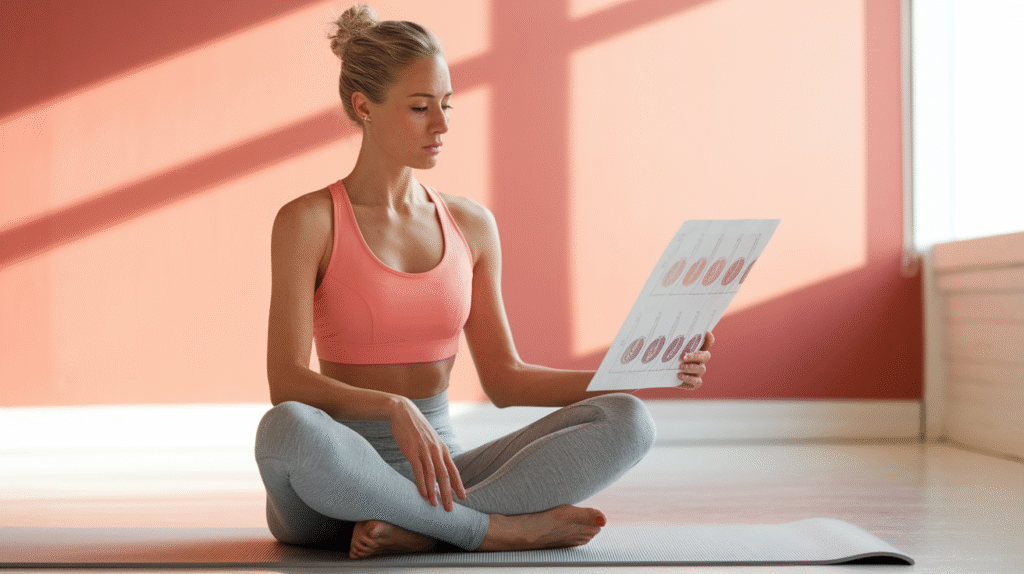
“I’m Not Sure If I’m Doing Them Right”
This concern is incredibly common, and it’s valid. These muscles are internal and hard to see or feel when you’re first learning to engage them.
Here’s a simple self-check: When you engage your pelvic floor, you should feel a lifting sensation internally, not a bearing down or pushing out feeling. Your belly, glutes, and inner thighs should stay relatively relaxed. You should be able to breathe normally while holding the contraction. If you can check these boxes, you’re likely on the right track.
Another check involves placement: For women, you can insert a clean finger into your vagina about an inch deep. When you engage your pelvic floor, you should feel a squeezing and lifting sensation around your finger. For men, you can place fingers on the area between your scrotum and anus. When you engage, you should feel the muscles lift away from your fingers.
If you’re still uncertain after trying these techniques, working with a pelvic floor physical therapist for just one or two sessions can provide invaluable feedback. They can assess whether you’re engaging the correct muscles and teach you techniques specific to your body. This investment pays off tremendously in the effectiveness of your home practice.
“I’m Not Seeing Results Yet”
Patience is essential with pelvic floor training. These muscles respond to exercise just like any other muscle group, but the timeline varies based on your starting point and consistency.
Most people notice subtle improvements within 4-6 weeks of daily practice—perhaps slightly less leakage, better control, or improved awareness of these muscles. Significant, life-changing improvements typically take 3-6 months of consistent work. Research shows that 70-80% of people with stress incontinence see meaningful improvement with proper pelvic floor training, but it takes time.
Several factors can slow your progress: inconsistent practice (missing multiple days each week), performing exercises incorrectly, having an overactive or tense pelvic floor that needs relaxation more than strengthening, underlying medical conditions that require professional treatment, or chronic constipation and straining that counteracts your exercise efforts.
Adjust your approach by ensuring you’re practicing daily, even if just for 5 minutes. Double-check your technique using the self-assessment methods above. Add more relaxation exercises if you tend to hold tension in your pelvis. Address lifestyle factors like hydration, fiber intake, and bathroom habits. Consider consulting a pelvic floor physical therapist if you’ve been practicing consistently for 8-12 weeks without any improvement.
“Can I Do These Exercises If I Have [Specific Condition]?”
These exercises are proven safe and effective for most people, but certain conditions require modifications or professional guidance.
If you have pelvic organ prolapse, these exercises can help, but you need proper instruction on technique. Some positions may feel better than others—many people with prolapse prefer exercising lying down rather than standing. Avoid bearing down or pushing out, and focus on lifting up and in. Work with a pelvic floor physical therapist to ensure you’re training safely.
During pregnancy, pelvic floor exercises are not only safe but highly recommended. They prepare your body for childbirth and reduce your risk of postpartum complications. Focus on both strengthening and relaxation—your pelvic floor needs to be strong enough to support you during pregnancy but flexible enough to allow birth. Avoid exercises that cause pain or feel uncomfortable as your body changes.
In the postpartum period, wait until you’ve been cleared by your healthcare provider (typically 6 weeks) before starting intensive exercise. Gentle Kegels and breathing can begin earlier. Progress gradually—your body needs time to heal. If you had significant tearing or complications, work with a pelvic floor physical therapist to ensure safe recovery.
For chronic pelvic pain, these exercises can help, but you may need to emphasize relaxation over strengthening initially. Many people with pelvic pain have overactive, tense pelvic floor muscles. Focus on breathing, deep squats, and happy baby pose. Add strengthening exercises only after you’ve reduced tension and pain levels.
Beyond Exercise: Lifestyle Factors That Support Pelvic Floor Health
Your daily habits significantly impact your pelvic floor health. Staying properly hydrated helps maintain healthy bladder function and prevents constipation, which strains your pelvic floor. Aim for half your body weight in ounces of water daily.
Your posture matters tremendously. Slouching or constantly sucking in your belly disrupts the natural coordination between your diaphragm, core, and pelvic floor. Practice sitting and standing tall with relaxed shoulders and a neutral spine.
Bathroom habits deserve attention too. Never hover over the toilet seat—this prevents complete bladder emptying and trains your pelvic floor to stay tense. Don’t strain during bowel movements—if you’re constipated, address it through diet, hydration, and movement rather than pushing harder. Take your time and relax your pelvic floor to allow complete emptying.
Quick lifestyle tweaks that support your pelvic floor include: managing your weight (excess weight increases pressure on your pelvic floor), treating chronic coughs (persistent coughing strains these muscles), avoiding heavy lifting when possible, and engaging your core and pelvic floor before lifting when necessary. Small changes compound over time, creating a foundation that supports your exercise efforts.
Your Path to a Stronger, Healthier Pelvic Floor Starts Today
You now have seven proven, equipment-free exercises that strengthen, restore, and maintain pelvic floor health. These simple movements require just 10-15 minutes daily and can be done anywhere, anytime. No gym membership needed. No complicated equipment. Just you, your body, and consistent practice.
Taking control of your pelvic floor health is easier than you think. These muscles respond beautifully to proper training, and the improvements you’ll experience—better bladder control, stronger core stability, reduced pain, and enhanced quality of life—make the small daily investment absolutely worthwhile.
Consistency with just a few exercises makes a real difference. You don’t need to be perfect. You don’t need to do all seven exercises every single day. Start where you are, use what you have, and build from there. Your pelvic floor will thank you.
Your Action Plan
Start with the 2-3 exercises that feel most accessible to you right now. Maybe that’s Kegels, diaphragmatic breathing, and happy baby pose. Or perhaps bridges, deep squats, and wall sits call to you. Choose movements that fit your current fitness level and feel doable in your daily schedule.
Commit to 10 minutes daily for the next two weeks. Set a specific time—morning coffee, lunch break, or before bed—and protect it like any important appointment. Use your phone’s timer or a reminder app to build the habit.
Track your progress and celebrate small wins. Notice when you make it through a sneeze without leaking. Feel proud when you complete all your reps with better control than last week. Acknowledge when you remember to practice three days in a row. These small victories compound into life-changing results.
Final Encouragement
Every body deserves a strong, functional pelvic floor. These muscles support you through every movement, every day, and caring for them is one of the most practical forms of self-care you can practice. You’re not being vain or self-indulgent—you’re maintaining essential body systems that impact your health, comfort, and independence.
You don’t need fancy equipment or expert supervision to get started. You have everything you need right now to begin strengthening your pelvic floor. The exercises work. The science supports them. Thousands of people have transformed their pelvic floor health with these exact movements.
Start with one exercise today. Just one. Set a timer for five minutes and practice diaphragmatic breathing or perform 10 quality Kegels. That’s it. Tomorrow, do it again. The day after that, add a second exercise. Build slowly, practice consistently, and trust the process. Your stronger, healthier pelvic floor is waiting—and it all begins with that first intentional breath, that first gentle engagement, that first decision to prioritize this essential aspect of your health. You’ve got this.
first intentional breath, that first gentle engagement, that first decision to prioritize this essential aspect of your health. You’ve got this.