7 Joint-Friendly Exercises for Women Over 40
Let’s get real for a second: hitting 40 doesn’t mean you need to accept joint pain as your new normal. I know the fear—you’ve heard the stories, maybe even felt the twinges yourself.
The worry that one wrong move at the gym will leave you hobbling for days. The concern that you’ve somehow missed your fitness window.
Here’s what I know from working with hundreds of women in this exact situation: those fears are valid, but they’re not the end of your story.
This article delivers proven, effective exercises that build genuine strength without stressing your joints. You’ll discover movements that work *with* your body’s natural changes, not against them. And no, joint-friendly doesn’t mean easy or ineffective—it means smart, sustainable movement that actually delivers results.
The women I’ve guided through these exercises? They’re stronger, more confident, and moving better than they did in their 30s. That can be your reality too.
Why Joint Health Becomes Critical After 40 (And What You Can Do About It)
What’s Really Happening to Your Joints
Your body after 40 undergoes significant changes, and understanding them puts you in control. The cartilage that cushions your joints naturally thins over time. Synovial fluid—the lubricant that keeps everything moving smoothly—decreases. Muscle mass starts declining at about 3-8% per decade after 30, which means less support for your joints.
Here’s where it gets interesting for women specifically: hormonal shifts during perimenopause and menopause directly impact joint health. Estrogen plays a protective role in maintaining cartilage and reducing inflammation. As estrogen levels fluctuate and decline, many women experience joint stiffness and discomfort they never had before.
That high-impact workout you loved in your 30s? It might not feel the same because your body’s shock-absorption system has changed. This isn’t weakness—it’s biology. And once you understand it, you can work with it brilliantly.
The Powerful Truth About Movement and Joint Health
Here’s the myth that needs to die: rest is always best for achy joints. Wrong.
Research consistently shows that the right type of movement actually strengthens and protects joints. When you move, you increase blood flow to cartilage (which doesn’t have its own blood supply), improve the production of synovial fluid, and build the supporting muscles that take pressure off joint structures.
The science-backed benefits are remarkable: increased joint stability, better lubrication, reduced inflammation, and improved range of motion. Women who maintain consistent, appropriate exercise report significantly less joint pain than those who become sedentary.
The key word? *Appropriate.* Not all movement helps.
What Makes an Exercise “Joint-Friendly”
Joint-friendly exercises share specific characteristics. They involve low to moderate impact movements that protect cartilage from excessive wear. They emphasize controlled range of motion with strict focus on form over speed—no jerky, ballistic movements that stress connective tissue.
These exercises use progressive resistance that builds supporting muscle gradually without strain. They balance mobility work (moving joints through their full range) with stability work (strengthening the muscles that control those movements).
Think of it this way: joint-friendly exercise is like upgrading from a cheap suspension system to a high-performance one. You’re building better shock absorbers while improving the overall structure.
The 7 Exercises That Transform Joint Health Without the Pain
Exercise 1: Water Walking or Aqua Aerobics
Water exercise is absolutely transformative for women dealing with joint concerns. The buoyancy reduces joint load by up to 90% while providing natural resistance in every direction you move. You’re getting a complete workout without the pounding.
How to do it: Start in waist-deep water and walk forward, focusing on lifting your knees higher than you would on land. Engage your core and swing your arms naturally. Progress to deeper water for more resistance, or add intervals where you increase your pace for 30 seconds, then recover for 60 seconds.
Try these variations: walking backward (targets different muscle groups), side-stepping (works your outer thighs and hips), or adding arm movements like pushing water forward and pulling it back.
Results you’ll see: Improved cardiovascular fitness without breathlessness, toned muscles throughout your body, reduced joint swelling, and better sleep. Many women report that their “morning stiffness” dramatically improves after just two weeks of consistent water exercise.
Perfect for: Complete beginners who feel intimidated by traditional gyms, anyone with knee or hip pain, women recovering from injury, or those who simply enjoy the meditative quality of water movement.
Exercise 2: Resistance Band Training
Resistance bands are the secret weapon for joint-friendly strength building. Unlike weights that create constant resistance, bands provide variable resistance that adapts to your strength throughout the movement. This means less stress at vulnerable joint angles.
Key moves to master:
– Banded squats: Stand on the band with feet hip-width apart, hold handles at shoulder height, and squat down as if sitting in a chair. The band assists you on the way down and challenges you on the way up. – Chest presses: Anchor the band behind you at chest height, press forward with both arms, and control the return. – Rows: Anchor the band in front of you, pull back squeezing your shoulder blades together. – Lateral raises: Stand on the band and lift arms out to the sides to shoulder height.
Start with lighter resistance and focus obsessively on form. The beauty of bands is that you can easily adjust resistance by changing your grip or using different band strengths.
Build and sculpt: These movements target major muscle groups that support joint stability—your quads and glutes protect your knees, your rotator cuff muscles stabilize your shoulders, and your upper back muscles support proper posture.
Perfect for: Home workouts (bands pack easily for travel too), busy professionals who need efficient 20-minute sessions, and budget-conscious fitness seekers—a quality band set costs less than one month of gym membership.
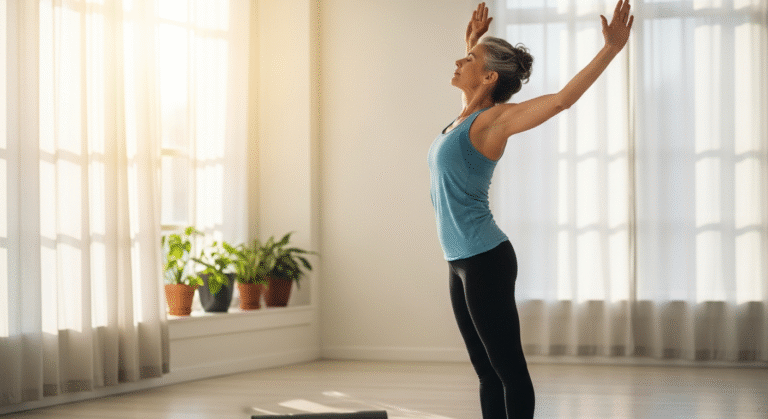
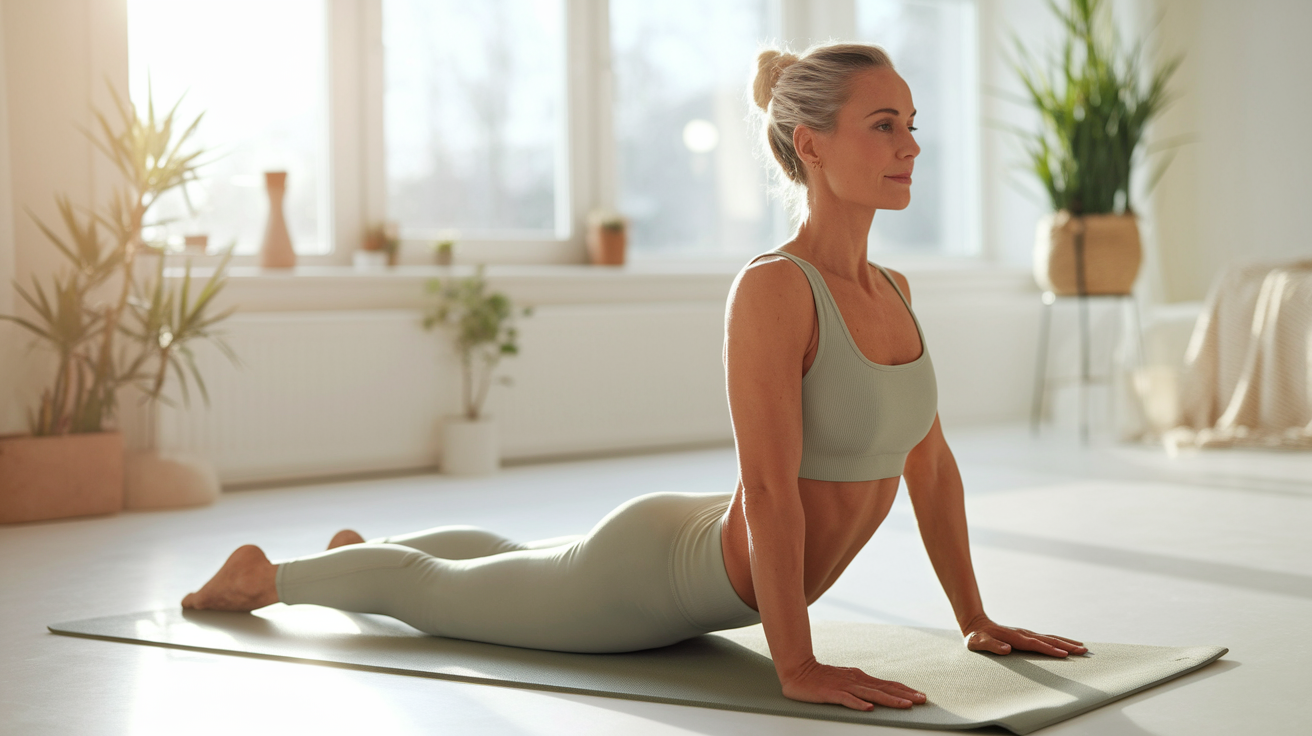
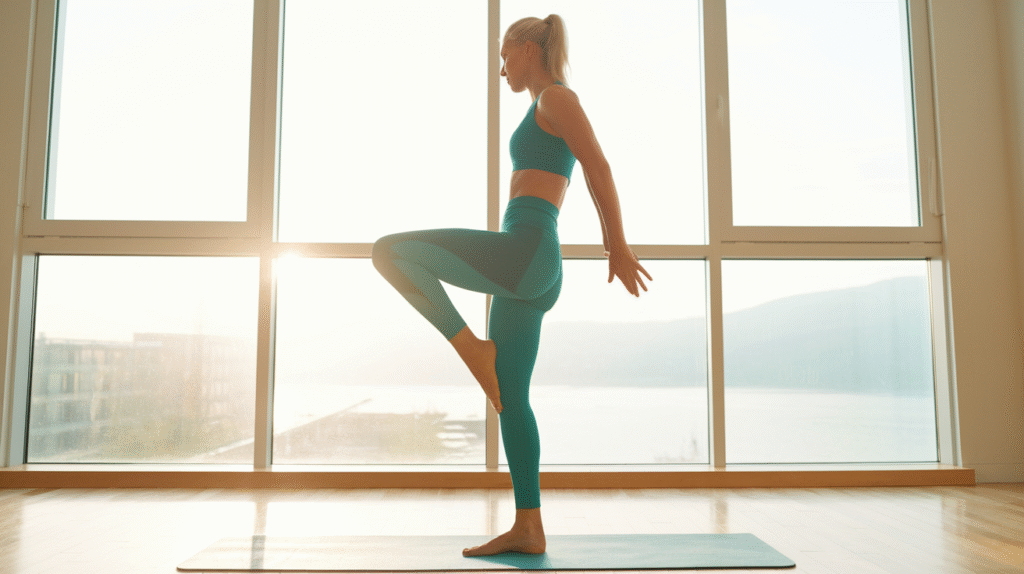
Exercise 3: Modified Yoga Flow
Yoga combines mobility, strength, and mindfulness in a way that’s particularly beneficial for joint health. The focus on alignment and breath creates body awareness that prevents injury in all your daily movements.
Essential poses for joint health:
– Cat-cow: On hands and knees, alternate between arching your back and rounding it. This gently mobilizes your entire spine and warms up shoulder and hip joints. – Modified downward dog: From hands and knees, lift your hips up and back, keeping a slight bend in your knees. This removes pressure from tight hamstrings while strengthening shoulders and core. – Warrior variations: These standing poses build leg strength while improving balance and hip mobility. – Bridge pose: Lying on your back with knees bent, lift your hips. This strengthens glutes and hamstrings—critical for knee and back health.
The key is modifying poses to match your current ability. Tight hamstrings? Keep your knees bent. Sensitive wrists? Use fists or forearms instead. Yoga blocks and straps are inexpensive tools that make poses more accessible.
Powerful benefits: Increased flexibility that makes daily movements easier, better balance that reduces fall risk, stress reduction that lowers inflammation throughout your body, and improved sleep quality.
Perfect for: Those new to fitness (yoga meets you where you are), busy parents who need flexible timing (10 minutes counts), and anyone seeking the mind-body connection that pure strength training doesn’t provide.
Exercise 4: Stationary Cycling or Recumbent Bike
Cycling is non-weight-bearing cardio that strengthens leg muscles while lubricating knee joints through repetitive, smooth motion. The circular pedaling action is gentle on knees, hips, and ankles while delivering serious cardiovascular benefits.
How to maximize results: Set your seat height so there’s a slight bend in your knee at the bottom of the pedal stroke—too low creates excessive knee flexion, too high causes hip rocking. Start with lower resistance and higher cadence (pedal speed), then gradually increase resistance as you build strength.
Try this simple interval protocol: 5-minute warm-up at easy pace, then alternate 2 minutes at moderate intensity with 1 minute easy for 20 minutes, followed by a 5-minute cool-down. This pattern burns more calories and builds more strength than steady-state cycling.
Recumbent bikes offer back support and a more comfortable seat, making them perfect for women with lower back issues. The reclined position also makes reading or watching shows easier if that helps you stay consistent.
Burn and tone: A 30-minute session burns 200-300 calories while strengthening quadriceps, hamstrings, and calves—the muscles that stabilize and protect your knee joints. You’re building the support system your joints need.
Perfect for: Weight loss seekers who need low-impact cardio, those with back issues, multitaskers who like to watch shows while working out, and anyone who finds traditional cardio too jarring.
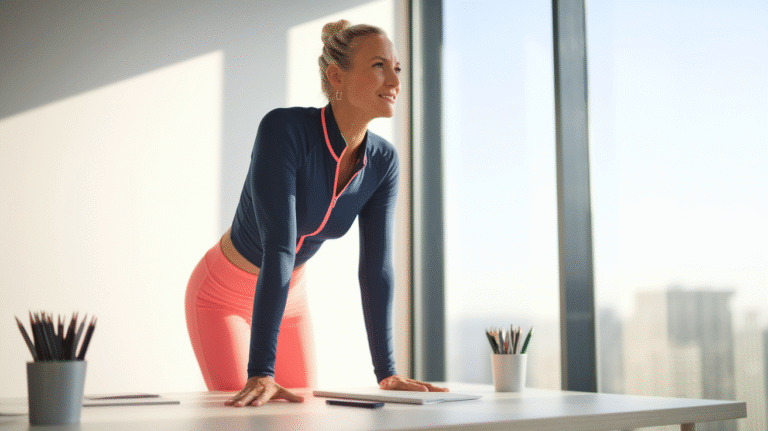
Exercise 5: Wall or Incline Push-Ups
Upper body strength matters enormously for joint health—strong shoulders and arms reduce strain on elbow and wrist joints during daily activities. Wall and incline push-ups build this strength without the wrist and shoulder strain of floor push-ups.
Progression path: Start with wall push-ups, standing arm’s length from a wall. Place hands on the wall at shoulder height and width, then bend elbows to bring your chest toward the wall. Keep your body in a straight line from head to heels.
As this becomes easy, progress to a countertop, then a sturdy chair or bench, and eventually the floor. This gradual progression builds strength safely while allowing your connective tissue to adapt.
Proper form essentials: Keep your core engaged (imagine bracing for a punch), don’t let your hips sag, and lower yourself with control. The eccentric (lowering) phase builds as much strength as the push-up phase.
Sculpt and strengthen: Push-ups work your chest, shoulders, triceps, and core. This upper body strength makes carrying groceries, lifting grandchildren, and pushing yourself up from the floor effortless.
Perfect for: Building confidence (everyone can do wall push-ups), those recovering from shoulder or wrist injury, and creating a foundation for more advanced moves. The psychological boost of progressing through variations is powerful.
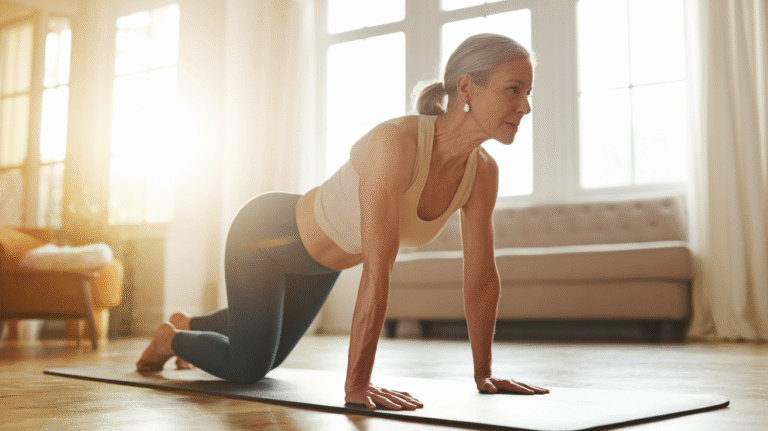
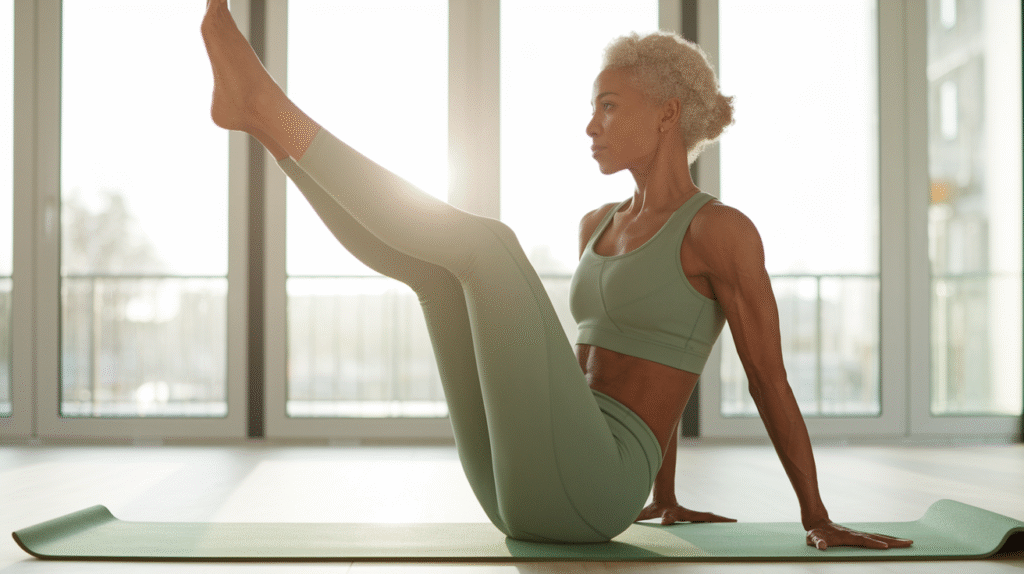
Exercise 6: Bird Dog and Core Stabilization
Core stability protects your spine and improves balance—both critical for joint health throughout your body. The bird dog is low-impact core work that builds functional strength for real-life movement.
Proper technique: Start on hands and knees with your spine neutral (not arched or rounded). Extend your right arm forward and left leg back simultaneously, creating a straight line from fingertips to toes. Hold for 3-5 seconds, then return and switch sides. The challenge is maintaining a stable spine without rotating or tilting.
Alignment cues: Keep your hips level (imagine balancing a cup of water on your lower back), engage your core, and breathe naturally. If you’re rotating or wobbling, you’re moving too fast or extending too far.
Start with 10 reps per side, building to 15-20 as you get stronger. Progress by holding the extended position longer or adding a light ankle weight.
Transform your stability: Better posture that reduces neck and shoulder pain, reduced back pain from improved spinal support, improved balance that prevents falls, and enhanced daily functional movement—everything from bending to pick something up to reaching overhead becomes easier and safer.
Perfect for: Desk workers with back issues (this counteracts hours of sitting), preventing falls (balance is use-it-or-lose-it), and building the core strength that supports every other exercise.
Exercise 7: Tai Chi or Slow-Flow Movement
Tai chi involves gentle, deliberate movements that improve proprioception (your body’s awareness of where it is in space) and joint awareness. This ancient practice delivers modern benefits backed by solid research.
The slow, controlled movements strengthen muscles around joints while improving balance and coordination. Studies show tai chi reduces fall risk by up to 50% in older adults—a critical benefit since falls often lead to joint injuries that create a downward spiral.
Getting started: Look for beginner tai chi classes at community centers, senior centers, or online. YouTube offers free beginner routines. Start with 10-15 minute sessions focused on basic movements and weight shifting.
Basic principles: Move slowly and deliberately, maintain soft knees (never locked), breathe deeply and naturally, and focus on smooth transitions between movements. The mental focus required provides meditation-like benefits.
Proven benefits: Enhanced balance and coordination, reduced fall risk, mental clarity and stress reduction, improved joint flexibility, and better body awareness that translates to safer movement in all activities.
Perfect for: Active recovery days when you need gentle movement, stress management (the meditative quality is powerful), those seeking mind-body connection, and anyone who finds traditional exercise boring—tai chi engages your mind completely.
Creating Your Effective Joint-Friendly Workout Routine
How to Structure Your Week for Maximum Results
Consistency beats intensity every single time. Here’s a realistic weekly schedule that delivers results without overwhelming your joints or your schedule:
Monday: Resistance band training (20-30 minutes) focusing on upper body Tuesday: Water walking or cycling (20-30 minutes) Wednesday: Modified yoga flow (20-30 minutes) Thursday: Resistance band training focusing on lower body Friday: Tai chi or gentle movement (15-20 minutes) Saturday: Longer cardio session—cycling or water aerobics (30-40 minutes) Sunday: Rest or gentle stretching
Notice the pattern: strength work alternates with cardio, different muscle groups get focused attention, and there’s built-in recovery time. This prevents overuse injuries while building comprehensive fitness.
Can’t commit to six days? Start with three: one resistance training session, one cardio session, and one mobility/flexibility session. That’s enough to see real results.
Progression Without Pain: When and How to Level Up
You’re ready to increase intensity when your current routine feels comfortable for two consecutive weeks. “Comfortable” means you can complete all reps with good form and you’re not excessively sore the next day.
Safe progression strategies: – Increase reps before increasing resistance (master 15 good-form reps before adding resistance) – Add one set before adding weight – Increase workout duration by just 5 minutes at a time – Progress one exercise at a time, not everything simultaneously
Understanding discomfort vs. pain: Muscle fatigue and mild soreness 24-48 hours after exercise is normal—that’s your body adapting. Sharp pain during exercise, joint pain that worsens with activity, or pain that persists beyond 48 hours signals a problem. Stop, rest, and potentially consult a healthcare provider.
Essential Equipment for Home Workouts
You don’t need an expensive gym membership or home gym. Here’s what actually matters:
Budget-friendly basics: – Resistance band set with multiple strengths ($15-25) – Yoga mat for cushioning ($20-30) – Sturdy chair for support and incline exercises (use what you have)
Nice-to-have additions: – Light dumbbells, 5-10 pounds ($20-40) – Foam roller for muscle recovery ($15-30) – Exercise ball for core work ($15-25)
Free alternatives: Use water bottles or canned goods as light weights, a towel instead of a yoga mat, a wall instead of resistance bands for some exercises, and your own body weight for countless movements.
Total investment for basics: under $100. That’s less than three months of most gym memberships.
Warm-Up and Cool-Down: The Non-Negotiables
Never skip these. Your joints need preparation before exercise and recovery afterward—this matters more after 40 than ever before.
5-minute joint mobility warm-up: 1. Neck rolls: 5 each direction 2. Shoulder circles: 10 forward, 10 backward 3. Arm circles: 10 each direction 4. Hip circles: 10 each direction 5. Ankle circles: 10 each direction 6. Gentle torso twists: 10 total 7. Knee lifts: 10 each leg
This literally lubricates your joints and increases blood flow to muscles.
Post-workout stretches (hold each 30 seconds): – Calf stretch – Hamstring stretch – Hip flexor stretch – Chest stretch – Shoulder stretch – Neck stretches
These enhance flexibility and prevent the stiffness that often appears hours after exercise. The cool-down also signals your nervous system to shift from “work mode” to “recovery mode.”
Troubleshooting Common Challenges and Staying Consistent
“I Don’t Have Time for Another Thing”
I hear this constantly, and I get it—your life is full. Here’s the truth: you don’t need hour-long workouts to see results.
15-minute effective workouts: Choose three exercises from the list above. Do each for 3 minutes with 1-minute rest between. That’s 14 minutes total. Three times per week, you’ve invested 42 minutes and you’ll see real changes.
Stack exercise with existing routines: Do wall push-ups while your coffee brews. Practice bird dogs while watching your favorite show. Do resistance band rows during phone calls. These moments add up.
The realistic truth: Three 20-minute sessions per week beats seven planned hour-long sessions that never happen. Consistency trumps duration every single time. Stop waiting for the “perfect” time—it doesn’t exist.
“What If I Have Existing Joint Pain or Injuries?”
When to consult a healthcare provider: If you have sharp pain during specific movements, recent injury (within 6 months), diagnosed arthritis or other joint conditions, or if you’re simply unsure, get professional guidance first. A physical therapist can provide specific modifications for your situation.
Modifications for specific issues: – Knee pain: Focus on water exercise, cycling, and resistance band work. Avoid deep squats initially. – Shoulder problems: Skip overhead movements until cleared. Focus on rows and band work at chest height. – Hip discomfort: Water walking and cycling are typically well-tolerated. Avoid wide-stance movements initially.
Working with your body: Some discomfort during the first few sessions is normal as your body adapts. But you should feel *better* after a few weeks, not worse. If pain increases, scale back intensity or try different exercises.
“How Do I Stay Motivated When Results Take Time?”
Track non-scale victories: Better sleep quality, increased energy throughout the day, improved mood, reduced stiffness when getting out of bed, ability to play with grandchildren without pain, carrying groceries without strain. These often appear before visible body changes.
Build habits that stick: Link exercise to existing habits (coffee and push-ups, TV and yoga, lunch break and walking). Remove barriers (lay out workout clothes the night before, keep bands visible). Make it easy to start—commit to just 5 minutes, knowing you’ll usually continue once you begin.
Find your “why”: Aesthetics fade as motivation. What’s your deeper reason? Being active with grandchildren? Maintaining independence as you age? Proving to yourself that you’re strong? Write it down and review it when motivation wanes.
“I’m Worried I’m Too Out of Shape to Start”
This fear stops more women than any physical limitation. Here’s what you need to hear: starting from where you are is the most powerful choice you can make.
Every exercise has beginner modifications: Can’t do a wall push-up? Stand closer to the wall. Can’t balance for bird dog? Keep your hand and knee on the ground and just focus on engaging your core. Struggle with water walking? Start in shallow water and walk slowly.
The empowering reality: Every expert was once a beginner. The woman crushing workouts at the gym? She started somewhere. The difference between her and someone still sitting on the couch isn’t talent or genetics—it’s that she started and stayed consistent.
You don’t need to be in shape to start. You start to get in shape. That’s how this works.
Your Joints, Your Strength, Your Future
Joint-friendly exercise isn’t about accepting limitations—it’s about building strength intelligently. These seven exercises strengthen muscles that support your joints, improve mobility that makes daily life easier, and reduce pain that’s been holding you back.
Your 40s, 50s, and beyond can genuinely be your strongest, most active years. The women I work with consistently tell me they feel better at 50 than they did at 35. That’s not luck—it’s the result of smart, consistent movement.
Your action steps this week: 1. Choose 2-3 exercises from this list that appeal to you 2. Schedule three 20-minute sessions in your calendar (treat them like important appointments) 3. Gather any basic equipment you need 4. Start with the beginner modifications and focus on form 5. Track how you feel—energy, sleep, mood, pain levels
Starting is more important than perfection. Your body is remarkably adaptable, and it’s waiting for you to give it the movement it craves.
Begin with one exercise today. Listen to your body. Celebrate every step forward, no matter how small. Your future self—moving freely, feeling strong, living fully—will thank you for starting now.
What exercise will you try first? Your journey to stronger, healthier joints starts with that single choice.