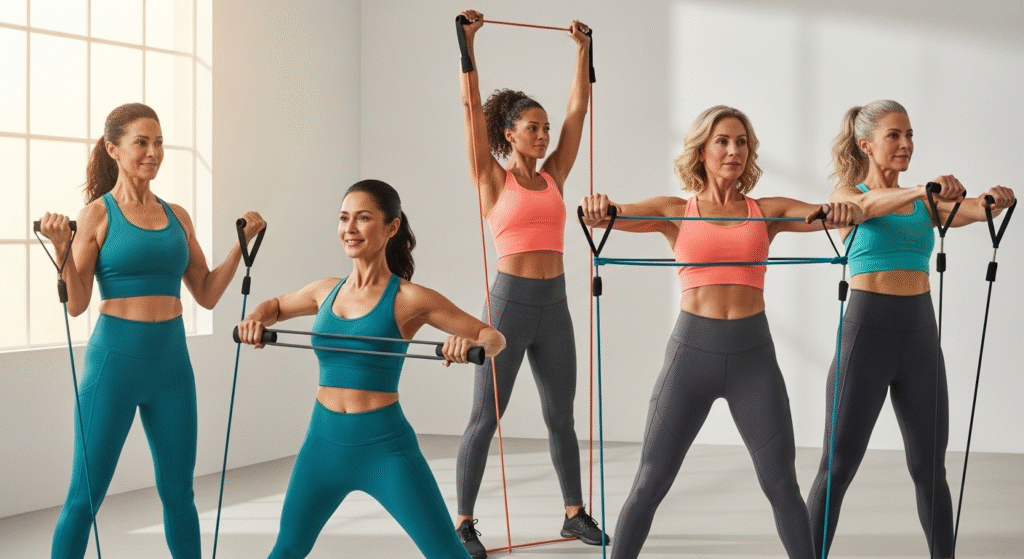
7 Effective Resistance Band Workouts for Women Over 40
Remember when you could bounce back from workouts without a second thought? If you’re over 40, you’ve probably noticed that your body responds differently now—and that’s completely normal.
Maybe you wake up with aches that weren’t there before, or perhaps you’ve noticed that your usual workout routine doesn’t deliver the same results it once did.
Here’s the truth: Your body is changing, but that doesn’t mean slowing down or accepting weakness as inevitable. It means working smarter, not harder.
The good news? Resistance bands are the ultimate solution for safe, effective strength training that actually works with your body’s current needs.
Unlike heavy weights that can stress your joints or complicated gym machines that feel intimidating, resistance bands offer progressive resistance that adapts to your strength level while protecting your joints.
I’ve watched countless women over 40 transform their strength, energy, and confidence using these simple tools. They’re not just convenient—they’re genuinely effective for addressing the specific challenges women face after 40: muscle loss, metabolism slowdown, bone density concerns, and joint sensitivity.
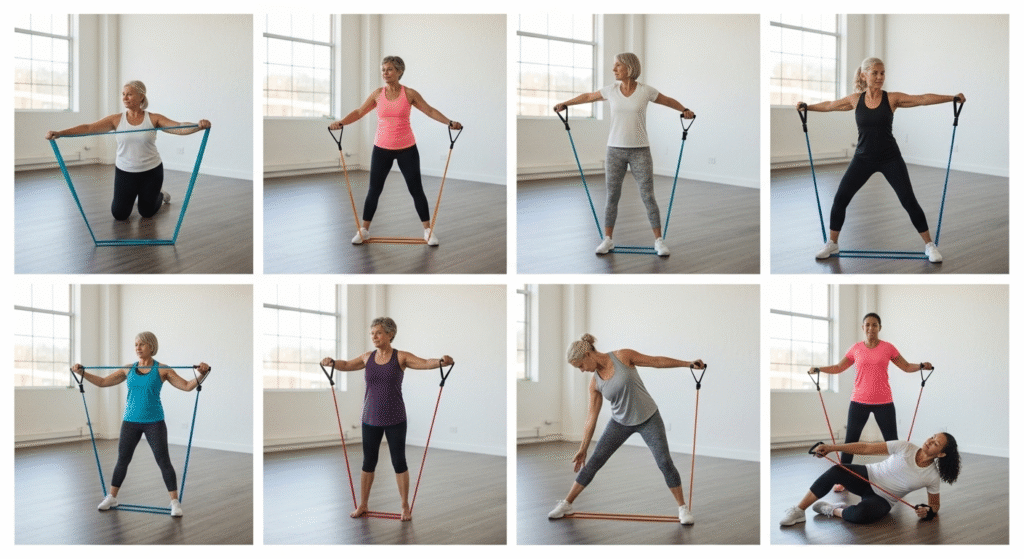
In this guide, you’ll discover seven complete resistance band workouts targeting every major muscle group. Each workout includes step-by-step instructions, proper form tips, and realistic expectations for results. Whether you’re completely new to strength training or getting back into fitness after a break, these workouts meet you exactly where you are.
You’re not starting over—you’re starting smarter. Let’s build the strength you deserve.
Why Resistance Bands Are Perfect for Women Over 40
Joint-Friendly Strength Building
Your joints matter more now than ever, and resistance bands respect that reality. Unlike dropping heavy weights or jarring movements, bands provide smooth, controlled resistance throughout every exercise.
The tension increases gradually as you stretch the band, which means your muscles work hard without the impact that can aggravate knees, shoulders, or hips.
This progressive resistance is brilliant for maintaining bone density—something every woman over 40 needs to prioritize. Studies show that resistance training helps combat the bone loss that accelerates after menopause, but you don’t need to lift heavy barbells to get these benefits.
The constant tension from resistance bands stimulates bone-building cells effectively while keeping stress on your joints minimal.
The beauty of bands is that they force you to control both the concentric (lifting) and eccentric (lowering) phases of each movement.
This controlled resistance builds functional strength—the kind that helps you carry groceries, lift grandchildren, or simply move through your day with confidence.
Convenient and Budget-Friendly
Let’s talk practicality. A quality set of resistance bands costs less than $30 and fits in your purse. Compare that to gym memberships running $50+ monthly or home equipment costing hundreds of dollars. You can work out in your living room before your morning coffee, in a hotel room while traveling, or even outdoors at a park.
This convenience eliminates the most common excuse for skipping workouts: lack of time. No driving to the gym, no waiting for equipment, no scheduling around crowded class times. Your workout happens when and where it works for you. For busy women juggling careers, family, and personal commitments, this flexibility makes consistency actually achievable.
Proven Results for Changing Bodies
After 40, women naturally lose about 3-5% of muscle mass per decade—a process called sarcopenia. This muscle loss directly impacts your metabolism, making weight management more challenging. Resistance training reverses this process by building and maintaining lean muscle tissue that burns calories even at rest.
The hormonal shifts during perimenopause and menopause also respond positively to strength training. Regular resistance workouts help balance cortisol levels, improve insulin sensitivity, and support better sleep quality. These aren’t just fitness benefits—they’re life-quality improvements.
Women who commit to consistent resistance band training report tangible results: better posture that reduces back pain, improved balance that prevents falls, increased energy throughout the day, and clothes that fit better regardless of what the scale says. These real-world benefits matter far more than any number.
Essential Tips Before You Start Your Resistance Band Journey
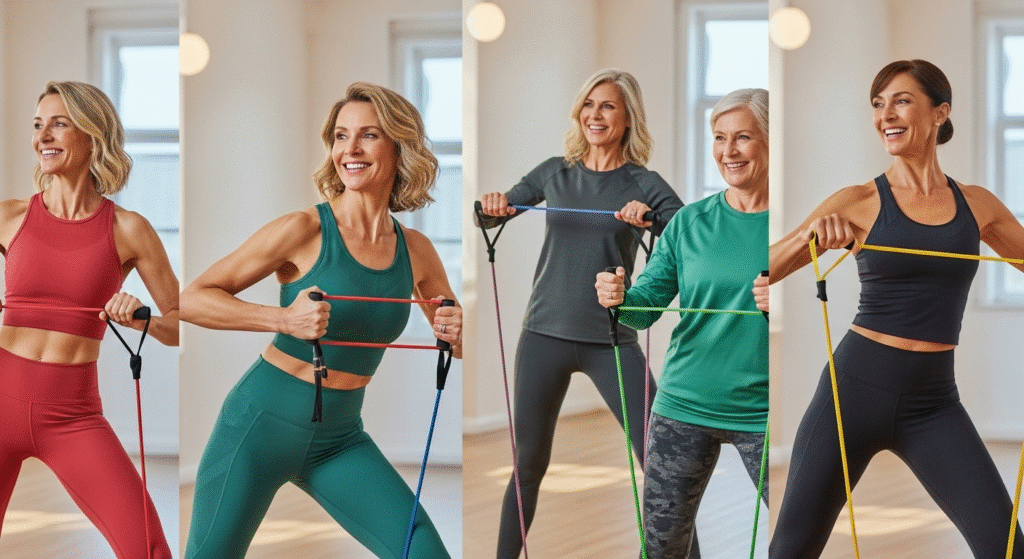
Choosing the Right Resistance Bands
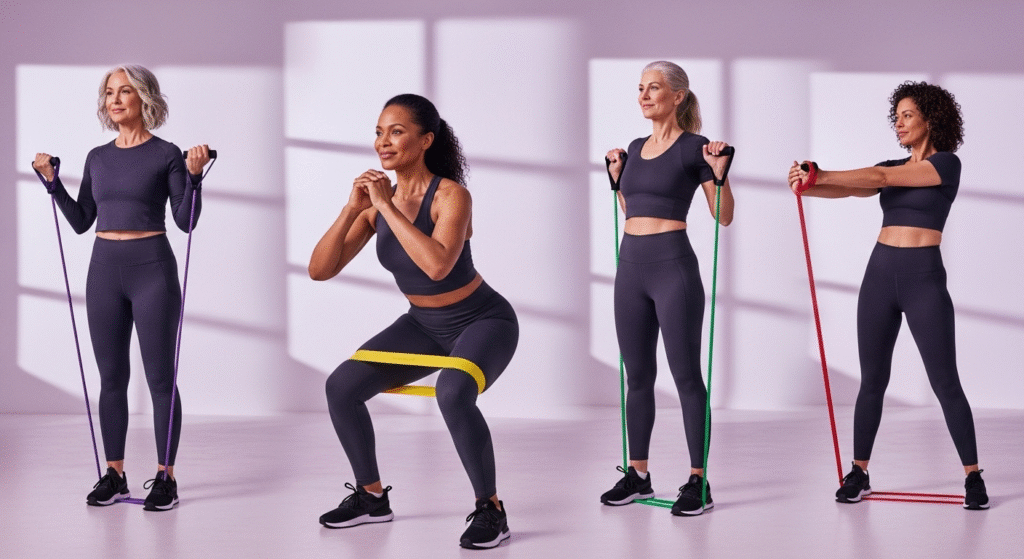
Walking into the world of resistance bands can feel overwhelming with so many options available. Let me simplify this for you. There are three main types, and each serves different purposes.
Loop bands (also called mini bands) are continuous circles perfect for lower body work—think squats, glute bridges, and lateral walks. They typically come in sets with varying resistance levels marked by different colors.
Tube bands with handles look like jump ropes with handles on each end. These excel for upper body exercises like rows, chest presses, and bicep curls. The handles provide comfortable grip and control.
Flat therapy bands (or strip bands) are long, flat pieces of elastic without handles. These work beautifully for stretching, mobility work, and exercises where you need to wrap the band around your hands for custom grip width.
For beginners over 40, I recommend starting with a set that includes light, medium, and heavy resistance. Light bands typically offer 5-10 pounds of resistance, medium bands 10-20 pounds, and heavy bands 20-30 pounds. Don’t let these numbers fool you—a medium resistance band will challenge you more than you expect because the tension increases throughout the movement.
Here’s a simple guideline: If you can complete 15 repetitions with perfect form and still feel like you could do 5 more, the resistance is too light. If you can’t complete 8 repetitions with proper form, the resistance is too heavy. You want that sweet spot where 10-12 reps feel challenging but achievable.
Quick Safety Guidelines
Your warm-up isn’t optional—it’s essential. Spend five minutes doing gentle movement before picking up your bands. March in place, do arm circles, rotate your hips, or simply walk around. This increases blood flow to your muscles and prepares your joints for work.
Form always trumps speed or resistance level. One properly executed repetition builds more strength and prevents more injuries than ten sloppy ones. Move deliberately, maintain control throughout the entire range of motion, and never sacrifice form to complete more reps.
Listen to your body’s signals—and know the difference between productive discomfort and warning pain. The burn of working muscles feels different from the sharp or shooting pain that signals something’s wrong. If an exercise causes pain in your joints (not muscles), stop immediately and either modify the movement or skip it entirely.
Rest days aren’t weakness—they’re when your muscles actually grow stronger. Plan for at least one full rest day between resistance training sessions for the same muscle groups. Your body rebuilds and strengthens during recovery, not during the workout itself.
Setting Realistic Goals
Start with two to three resistance band sessions per week. This frequency gives you enough stimulus for strength gains while allowing adequate recovery time. As you build consistency over several weeks, you can gradually increase to four sessions if desired.
Focus on consistency over intensity. The woman who does three moderate workouts every week for three months will see dramatically better results than the woman who does one intense workout sporadically. Progress comes from regular practice, not occasional heroic efforts.
Track your progress beyond the bathroom scale. Notice how many reps you can complete, how the medium band that felt impossible now feels manageable, how your posture improves, or how carrying laundry upstairs feels easier. These functional improvements matter more than pounds lost and provide more sustainable motivation.
Complete Resistance Band Workouts That Deliver Results
Workout #1: Upper Body Toning (Arms, Shoulders, and Back)
This upper body routine targets the muscles that help you maintain great posture and perform everyday tasks with ease. You’ll feel strong, capable, and energized.
Seated Row (Back and Shoulders)
Sit on the floor with your legs extended straight in front of you. Loop the band around the soles of your feet and hold one end in each hand. Sit up tall with your shoulders back and core engaged—imagine a string pulling the crown of your head toward the ceiling.
Pull both ends of the band toward your torso, driving your elbows straight back behind you. Squeeze your shoulder blades together at the end of the movement and hold for one second. This squeeze is where the magic happens—it’s not just about moving your arms. Slowly return to the starting position with control.
Common mistake: Rounding your back or hunching your shoulders forward. Keep your chest proud and your spine neutral throughout the entire movement. This exercise strengthens the muscles that counteract the hunched posture many of us develop from computer work and phone use.
Complete 10-12 repetitions for 3 sets, resting 45-60 seconds between sets.
Bicep Curls (Arms)
Stand on the middle of your resistance band with feet hip-width apart. Hold one end of the band in each hand with your palms facing forward and your arms fully extended by your sides. Keep your elbows tucked close to your ribcage—they shouldn’t move forward or backward during this exercise.
Curl both hands toward your shoulders, keeping your upper arms completely still. Only your forearms should move. Squeeze at the top of the movement, then lower slowly back to the starting position. The lowering phase builds just as much strength as the lifting phase, so don’t rush it.
Beginner modification: Perform one arm at a time, which reduces the total resistance and allows you to focus on perfect form.
Pro tip: Keep your wrists straight and strong—don’t let them bend backward as you curl. This protects your wrist joints and ensures your biceps do the work.
Complete 12-15 repetitions for 3 sets.
Overhead Press (Shoulders)
Stand on the middle of your resistance band with feet shoulder-width apart. Hold the ends of the band at shoulder height with your palms facing forward and your elbows bent at 90 degrees. This is your starting position.
Press both hands straight up overhead until your arms are fully extended but not locked out. Your biceps should end up next to your ears. Slowly lower back to the starting position with control.
This exercise builds shoulder strength that translates directly to everyday activities—reaching high shelves, putting away dishes, or lifting items overhead. Strong shoulders also improve your posture by preventing the forward shoulder roll that causes neck tension.
To increase resistance safely, simply stand with your feet wider apart on the band, which shortens the effective length and increases tension.
Complete 10-12 repetitions for 3 sets.
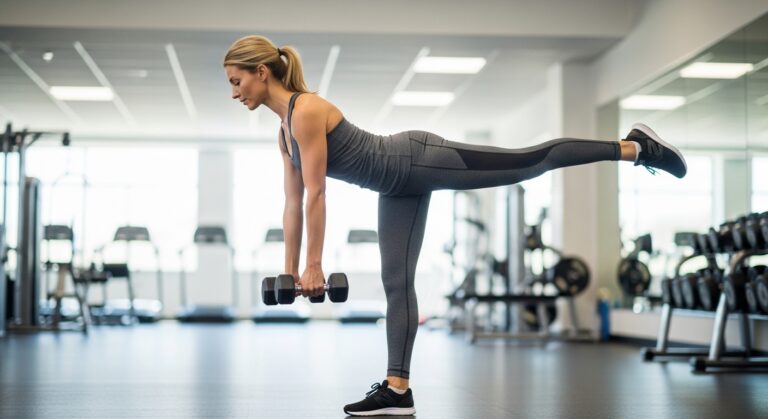
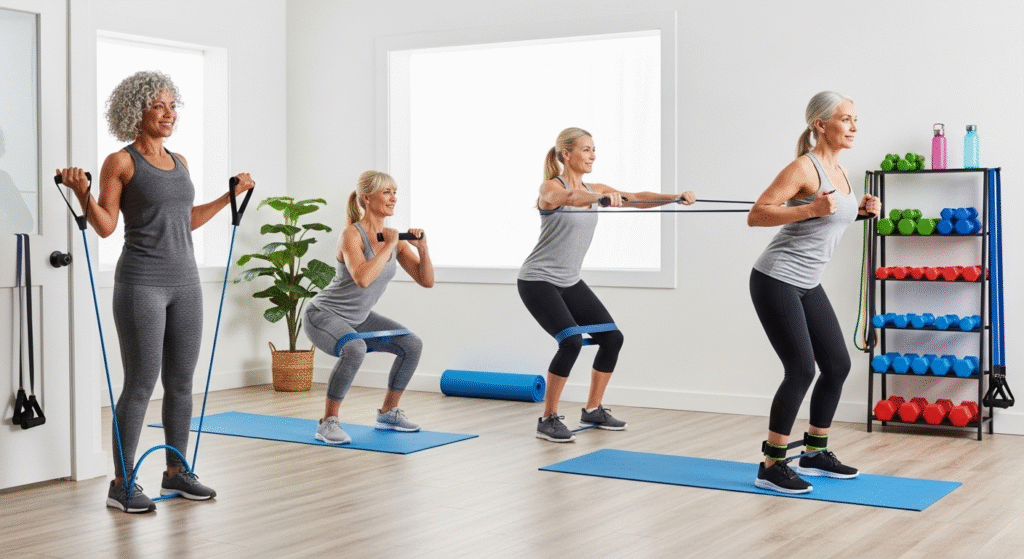
Workout #2: Lower Body Strength (Glutes, Thighs, and Legs)
Strong legs aren’t just about appearance—they’re your foundation for independence and mobility as you age. This workout builds the strength that keeps you active and confident.
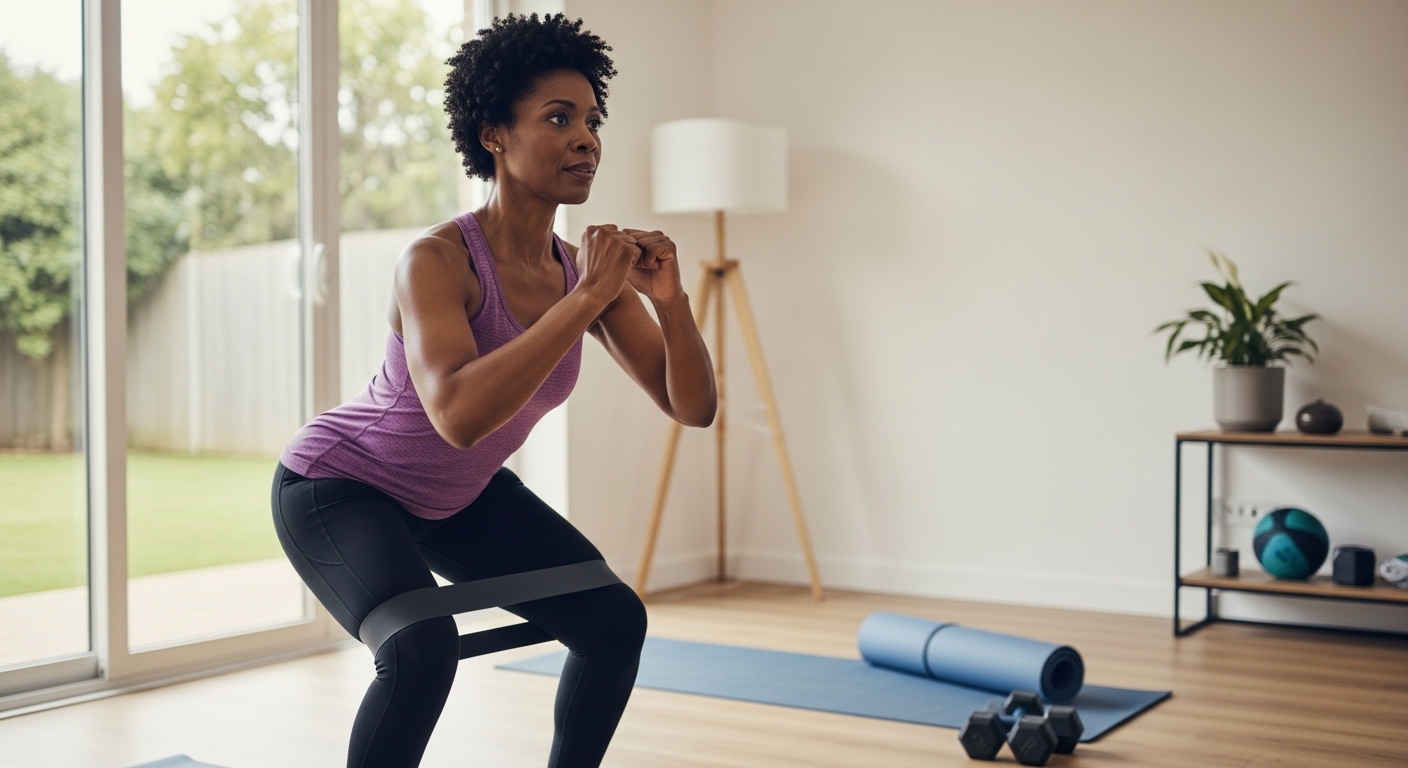
Banded Squats
Place a loop band just above your knees. Stand with feet slightly wider than hip-width apart, toes pointing slightly outward. Place your hands on your hips or hold them in front of your chest.
Push your hips back as if sitting into a chair, lowering until your thighs are roughly parallel to the floor (or as low as comfortable). The band will try to pull your knees inward—actively push against it to keep your knees tracking over your toes. This outward pressure activates your glutes powerfully.
Drive through your heels to stand back up, squeezing your glutes at the top of the movement.
Why squats are essential after 40: They strengthen the exact muscles you use to stand up from chairs, get in and out of cars, and maintain balance. Squats are functional strength at its finest.
Chair modification for beginners: Place a sturdy chair behind you and lower until you lightly touch the seat, then stand back up. This gives you a target depth and builds confidence.
Complete 12-15 repetitions for 3 sets.
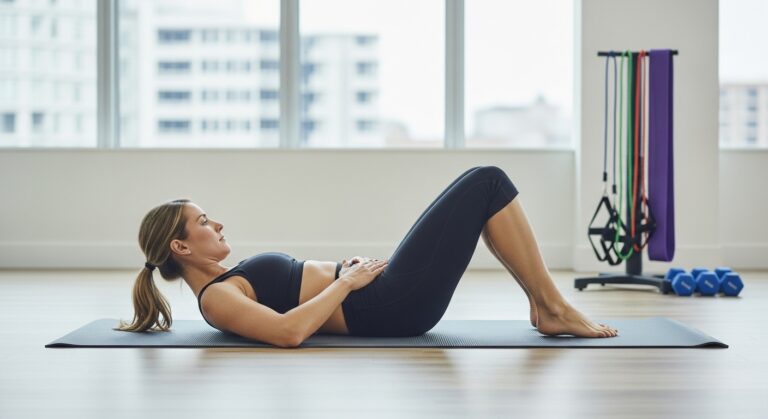
Glute Bridges
Lie on your back with your knees bent and feet flat on the floor, hip-width apart. Place a loop band just above your knees. Rest your arms by your sides, palms down.
Press through your heels to lift your hips toward the ceiling, creating a straight line from your knees to your shoulders. At the top, squeeze your glutes hard and push your knees slightly outward against the band. Hold this position for two seconds.
Lower your hips back down with control, but don’t let them completely rest on the floor between repetitions—keep tension in your muscles throughout the set.
Amazing benefits for lower back health: Glute bridges strengthen the muscles that support your lower spine, often relieving chronic back pain that stems from weak glutes and tight hip flexors.
How to feel it in the right places: If you feel this exercise primarily in your hamstrings (back of thighs) instead of your glutes, try placing your feet slightly farther from your body and focus on squeezing your glutes at the top.
Complete 15 repetitions for 3 sets.
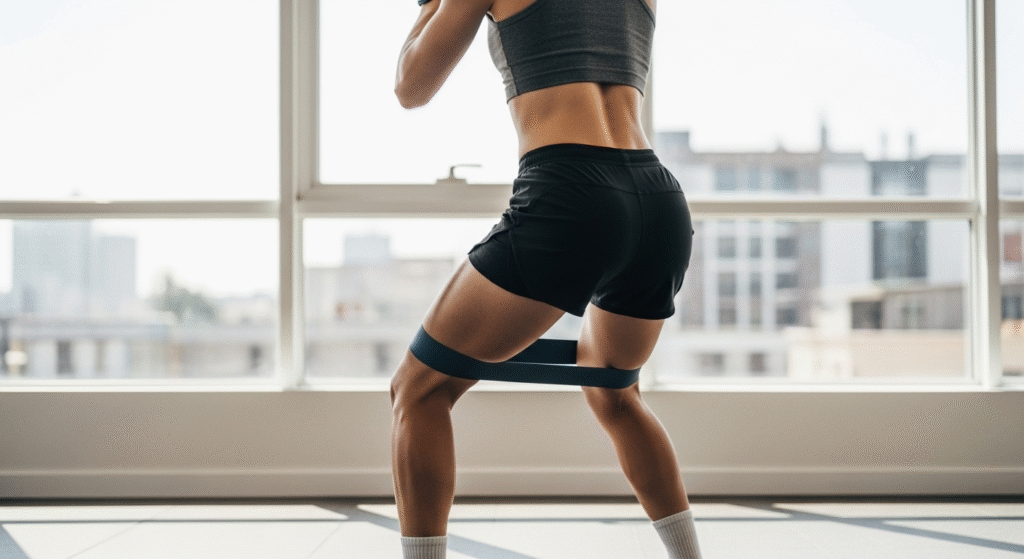
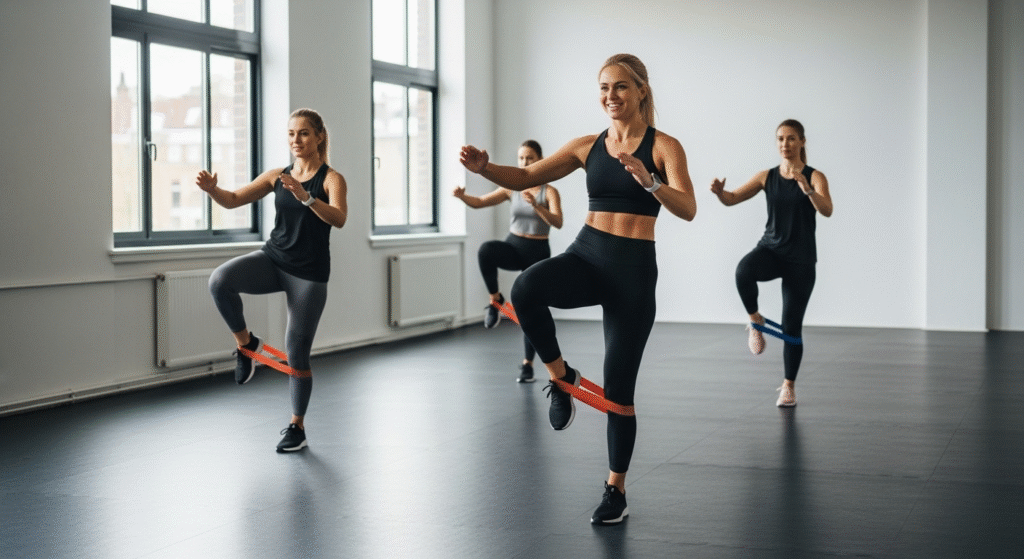
Lateral Band Walks
Place a loop band around your legs just above your ankles. Stand with feet hip-width apart and bend your knees slightly into a quarter-squat position. Keep this athletic stance throughout the entire exercise.
Step your right foot directly to the right, then follow with your left foot to return to hip-width stance. Take 10 steps to the right, then 10 steps back to the left. The band should maintain constant tension—never let your feet come so close together that the band goes slack.
This exercise targets your hip abductors and outer thighs—muscles crucial for hip stability and balance. Strengthening these muscles helps prevent the side-to-side hip wobble that can lead to falls and improves your overall stability during walking and standing.
Complete 10 steps in each direction for 3 sets.
Workout #3: Core Stability and Abdominal Strength
A strong core does far more than create flat abs—it protects your spine, improves your balance, and makes every movement more efficient and powerful.
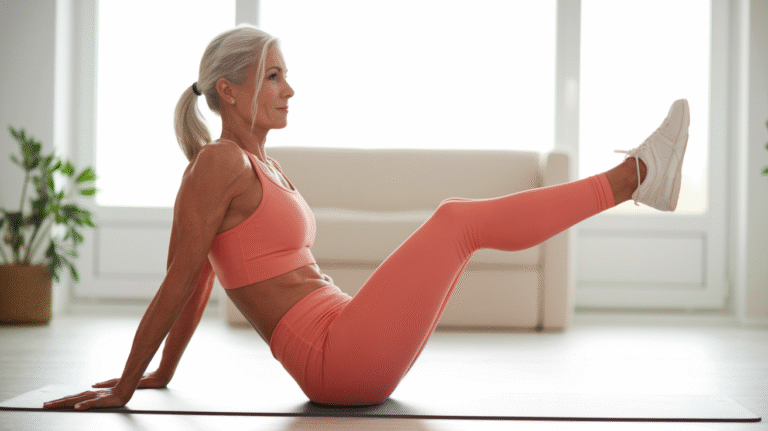
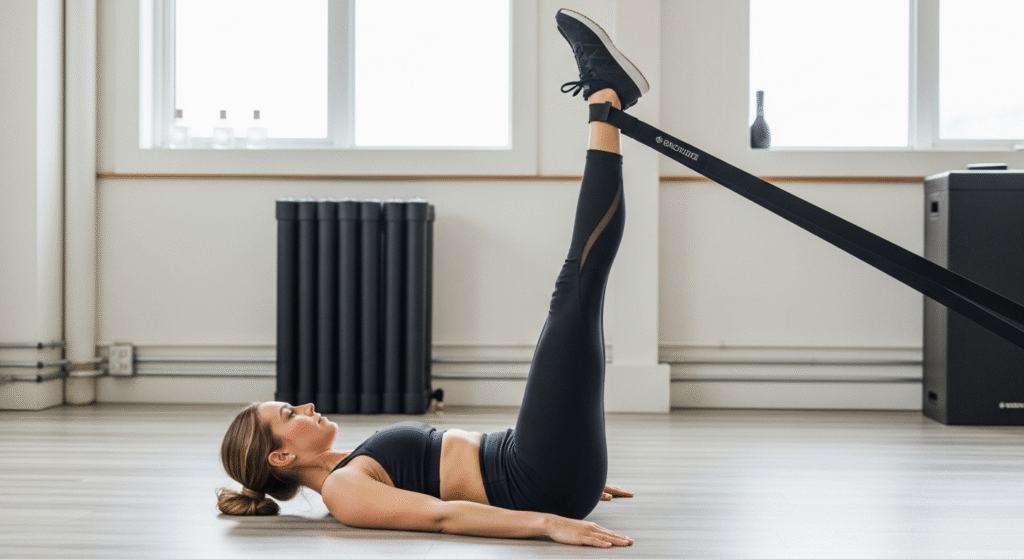
Banded Dead Bug
Lie on your back with a loop band around the arches of your feet. Lift your legs so your knees are directly above your hips, bent at 90 degrees, with your shins parallel to the floor. Extend your arms straight up toward the ceiling.
Slowly straighten your right leg, extending it just above the floor while simultaneously lowering your left arm overhead. Keep your lower back pressed into the floor—this is critical. Return to the starting position, then repeat on the opposite side (left leg extends, right arm lowers).
Core engagement tip: Before moving, take a breath and imagine pulling your belly button toward your spine. This activates your deep core muscles. Maintain this engagement throughout the exercise.
Why this is perfect for preventing back pain: Dead bugs teach your core to stabilize your spine while your limbs move independently—exactly what your core needs to do during daily activities. This functional core strength prevents the compensatory back strain that causes pain.
Complete 10 repetitions per side (20 total) for 3 sets.
Standing Oblique Crunches
Stand on the middle of your resistance band with your right foot. Hold both ends of the band in your right hand and raise your right arm overhead, creating tension in the band. Place your left hand on your hip.
Crunch your torso to the right, bringing your right elbow down toward your right knee while simultaneously lifting your right knee up toward your elbow. Return to the starting position with control.
This exercise targets your obliques—the muscles along the sides of your waist—while also challenging your balance and coordination.
Breathing technique for effectiveness: Exhale forcefully as you crunch, which naturally engages your core muscles more deeply. Inhale as you return to the starting position.
Complete 12-15 repetitions per side for 3 sets.
Plank with Band Row
Place a resistance band under your hands in a plank position (or modified plank on your knees). Hold one end of the band in each hand. Your body should form a straight line from head to heels (or head to knees if modified).
Maintaining your plank position, pull your right hand up toward your ribcage in a rowing motion. Place it back down, then repeat with your left hand. That’s one repetition.
Modified plank option: Drop to your knees to reduce the intensity while you build strength. There’s zero shame in modifications—they’re smart training.
Full-body engagement benefits: This exercise forces your entire core to work overtime to prevent rotation while your arms move. It’s incredibly efficient, working your back, arms, and core simultaneously.
Complete 8-10 repetitions per side (16-20 total rows) for 2-3 sets.
Workout #4: Full Body Metabolic Boost
Compound exercises that work multiple muscle groups simultaneously give you the biggest metabolic bang for your workout time. This routine keeps your heart rate elevated while building total-body strength.
Squat to Overhead Press
Stand on your resistance band with feet shoulder-width apart. Hold the ends of the band at shoulder height with elbows bent. Perform a squat as described earlier, lowering until your thighs are roughly parallel to the floor.
As you stand up from the squat, immediately press the bands overhead in one fluid motion. Lower the bands back to shoulder height, then immediately flow into your next squat.
Why compound exercises are amazing after 40: They’re efficient, functional, and they elevate your heart rate for cardiovascular benefits alongside strength gains. You’re training your body to work as an integrated unit, which is exactly how you move in real life.
Energy-boosting benefits: The combination of lower and upper body work in one movement increases your heart rate, improving cardiovascular fitness while building strength. This metabolic boost continues even after your workout ends.
Complete 10-12 repetitions for 3 sets.
Banded Wood Chops
Anchor your resistance band at shoulder height (wrap it around a sturdy pole or banister, or have it under one foot if anchoring low). Stand sideways to the anchor point and hold the band with both hands extended in front of you.
Rotate your torso, pulling the band diagonally across your body from high to low (or low to high, depending on your anchor). Your arms should remain relatively straight—the movement comes from rotating your torso, not bending your elbows.
Rotational strength for real life: You rotate your body constantly—reaching for your seatbelt, putting away groceries, gardening. This exercise builds the rotational core strength that prevents injury during these everyday movements.
Safe spine rotation tips: Move slowly and deliberately. Keep your hips relatively stable—most rotation should come from your mid-back and core, not from swinging your hips.
Complete 12 repetitions per side for 3 sets.
Reverse Lunges with Bicep Curl
Stand on your resistance band with your right foot. Hold the ends of the band in each hand at your sides. Step your left foot backward into a reverse lunge, lowering until both knees are bent at roughly 90 degrees.
As you hold the lunge position, perform a bicep curl. Lower the curl, then step your left foot forward to return to standing. That’s one repetition. Complete all reps on one side before switching.
Balance improvement benefits: Lunges challenge your balance and coordination while building leg strength. The added bicep curl forces your core to work harder to maintain stability.
Modification option: Skip the bicep curl until you’re comfortable with the lunge movement, or perform the exercise near a wall for balance support.
Complete 10 repetitions per leg for 3 sets.
Workout #5: Gentle Mobility and Recovery Session
Recovery isn’t passive rest—it’s active work that helps your body heal, rebuild, and prepare for your next workout. This gentle session uses light resistance to promote blood flow and maintain mobility.
Banded Chest Opener
Hold your resistance band with both hands behind your back, arms straight. The band should be taut but not stretched to maximum. Gently lift your hands away from your body, opening your chest and squeezing your shoulder blades together.
This stretch counteracts the hunched, rounded shoulder position that develops from computer work, driving, and phone use. You’ll feel an immediate release of tension across your chest and front shoulders.
Hold each stretch for 30 seconds, breathing deeply and relaxing into the position. Complete 4 repetitions.
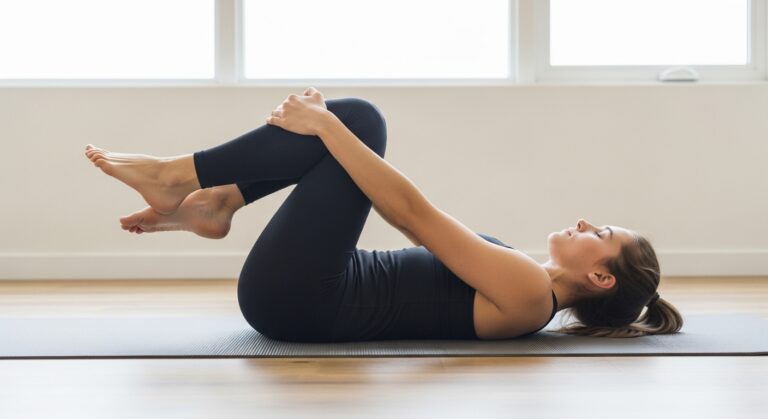
Hip Flexor Stretch with Band
Kneel on your left knee with your right foot planted in front of you (like a proposal position). Loop a band around your left foot and hold the ends in your hands. Gently shift your hips forward while keeping your torso upright, feeling a stretch in the front of your left hip.
Release tight hips from sitting: Hours of sitting shortens your hip flexors, which then pulls on your lower back and causes pain. This gentle stretch releases that tension and restores healthy hip mobility.
Hold for 30 seconds per side, completing 3 repetitions on each side.
Gentle Resistance Band Pulls
Sit or stand comfortably holding a light resistance band with both hands, arms extended in front of you at shoulder height. Gently pull the band apart, stretching it across your chest, then slowly release. The movement should feel easy and controlled—this isn’t a strength exercise, it’s active recovery.
Blood flow and recovery benefits: These gentle pulls increase blood circulation to your upper body muscles, delivering oxygen and nutrients that speed recovery while flushing out metabolic waste products.
Complete 15-20 slow, controlled movements, focusing on deep breathing and relaxation.
Workout #6: Creating Your Perfect Weekly Resistance Band Routine
Having individual workouts is valuable, but the real magic happens when you organize them into a consistent weekly routine that fits your life.
Sample Weekly Schedule
Here’s a realistic schedule that delivers results without overwhelming your calendar:
Monday: Upper Body Toning – Start your week building strength in your arms, shoulders, and back. This workout takes 20-25 minutes and leaves you feeling accomplished.
Tuesday: Rest or gentle walking – Let your upper body recover while staying active with a 20-30 minute walk.
Wednesday: Lower Body Strength – Mid-week focus on legs and glutes builds the foundation for everything else you do.
Thursday: Rest or Gentle Mobility Session – Active recovery keeps you moving without taxing your muscles.
Friday: Full Body Metabolic Boost – End your workout week with an energizing full-body session that elevates your metabolism heading into the weekend.
Saturday (Optional): Core Stability – If you’re feeling great and want an extra session, add the core workout. If you need rest, take it guilt-free.
Sunday: Complete rest – Your body needs at least one day of complete rest from structured exercise. Enjoy it.
How to Progress Safely
After 3-4 weeks of consistent training with the same resistance level, you’ll notice the workouts feeling easier. This is success—your body has adapted and grown stronger. Time to progress.
When to increase resistance: If you can complete the maximum recommended reps (15) with good form and still feel like you could do several more, move up to the next resistance level.
Adding reps vs. adding sets: Start by adding 2-3 reps to each set before adding an additional set. Once you’re consistently completing 15 reps for 3 sets, you can either increase resistance or add a fourth set.
Listening to your body’s signals: Some days you’ll feel strong and energized. Other days, the same workout will feel harder due to stress, sleep quality, or hormonal fluctuations. Adjust accordingly—pushing through fatigue leads to injury, not progress.
Celebrating small victories: Notice when you can use a heavier band, when you complete an extra rep, when an exercise that once felt impossible now feels manageable. These milestones matter more than dramatic transformations because they represent real, sustainable progress.
Combining with Other Activities
Resistance band training works beautifully as part of a complete fitness lifestyle. On rest days, go for walks—aim for 20-30 minutes of moderate-pace walking. This promotes recovery by increasing blood flow without stressing your muscles.
Integrate yoga or stretching on rest days or after your resistance workouts. Flexibility and mobility work complement strength training perfectly, helping you maintain full range of motion and preventing injury.
Build a complete lifestyle approach by thinking beyond structured exercise. Take stairs when available, park farther away, garden, play with grandchildren, dance in your kitchen. Movement throughout your day compounds the benefits of your formal workouts.
Your Journey to Stronger Starts Now
You now have seven complete, effective resistance band workouts designed specifically for your body and your life as a woman over 40. These aren’t generic exercises copied from a fitness magazine—they’re carefully selected movements that address the exact challenges you face: maintaining muscle mass, protecting joint health, boosting metabolism, and building the functional strength that keeps you independent and active.
The amazing benefits of resistance band training extend far beyond physical appearance. Yes, you’ll build lean muscle and improve your body composition. But more importantly, you’ll move through your day with more energy, stand taller with better posture, feel more confident in your physical capabilities, and reduce your risk of the injuries and limitations that many women accept as inevitable parts of aging.
It’s never too late to build strength. Whether you’re 42 or 72, your muscles respond to resistance training. Your bones strengthen. Your balance improves. Your energy increases. The best time to start was twenty years ago, but the second-best time is right now.
Your action steps are simple:
Choose one workout from this guide to try this week. Just one. Don’t overwhelm yourself trying to do everything at once. Start with whichever workout appeals to you most—there’s no wrong choice.
Commit to two sessions this week, then three sessions next week. Build gradually. Consistency beats intensity every single time.
Order a basic set of resistance bands if you don’t already own them. You can find quality sets for under $30 on Amazon or at any sporting goods store. This small investment will serve you for years.
Remember: Consistency is everything. The woman who does three moderate workouts every week for three months will transform her strength, energy, and confidence. The woman who does one intense workout sporadically will see minimal results and likely quit from frustration.
You’re not starting over—you’re starting smarter, with tools and knowledge designed specifically for where you are right now. Your journey to stronger starts today. Pick up those bands and show yourself what you’re capable of.