6 Transverse Abdominis Exercises in 10 Minutes
Remember when you could bend down to tie your shoes without bracing yourself? Or when getting out of bed didn’t require a strategic rolling maneuver? If you’re over 40, you know exactly what I’m talking about.
Here’s what nobody tells you about aging: it’s not just about wrinkles and gray hair. The real changes happen deep inside your core, where a muscle you’ve probably never heard of quietly loses strength year after year.
This muscle—your transverse abdominis—is the difference between moving through life with confidence and wincing every time you pick up a grocery bag.
I’m going to share something that changed my entire approach to fitness after 40. Forget endless crunches. Forget those brutal plank challenges. The secret to a strong, pain-free core isn’t about what you see in the mirror—it’s about what’s happening beneath the surface.
The transverse abdominis is your body’s natural weight belt, wrapping around your midsection like an invisible corset. When it’s strong, everything works better.
Your back stops aching. Your posture improves. You move with the ease you remember from your thirties. And here’s the best part: strengthening it takes just 10 minutes every morning.
These six exercises target this deep core muscle specifically, and they work whether you’re a fitness enthusiast or someone who hasn’t exercised in years.
You don’t need expensive equipment, a gym membership, or even the ability to do a single sit-up. You just need a comfortable space and the willingness to invest 10 minutes in yourself each morning.
This isn’t another fitness fad. It’s a proven approach backed by physical therapists, backed by research, and proven effective by thousands of people over 40 who’ve reclaimed their core strength. Ready to feel the difference? Let’s start with understanding why this matters so much.
Why Your Transverse Abdominis Matters More After 40
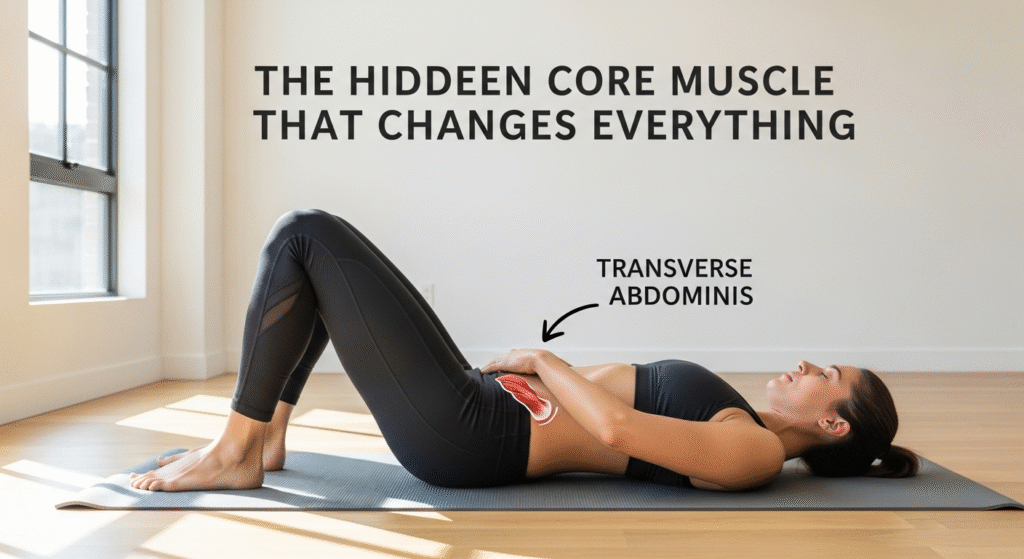
The Hidden Core Muscle That Changes Everything
Your transverse abdominis—let’s call it the TVA—is the deepest layer of your abdominal muscles. Think of it as your body’s built-in support system, wrapping horizontally around your midsection from your ribs to your pelvis. Unlike the rectus abdominis (those “six-pack” muscles everyone obsesses over), the TVA works behind the scenes to stabilize your entire core.
Here’s why this matters: when you reach for something on a high shelf, bend down to pick up your grandchild, or simply stand up from a chair, your TVA fires first. It creates internal pressure that protects your spine and supports your organs. It’s the foundation for every single movement you make.
Traditional ab exercises like crunches and sit-ups? They barely touch the TVA. They work the superficial muscles—the ones you can see—but completely miss the deep stabilizers that actually matter for daily function. That’s why you can do a hundred crunches and still struggle with back pain or poor posture.
The TVA connects directly to your lower back, pelvis, and even your breathing patterns. When it’s strong and active, it takes pressure off your spine, improves your balance, and creates a stable base for every movement. When it’s weak? Everything else has to compensate, leading to pain, instability, and that frustrating feeling that your body just doesn’t work the way it used to.
What Happens to Your Core After 40
Let’s talk about the reality of aging. Around age 40, your body begins losing muscle mass at a rate of about 3-5% per decade. This process, called sarcopenia, affects all muscles—but the deep core muscles are particularly vulnerable because we rarely use them intentionally.
Add hormonal changes to the mix, especially for women going through perimenopause and menopause, and you’ve got a perfect storm for core weakness. Declining estrogen levels affect muscle tone and strength, making it harder to maintain the muscle you have, let alone build new strength.
But here’s what really accelerates the problem: our modern lifestyle. If you spend hours sitting at a desk, driving, or relaxing on the couch, your TVA essentially goes dormant. It’s not being challenged, so it weakens. Your body adapts to what you ask of it, and if you’re not asking your deep core to work, it won’t.
This matters for everything. Weak TVA means poor balance, increasing your fall risk. It means chronic lower back pain that makes simple activities miserable. It means that protective support system around your spine stops doing its job, leaving you vulnerable to injury from movements that should be effortless.
The Life-Changing Benefits You’ll Notice
When you strengthen your TVA consistently, the changes are remarkable. First and most noticeably, lower back pain often decreases dramatically or disappears entirely. That nagging ache you’ve accepted as “just part of getting older”? It’s often directly related to core weakness, and it’s not permanent.
Your posture transforms. Instead of that forward slouch that seems to get worse every year, you’ll stand taller naturally. Your shoulders pull back, your spine aligns, and you look—and feel—more confident. People notice. You’ll notice it in photos, in mirrors, in the way clothes fit.
Balance and stability improve significantly. Those moments of feeling unsteady on your feet, or grabbing for support when you shouldn’t need it? They become less frequent. Your body feels more solid, more grounded, more trustworthy.
For women especially, TVA strength supports pelvic floor health. These muscles work together as a unit, and strengthening your deep core often helps with bladder control and pelvic stability. This is the stuff nobody talks about but everyone over 40 experiences.
And yes, your midsection will look flatter and more toned—but not because you’re doing endless crunches. A strong TVA pulls everything in and up naturally, creating that supported, streamlined appearance without extreme dieting or exhausting workouts.
How to Activate Your Transverse Abdominis (The Foundation)
Understanding the “Hollowing” Technique
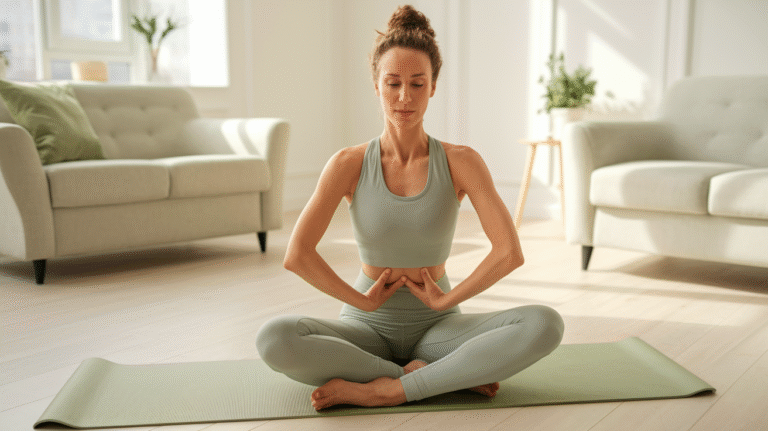
Before we dive into specific exercises, you need to learn how to actually engage your TVA. This is called the “hollowing” technique, and it’s completely different from sucking in your gut or holding your breath.
Here’s the simple explanation: imagine drawing your belly button back toward your spine. Not up toward your ribs, not by holding your breath—just gently pulling inward and slightly upward. It’s a subtle movement that creates tension in your deep core.
The crucial difference between sucking in and true TVA activation is breathing. When you suck in your stomach, you typically hold your breath and create tension in your superficial muscles. That’s not what we want. True TVA engagement happens while you breathe normally and naturally. Your chest should still expand with each inhale, but your deep core remains gently engaged.
Think of it like this: your TVA is a corset that you’re gently tightening. You’re creating internal support and stability, but you’re not restricting your ability to breathe or move. You should be able to talk normally, breathe deeply, and maintain the engagement for extended periods without strain.
Common mistakes include holding your breath (this defeats the entire purpose), engaging too forcefully (you’ll fatigue quickly and recruit the wrong muscles), and forgetting to maintain the engagement during movement (the point is to stabilize while moving, not just while holding still).
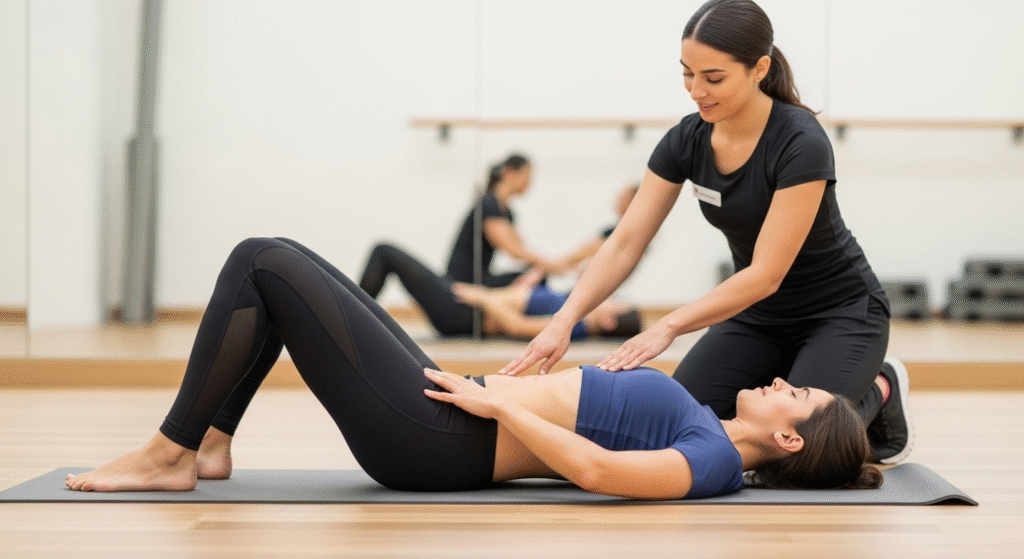
The Perfect Pre-Exercise Test
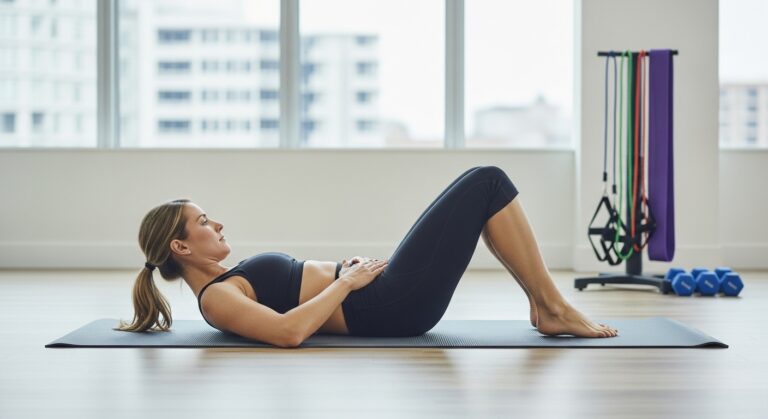
Before you start any of the six exercises, practice finding your TVA activation. Lie on your back with your knees bent and feet flat on the floor. Place your fingertips on your lower abdomen, about an inch inside your hip bones.
Now, take a normal breath in. As you exhale, gently draw your belly button toward your spine. You should feel a subtle tension under your fingertips—not a bulging or pushing out, but a gentle tightening and flattening. That’s your TVA engaging.
Hold that engagement for 5-10 seconds while breathing normally. Your fingers should feel that tension remain constant even as your chest rises and falls with your breath. If the tension disappears when you inhale, you’re not truly engaging the TVA—you’re just holding your breath.
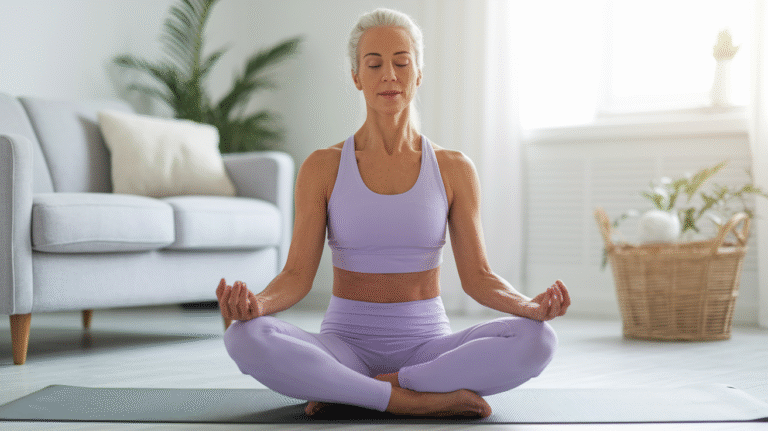
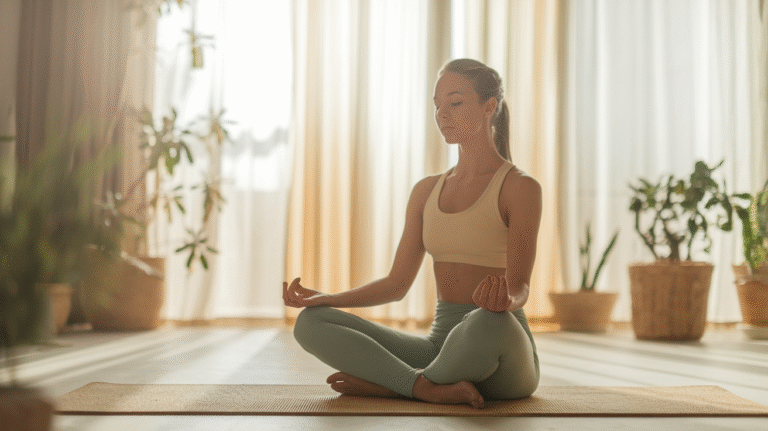
Practice this in different positions: lying down, sitting in a chair, and standing. The engagement should feel similar in all positions, though it might be easier to find initially while lying down. This is your foundation. Master this feeling before moving on to the exercises, because every single movement will require this same activation.
Setting Up Your Morning Routine for Success
The absolute best time to do these exercises is first thing in the morning on an empty stomach. Your body is fresh, your mind is clear, and you haven’t accumulated the fatigue and tension of the day yet. Plus, starting your morning with intentional movement sets a positive tone for everything that follows.
You don’t need much equipment—just a yoga mat or soft surface to lie on, and comfortable clothes that allow you to move freely. No shoes necessary. No weights required. Just you and 10 minutes.
Create a dedicated space if possible. It doesn’t have to be large—just a quiet corner where you can roll out your mat without distractions. Having a consistent spot makes it easier to build the habit because your environment cues the behavior.
Track your progress in a simple way. Maybe it’s checking off days on a calendar, or keeping a quick journal note about how you feel. After two weeks, you’ll start noticing real differences. After a month, these exercises will feel natural and essential. After three months, you won’t recognize your old core weakness.
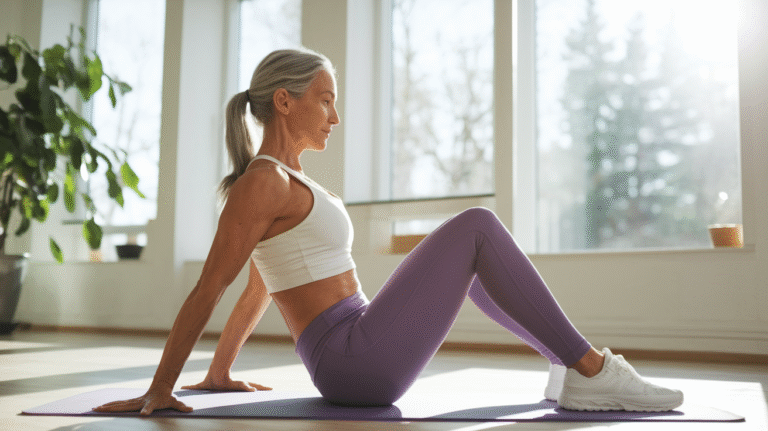
Exercise 1: Supine Stomach Vacuum (The Ultimate Starter)
Why This Exercise Is Perfect for Beginners
The supine stomach vacuum is hands-down the safest, most accessible way to begin strengthening your TVA. It isolates the deep core muscle without putting stress on your back, neck, or joints. You can literally do this before you even get out of bed in the morning.
This exercise builds what physical therapists call “mind-muscle connection”—your brain’s ability to consciously engage specific muscles. For the TVA, which most people have never intentionally activated, this connection is crucial. You’re teaching your nervous system a new pattern, and the stomach vacuum is the perfect teaching tool.
Research shows that isometric holds (holding a position without movement) are incredibly effective for deep core strengthening. The stomach vacuum is pure isometric work, allowing you to focus entirely on the quality of engagement without worrying about coordination or balance.
It’s proven effective across all fitness levels. Whether you’re recovering from back surgery or you’re an athlete looking to improve performance, this exercise delivers results. The beauty is in its simplicity and scalability—you can make it easier or harder just by adjusting hold times.
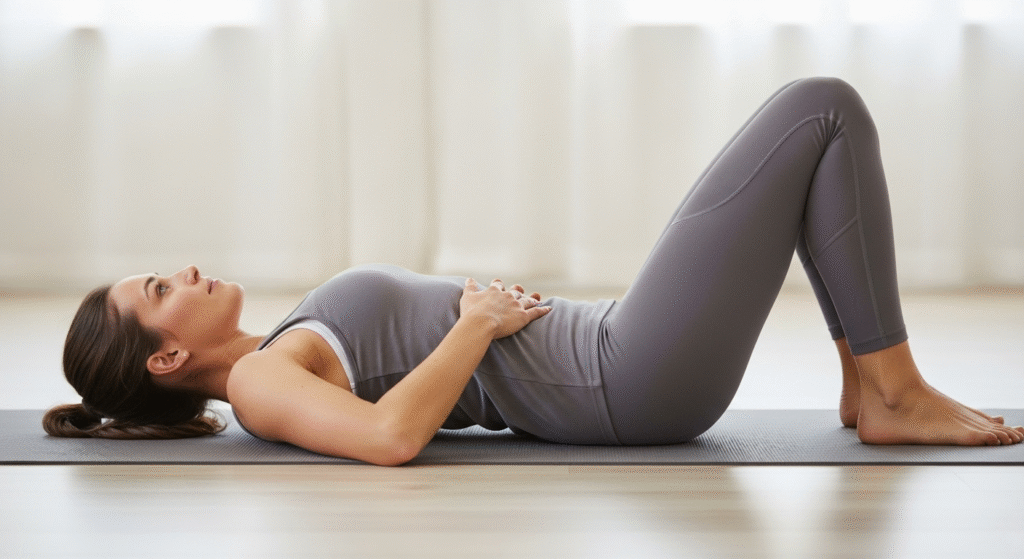
Step-by-Step Instructions
Start by lying on your back on a comfortable surface. Bend your knees and place your feet flat on the floor, about hip-width apart. Let your arms rest at your sides, palms down. This is your starting position.
Take a deep breath in through your nose, allowing your lower belly to expand naturally. Don’t force it—just let your abdomen relax completely as air fills your lungs. This is the inhale phase, and it’s important for creating the contrast with the engagement that comes next.
Now exhale slowly through your mouth, and as you do, draw your belly button down toward the floor. Imagine you’re trying to touch your belly button to your spine. This is the hollowing motion—your abdomen should flatten and pull inward.
Hold this position for 5-10 seconds while breathing normally. This is critical: keep breathing! Your chest should rise and fall with each breath, but your belly stays hollowed out. Count in your head: one Mississippi, two Mississippi, up to ten.
Slowly release the engagement, allowing your belly to relax back to neutral. Take a full breath cycle to rest, then repeat. Complete 8-10 repetitions total. The entire exercise should take about 2 minutes.
Pro Tips and Modifications
Place one hand on your belly to feel the movement. You should feel your abdomen flatten and draw inward under your palm. This tactile feedback helps you understand whether you’re engaging correctly or just holding your breath.
Don’t hold your breath—I can’t stress this enough. If you’re turning red or feeling dizzy, you’re doing it wrong. The engagement should feel like gentle tension, not like you’re bracing for impact. Breathe naturally and steadily while maintaining the hollow.
If 10-second holds feel impossible, start with 5 seconds. There’s no shame in building gradually. The quality of engagement matters far more than the duration. Better to do 5 seconds correctly than 10 seconds incorrectly.
As you get stronger, progress by increasing hold time to 15-20 seconds. Some advanced practitioners can hold for 30+ seconds, but that takes weeks or months to build up to. Be patient with yourself.
What you should feel: gentle tension deep in your lower abdomen, no strain in your neck or shoulders, and a sense of your core “hugging” inward. What means you’re doing it wrong: holding your breath, feeling strain in your hip flexors, or your belly pushing outward instead of pulling inward.
Exercise 2: Dead Bug (Simple Yet Incredibly Effective)
Why Dead Bug Is Essential for Core Stability
The dead bug exercise takes TVA engagement to the next level by adding movement and coordination. While the stomach vacuum teaches you to engage the muscle in isolation, the dead bug teaches you to maintain that engagement while your limbs move—which is exactly what you need for real-life function.
This exercise targets the TVA while challenging your brain to coordinate opposite arm and leg movements. This cross-body patterning is fundamental to human movement. Walking, reaching, bending—they all involve this coordination, and the dead bug trains it perfectly.
The genius of the dead bug is how it protects your lower back while strengthening your core. By keeping your back pressed to the floor throughout the movement, you eliminate the spinal stress that makes many core exercises risky for people with back issues. It’s therapeutic and strengthening at the same time.
Dead bugs improve overall body control and balance because they require you to stabilize your core while moving your limbs independently. This translates directly to better stability in daily activities like carrying groceries, playing with grandkids, or navigating uneven terrain.
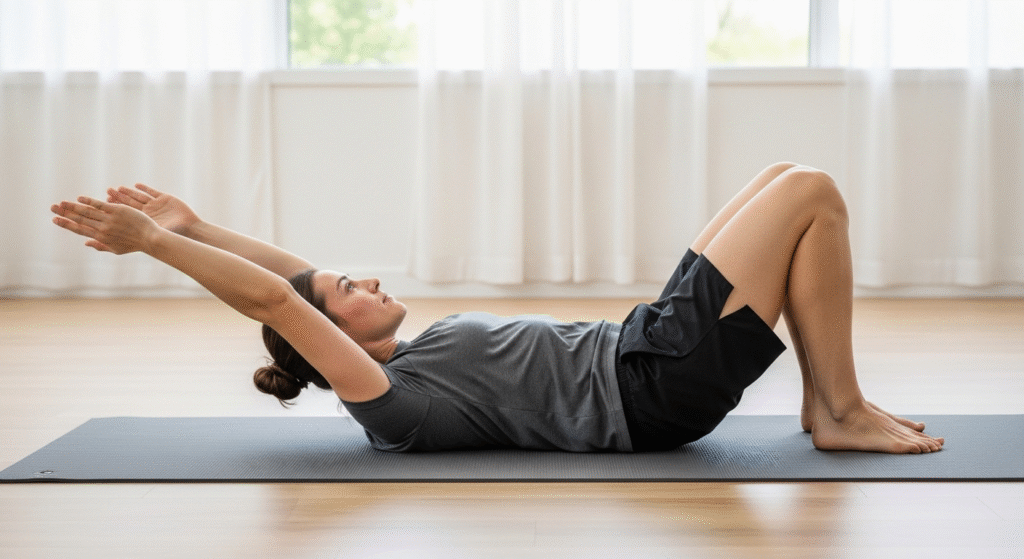
Complete Exercise Breakdown
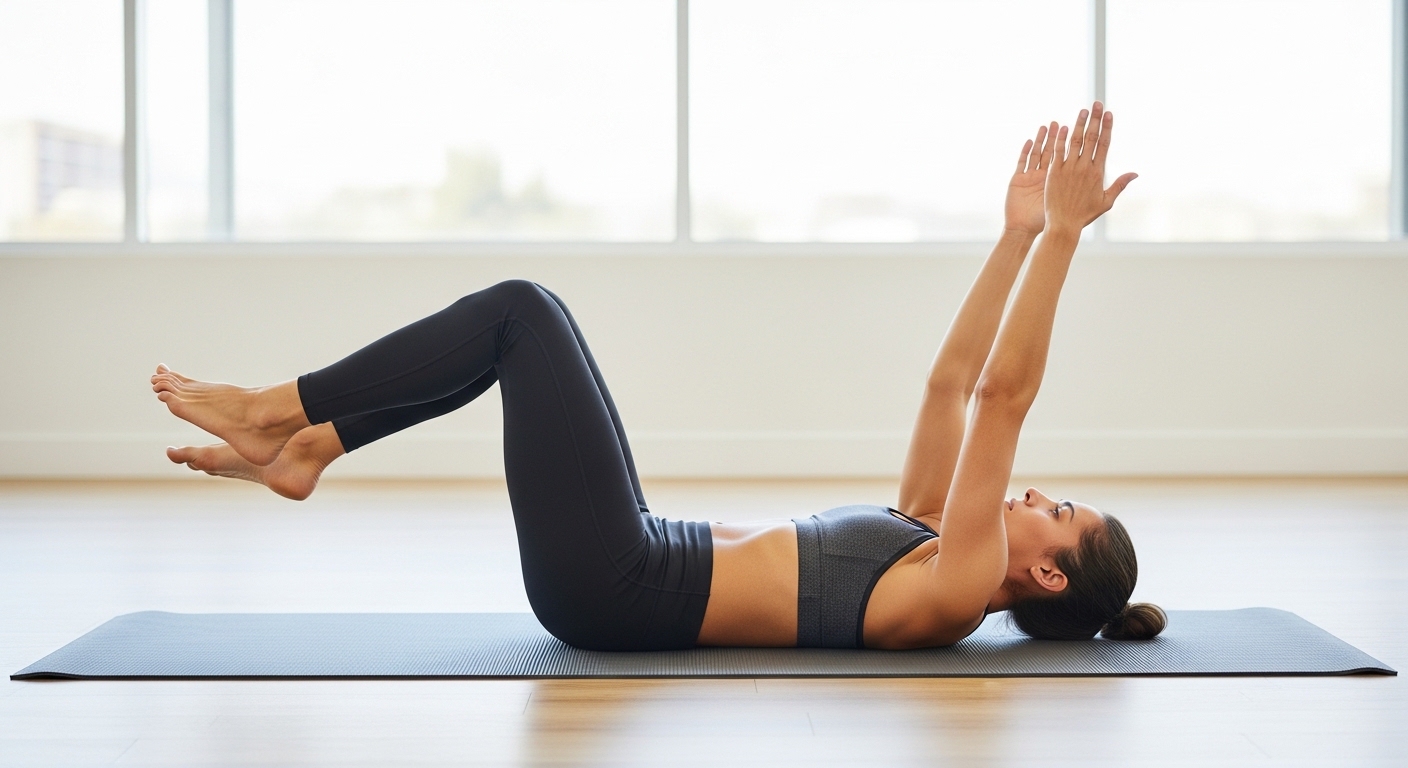
Start by lying on your back with your arms extended straight up toward the ceiling, directly over your shoulders. Lift your legs into tabletop position—knees bent at 90 degrees, shins parallel to the floor. This is your starting position, and it’s important to set it up correctly.
Before you move, engage your TVA by pressing your lower back firmly into the floor. There should be no arch or gap under your lower back. This is your stability anchor—maintaining this contact throughout the exercise is the key to its effectiveness.
Now for the movement: slowly lower your right arm back toward the floor behind your head while simultaneously extending your left leg forward, straightening it toward the floor. Move slowly and with control. Your lower back must stay pressed to the floor—if it starts to arch, you’ve gone too far.
Return your arm and leg to the starting position, then switch sides. Lower your left arm and extend your right leg. This is one complete repetition. The movement should be smooth and controlled, taking 3-4 seconds to lower and 3-4 seconds to return.
Complete 6-8 repetitions per side, alternating sides with each rep. The entire exercise should take about 2 minutes. Focus on quality over quantity—perfect form on 6 reps beats sloppy form on 20.
Common Mistakes and Quick Fixes
The most common mistake is letting your lower back arch off the floor. When this happens, you’ve lost TVA engagement and your hip flexors are taking over. The fix: reduce your range of motion. Don’t lower your arm and leg as far. Keep the movements smaller until you can maintain that back-to-floor contact.
Moving too quickly is another frequent error. This isn’t a race. Slow, controlled movement is what challenges your core and builds strength. If you’re rushing through reps, you’re missing the point. Aim for 3-4 seconds in each direction.
Holding your breath defeats the purpose entirely. Maintain steady, rhythmic breathing throughout. Exhale as you extend, inhale as you return. This breathing pattern helps maintain TVA engagement and prevents unnecessary tension.
For an easy modification if the full movement is too challenging, move only your arms or only your legs until you build strength. Start with just lowering alternating arms while keeping your legs still in tabletop. Once that feels solid, add the leg movements.
Advanced progression: add light ankle weights (1-2 pounds) or extend the hold time at the bottom of each rep for 2-3 seconds before returning. This increases the challenge without changing the movement pattern.
What Success Looks Like
You should feel deep core engagement throughout the entire exercise—a sense of your lower abdomen working constantly to stabilize your spine. If you’re feeling it primarily in your hip flexors (the front of your hips), your TVA isn’t engaging properly and you need to reduce range of motion.
Steady breathing is another marker of success. If you can maintain natural, rhythmic breathing while performing the movement, you’re doing it right. Your breath shouldn’t become strained or held.
No lower back discomfort should occur. If you feel any pinching, aching, or strain in your lower back, stop and reassess your form. Make sure your back is pressed to the floor and reduce how far you’re extending your limbs.
The movements should look controlled and smooth, not jerky or rushed. Each transition should flow naturally into the next. If you’re wobbling or struggling to coordinate the movements, slow down even more.
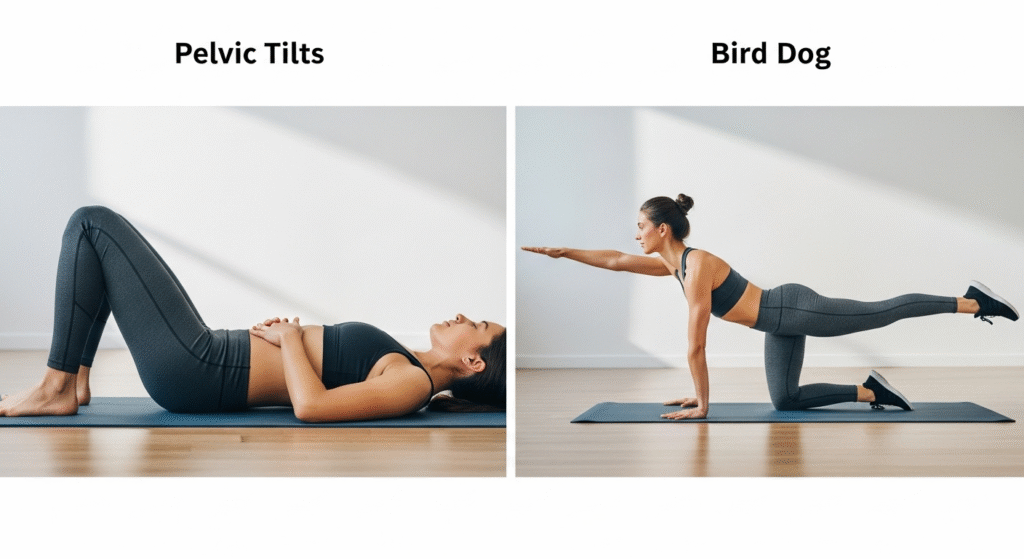
Exercise 3: Pelvic Tilts and Bird Dog for Complete Core Control
The Amazing Benefits of Pelvic Tilts for Bodies Over 40
Pelvic tilts are perfect for those dealing with lower back sensitivity—and let’s be honest, that’s most of us over 40. This gentle exercise mobilizes your spine while activating your TVA, creating strength without stress.
The movement improves spinal mobility, which naturally decreases as we age. By consciously moving through pelvic tilts, you maintain the flexibility and range of motion in your lower back that makes everyday movements easier and pain-free.
Pelvic tilts activate your TVA with minimal stress on your joints, making them ideal for anyone recovering from injury or dealing with chronic back pain. They’re therapeutic and strengthening simultaneously—you’re literally healing while you strengthen.
This exercise strengthens the mind-body connection in your core. You’re learning to consciously control your pelvic position, which translates to better posture and movement patterns throughout your day. Most people have no awareness of their pelvic position, and this exercise changes that.
How to Perform Perfect Pelvic Tilts
Lie on your back with your knees bent and feet flat on the floor, hip-width apart. Let your spine rest in its natural position—there should be a small curve in your lower back, creating a gentle arch. This is neutral spine, your starting position.
Take a breath in to prepare. As you exhale, tighten your abdominal muscles and press your lower back into the floor, flattening that natural curve. Think about tucking your tailbone under—your pelvis is tilting posteriorly (hence “posterior pelvic tilt”).
Hold this position for 3-5 seconds, breathing normally. You should feel your lower abdominals working and your lower back pressed firmly against the floor. Your hips might lift slightly off the ground—that’s okay and natural.
Release back to neutral spine, allowing that gentle arch to return to your lower back. Take a full breath, then repeat. Complete 10-12 repetitions. The entire exercise takes about 90 seconds.
The key is control and awareness. This isn’t about forcing or straining—it’s about consciously moving your pelvis through its range of motion while engaging your core. Quality and awareness matter more than quantity.
Variations to Keep It Interesting
Add arm reaches overhead during the tilt. As you press your back to the floor, extend your arms overhead toward the floor behind you. This increases the challenge by adding length and resistance to your core stabilization.
Combine with breathing patterns for a meditative quality. Inhale for 4 counts in neutral, exhale for 4 counts as you tilt, hold for 4 counts, inhale for 4 counts as you release. This turns the exercise into a moving meditation.
Try pelvic tilts from a seated or standing position once you’ve mastered the lying version. Seated tilts are perfect for office breaks, and standing tilts help you understand how to maintain core engagement throughout your day.
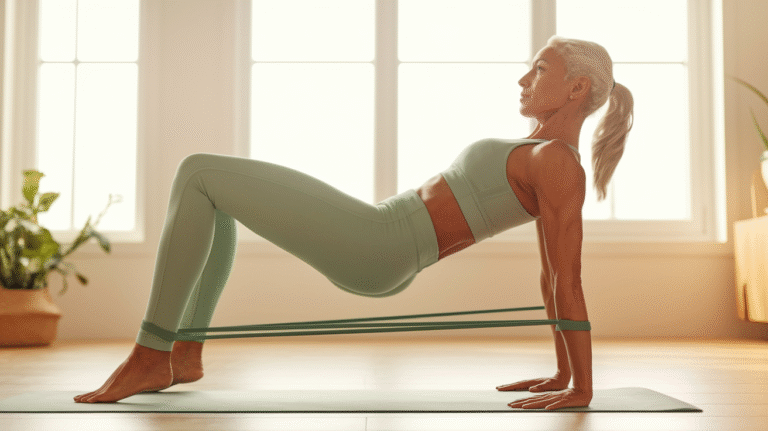
For progression, hold the tilted position longer (work up to 10-15 seconds) or add a resistance band around your thighs just above your knees. Press your knees outward against the band while performing the tilt—this engages your glutes and outer hips alongside your core.
Why Bird Dog Completes Your Core Training
The bird dog exercise is the perfect complement to pelvic tilts because it challenges your balance and stability while requiring TVA activation to maintain position. While pelvic tilts teach controlled movement, bird dog teaches stability during movement—both essential skills.
Bird dog works anti-rotation strength, meaning your core has to resist twisting as you move opposite limbs. This is crucial for preventing injury in daily life. Every time you reach for something while standing, your core is working to prevent rotation and maintain stability.
Performing Bird Dog with Perfect Form
Start on your hands and knees in a tabletop position. Hands directly under shoulders, knees directly under hips. Your spine should be neutral—not arched or rounded, but maintaining its natural curves. Look at the floor about a foot in front of your hands to keep your neck neutral.
Before moving, engage your TVA. Draw your belly button up toward your spine. Your lower back shouldn’t sag toward the floor—maintain that neutral spine position. This is your stability foundation.
Slowly extend your right arm forward and your left leg backward simultaneously. Your arm should reach forward at shoulder height, and your leg should extend back at hip height. The key is maintaining that neutral spine—don’t let your lower back arch or your hips rotate.
Hold for 2-3 seconds at full extension, then return to start with control. Switch sides: left arm and right leg. This is one complete repetition. Complete 6-8 reps per side, alternating sides.
The entire exercise should take about 2 minutes. Focus on smooth, controlled movements and maintaining that stable, neutral spine throughout. If you’re wobbling or your back is arching, reduce the range of motion or move more slowly.
Common Bird Dog Mistakes and Solutions
The biggest mistake is letting your hips rotate or your lower back arch as you extend your limbs. If this happens, you’ve lost core engagement. The fix: extend your limbs only as far as you can while maintaining perfect spinal alignment. Shorter range with good form beats full extension with poor form.
Moving too quickly causes instability and reduces effectiveness. Slow down. Take 3 seconds to extend, hold for 2-3 seconds, take 3 seconds to return. This controlled pace maximizes core engagement and builds real strength.
Looking up instead of down strains your neck and disrupts spinal alignment. Keep your gaze on the floor throughout the movement. Your head should remain neutral, as an extension of your spine.
For an easier modification, extend only your arm or only your leg until you build enough stability to coordinate both. Start with just arm reaches while keeping both knees planted. Once that feels solid, progress to just leg extensions, then combine them.
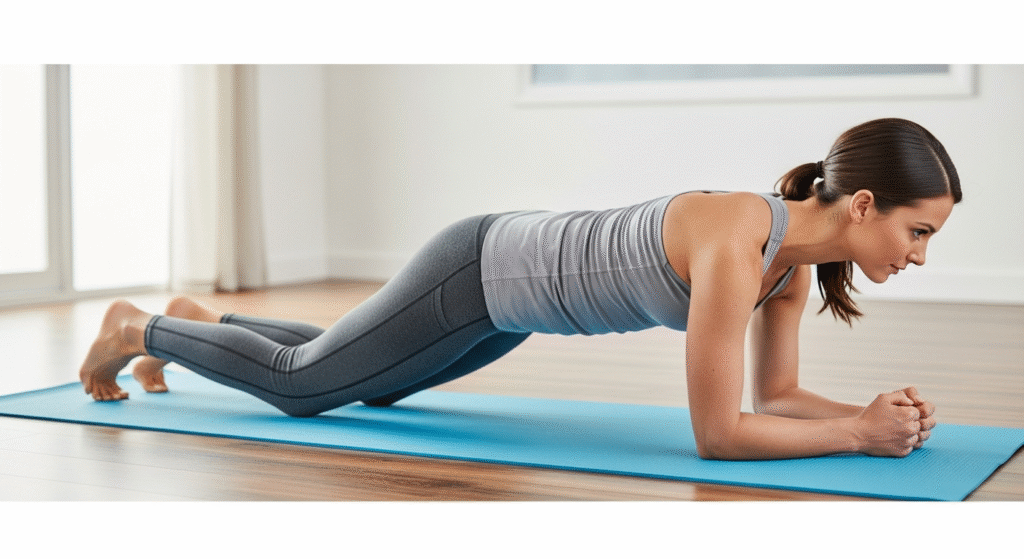
Exercise 4: Modified Plank and Your Complete 10-Minute Routine
Why Planks Are Different When You Focus on TVA
Traditional planks often become an endurance test where people just try to hold on as long as possible, often with poor form and minimal TVA engagement. When you focus specifically on TVA activation, the plank transforms into a powerful core-strengthening tool.
Proper TVA engagement during planks creates internal pressure and spinal support that traditional planks miss. You’re not just holding a position—you’re actively stabilizing from deep within your core. This makes every second more effective.
Planks build functional strength for daily activities. The position mimics the core stability you need for carrying groceries, lifting objects, or maintaining good posture while standing. You’re training movements that directly translate to real life.
The isometric hold improves posture and reduces back strain by teaching your core to support your spine in a neutral position. This carries over to how you hold yourself throughout the day—standing taller, sitting with better alignment, moving with more confidence.
The Complete Modified Plank Guide
Start on your forearms and knees on the floor. Your forearms should be parallel to each other, elbows directly under your shoulders. Your body should form a straight line from your head to your knees—no sagging hips or raised bottom.
Before you even think about holding this position, engage your TVA. Draw your belly button in and up toward your spine. This is critical: the TVA engagement comes first, then you hold the position. Most people do it backward, which is why they don’t get results.
Maintain neutral spine. Your lower back shouldn’t be arched or rounded—it should maintain its natural slight curve. Look at the floor about a foot in front of your hands to keep your neck neutral and aligned with your spine.
Breathe normally while holding. Your chest should expand with each inhale, but your core stays engaged. Count in your head or out loud—whatever helps you maintain steady breathing. Hold for 20-30 seconds to start.
Rest completely between sets. Lower to the floor, take several deep breaths, let your muscles fully relax. Then repeat for 3 total sets. The entire exercise, including rest, takes about 2-3 minutes.
Progression Path for Continued Results
Week 1-2: Modified plank on knees for 20-30 seconds, 3 sets. Focus on perfect form and consistent TVA engagement. Don’t worry about progressing yet—build your foundation.
Week 3-4: Increase hold time to 45 seconds while maintaining the modified position. Only progress the duration if you can maintain perfect form throughout. If your back starts sagging or your breathing becomes strained, you’re not ready yet.
Week 5+: Progress to full plank on toes, starting with just 15-20 seconds. The transition from knees to toes dramatically increases the challenge, so start conservatively. Build back up gradually.
Advanced progression: Add shoulder taps (tap opposite shoulder with each hand while maintaining stability) or leg lifts (lift one foot an inch off the floor) while maintaining TVA engagement. These variations add instability and increase core demand.
Safety Tips and Your Complete 10-Minute Routine
If your wrists hurt during planks, stay on your forearms instead of your hands. Forearm planks are equally effective and often more comfortable for people with wrist issues.
If your lower back aches, check your form. Lower back pain during planks usually means your hips are sagging and your TVA isn’t engaged properly. Lift your hips slightly and really focus on drawing your belly button inward.
If your neck strains, adjust your head position. Look slightly ahead rather than straight down. Your head should remain neutral, in line with your spine.
Wall planks are a perfect alternative if floor planks feel too challenging. Stand arm’s length from a wall, place your forearms on the wall, and lean into it while maintaining TVA engagement. This reduces the load while teaching the same stability pattern.
Your Complete 10-Minute Morning Routine
Here’s how to put all six exercises together into a seamless 10-minute routine:
Minutes 1-2: Supine Stomach Vacuum (8-10 reps with 5-10 second holds)
Minutes 3-4: Dead Bug (6-8 reps per side, alternating)
Minutes 5-6: Pelvic Tilts (10-12 reps, controlled pace)
Minutes 7-8: Bird Dog (6-8 reps per side, alternating)
Minutes 9-10: Modified Plank (3 sets of 20-30 seconds with rest between)
Final 30 seconds: Lie on your back, breathe deeply, and feel the engagement you’ve created in your core
This sequence flows logically from foundational engagement work to more complex stability challenges. Each exercise builds on the previous one, creating a comprehensive core workout that targets your TVA from every angle.
Do this routine every morning, and within two weeks, you’ll notice real differences. Your back will feel better. Your posture will improve. You’ll move with more confidence and less pain. That’s not a promise—that’s what happens when you consistently strengthen the muscle that matters most.
—
Ready to reclaim your core strength? Start tomorrow morning with these six exercises. Set your alarm 10 minutes earlier, roll out your mat, and commit to two weeks. Your body will thank you, your back will thank you, and you’ll wonder why you didn’t start sooner. The best time to begin was years ago—the second best time is right now. Your stronger, pain-free core is waiting.