5 Effective Upper Body Exercises For Women Over 40

Remember when you could do push-ups without thinking twice, or lift grocery bags without feeling it the next day? If you’re over 40, you’ve probably noticed that your upper body strength isn’t what it used to be—and you’re not alone.
Here’s the reality: after age 40, women lose 3-8% of muscle mass per decade. That’s not just a number on a scale—it’s the difference between effortlessly lifting your suitcase into the overhead bin and struggling with a bag of groceries. Add hormonal changes from perimenopause and menopause, and your body is working against you in ways it never did before.
But here’s what the fitness industry won’t tell you: you don’t need a gym membership, expensive equipment, or hours of free time to build powerful upper body strength. You need the right exercises designed specifically for your changing body.
I get it. You’re juggling work deadlines, family responsibilities, maybe even caring for aging parents. The last thing you need is another complicated workout routine that requires equipment you don’t have and time you can’t spare. You’ve probably tried fitness programs before—ones designed for 25-year-olds with endless energy and zero joint concerns. They didn’t work because they weren’t built for you.
That’s why these 5 exercises are different. Each movement takes just 10-15 minutes and can be done in your living room with minimal equipment. They’re science-backed, specifically effective for women over 40, and designed to deliver real results without destroying your joints or monopolizing your schedule.
These aren’t trendy exercises that’ll disappear next month. They’re proven strength-builders that address exactly what your body needs right now: exercises that counteract muscle loss, improve bone density, boost metabolism, and give you the functional strength to live your life without limitations.
Let’s transform your upper body strength with movements that respect your body’s changing needs while delivering the toned, powerful results you deserve.
Why Upper Body Strength Matters More After 40

The Science Behind Muscle Loss in Women Over 40
Your body changes after 40—that’s not news. But understanding exactly what’s happening empowers you to fight back effectively.
Sarcopenia, the medical term for age-related muscle loss, accelerates dramatically after 30. You’re losing 3-8% of your muscle mass every decade, and that rate increases if you’re not actively working against it. This isn’t about vanity—it’s about maintaining independence, mobility, and quality of life.
Hormonal shifts during perimenopause and menopause make this worse. Declining estrogen levels directly impact your ability to build and maintain muscle tissue. Your metabolism slows down, making weight management harder even when you’re eating the same foods that kept you lean in your 30s.
Here’s the powerful truth: strength training is the single most effective tool to reverse this process. When you build muscle through resistance exercises, you’re not just toning your arms—you’re increasing your metabolic rate, improving insulin sensitivity, and literally turning back the biological clock on muscle aging.
Real-Life Benefits You’ll Actually Notice
Forget the abstract health benefits you’re supposed to care about. Let’s talk about what upper body strength actually does for your daily life.
You’ll carry groceries in one trip without your arms shaking. You’ll lift your luggage into the overhead compartment without asking for help. You’ll play with your kids or grandkids—picking them up, swinging them around—without worrying about throwing out your back.
Your posture improves dramatically. Those hours hunched over your computer or scrolling on your phone create forward shoulder roll and upper back weakness. Targeted upper body exercises counteract this, pulling your shoulders back and making you stand taller. You’ll look more confident because you are more confident.
Bone density increases with resistance training, directly reducing your risk of osteoporosis—a critical concern for women over 40. Every bicep curl and shoulder press sends signals to your bones to stay strong and dense.
And here’s the benefit nobody talks about: the mental shift. When you feel physically strong, you show up differently in every area of your life. You negotiate better at work. You set firmer boundaries. You take up space without apologizing.
Why Traditional Gym Workouts Often Fail Women Over 40
Walk into any gym, and you’ll see programs designed for 25-year-old men trying to bulk up. That’s not you, and those programs won’t work for your body.
Traditional gym routines ignore joint health, recovery needs, and the hormonal realities of women over 40. They push intensity over consistency, volume over proper form, and ignore that your connective tissues need different care than they did two decades ago.
The environment itself can be intimidating. Complicated machines with unclear instructions—younger gym-goers who seem to know exactly what they’re doing. Personal trainers who don’t understand that your fitness goals aren’t about looking good in a bikini—they’re about maintaining strength for the next 40+ years of your life.
You need a targeted approach tailored to your body, schedule, and goals. That’s exactly what these five exercises deliver.
What You Need to Get Started (No Gym Required)
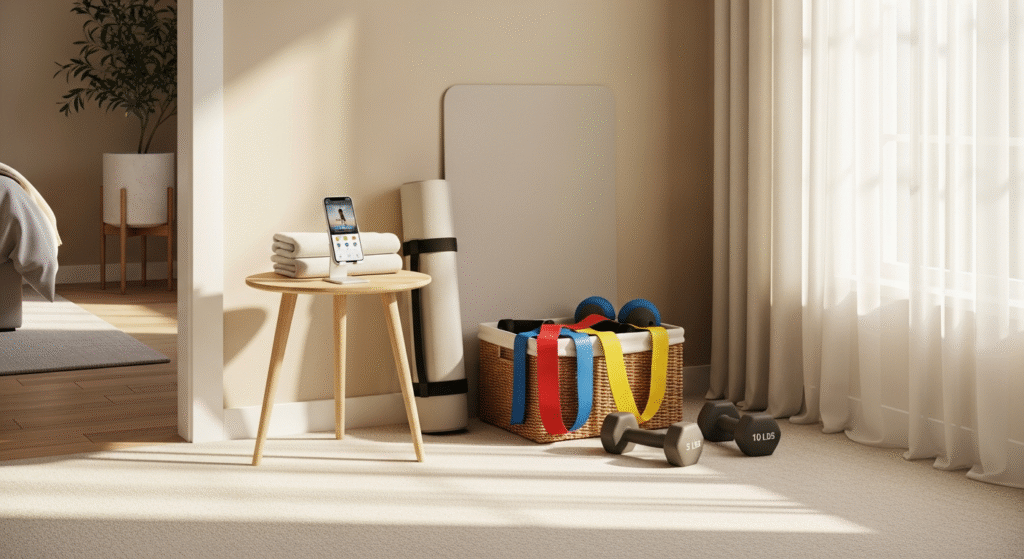
Essential Equipment for Home Upper Body Workouts
Building upper body strength doesn’t require a home gym or expensive equipment. Here’s what actually works:
A pair of dumbbells is your primary investment. Start with 5-10 pound weights if you’re new to strength training, or 10-15 pounds if you have some experience. You’ll use these for shoulder presses, rows, and bicep curls. Don’t overthink the weight selection—if you can complete 12 reps easily, go heavier. If you can’t do 8 reps with good form, go lighter.
Resistance bands are optional but incredibly versatile. They’re perfect for travel, take up zero space, and provide constant tension throughout movements. A set with varying resistance levels costs under $20 and expands your exercise options significantly.
A yoga mat provides cushioning for floor exercises and defines your workout space. Any mat works—this isn’t about brand names.
A sturdy chair or bench enables tricep dips and provides support for single-arm rows. Use whatever you have at home. Kitchen chairs work perfectly.
Budget-friendly alternatives exist for everything. Water bottles replace dumbbells when you’re starting out. Filled laundry detergent bottles work too. A thick towel substitutes for a yoga mat. The equipment doesn’t build strength—consistent effort does.
Creating Your Workout Space at Home
You need exactly 6×6 feet of floor space. That’s it. Clear a corner in your bedroom, living room, or even a hallway. This becomes your dedicated strength zone.
Set up the night before. Lay out your mat, place your dumbbells within reach, and eliminate decision fatigue from your morning routine. When your workout space is ready, you’re 80% more likely to actually do the workout.
Privacy matters for consistency. If you’re self-conscious about family members watching, work out before they wake up or after they go to bed. Close the door. Put on headphones. Create a bubble where you can focus on your body without external judgment.
Motivation at home looks different than gym motivation. You won’t have other people working out around you. Create your own energy with a dedicated playlist, a timer app that keeps you accountable, or workout videos you follow along with. The goal is removing barriers, not creating perfect conditions.
Safety First: Warming Up Your Upper Body
Never skip your warm-up. Your 40+ body needs preparation that younger bodies can skip.
Spend 5 minutes on dynamic movement before touching a weight. Start with arm circles—10 forward, 10 backward, gradually increasing the circle size. Roll your shoulders backward 10 times, then forward 10 times. Rotate your wrists in both directions.
Add light cardio to increase blood flow. March in place for 2 minutes, gradually lifting your knees higher. Do jumping jacks if your joints feel good, or step-touches if you need lower impact.
This warm-up prevents injury—especially important after 40 when your connective tissues are less forgiving. Cold muscles tear. Warm muscles stretch and strengthen. Those 5 minutes are non-negotiable.
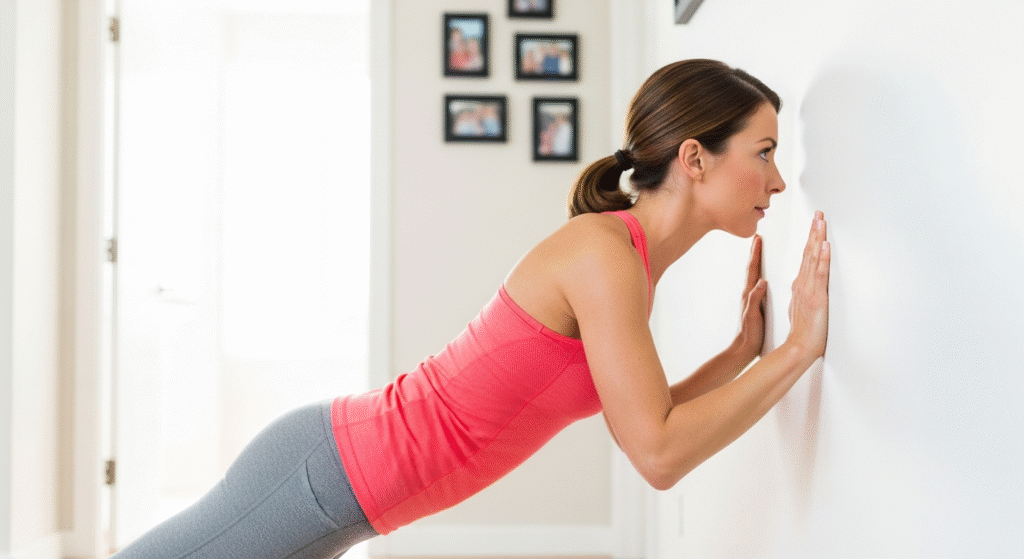
Exercise #1 – Modified Push-Ups (Build Chest, Shoulders, and Triceps)
Why This Exercise Works for Women Over 40
Push-ups are the ultimate upper body compound movement. One exercise targets your chest, shoulders, triceps, and core simultaneously. That’s efficient strength-building for busy women who don’t have time for 12 different exercises.
The beauty of push-ups is scalability. Wall push-ups provide the same movement pattern as floor push-ups with a fraction of the intensity. You build strength progressively, meeting your body where it is today while creating a clear path to where you want to be.
This exercise delivers functional strength for every pushing motion in your life—opening heavy doors, pushing a shopping cart, getting up from the floor. You’re not just sculpting your chest and toning your arms; you’re building real-world capability.
Step-by-Step Technique
Beginner Level: Wall Push-Ups Stand arm’s length from a wall. Place your hands on the wall slightly wider than shoulder-width. Keep your body in a straight line from head to heels. Bend your elbows to bring your chest toward the wall, then push back to starting position. Your core should stay engaged—no sagging hips or arched back.
Intermediate Level: Knee Push-Ups Start on your hands and knees, hands slightly wider than shoulders. Walk your hands forward until your body forms a straight line from head to knees. Lower your chest toward the floor, keeping elbows at a 45-degree angle from your body. Push back up. This is real strength work—don’t let anyone tell you knee push-ups don’t count.
Advanced Level: Standard Push-Ups Start in a plank position with hands under shoulders. Your body forms one straight line. Lower yourself until your chest nearly touches the floor, elbows tracking back at 45 degrees. Push through your palms to return to start.
Common mistakes destroy effectiveness: sagging hips (engage your core), flared elbows (keep them closer to your body), and rushing through reps (controlled movement builds more strength).
Sets, Reps, and Progression
Start with 2 sets of 8-10 reps at whatever level allows good form. Rest 60-90 seconds between sets—your muscles need recovery to build strength.
Your goal is 3 sets of 12-15 reps with perfect form. Once you achieve this, progress to the next level. Wall push-ups become knee push-ups. Knee push-ups become standard push-ups.
Progress slowly. Add one rep per workout, or one additional set per week. Rushing progression leads to injury and setbacks. Patience delivers results.
Every single rep builds strength, even when progress feels glacial. Trust the process.
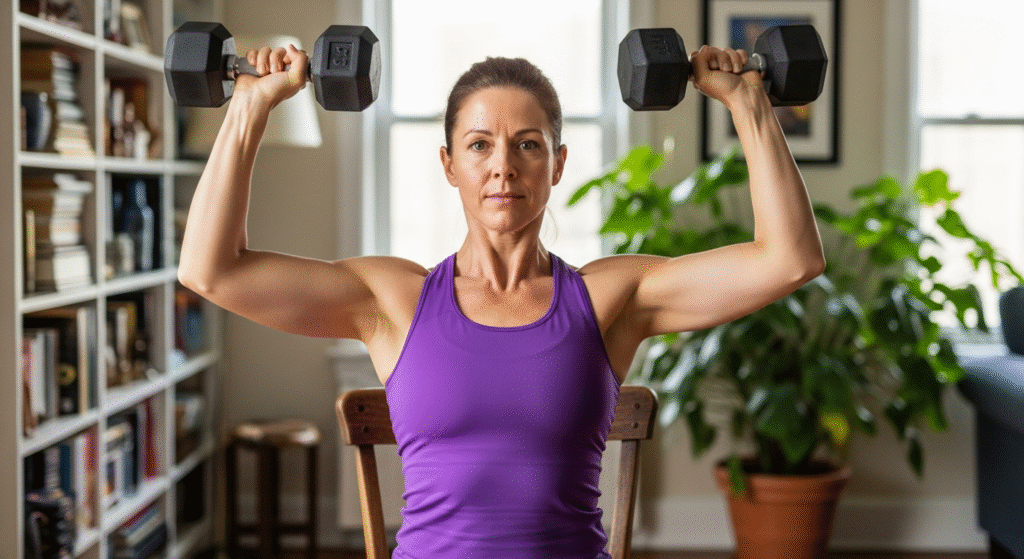
Exercise #2 – Dumbbell Shoulder Press (Sculpt Strong, Defined Shoulders)
The Shoulder Strength Advantage
Your shoulders carry the weight of your world—literally. Every time you reach overhead into a cabinet, lift a box, or raise your arms above your head, you’re using shoulder strength.
Desk work and phone scrolling create rounded shoulders and forward head posture. This doesn’t just look bad; it causes neck pain, headaches, and upper back tension. Shoulder presses directly counteract this postural collapse by strengthening the muscles that pull your shoulders back and down.
Strong shoulders create that toned, tank-top-ready look you want. But more importantly, they protect your rotator cuff from injury and maintain your ability to perform overhead movements as you age. This is about looking good and staying functional for decades to come.
Perfect Form Breakdown
You can perform shoulder presses seated or standing. Seated provides more stability and isolates your shoulders better. Standing engages your core but requires more balance.
Start with dumbbells at shoulder height, palms facing forward. Your elbows should be bent at 90 degrees, positioned slightly in front of your body—not directly out to the sides, which stresses your shoulder joints.
Press the weights overhead in a slight arc, bringing them together at the top without clanging them together. Your arms should be fully extended but not locked out. Lower with control back to starting position.
Breathe out as you press up, breathe in as you lower down. This breathing pattern provides stability and power.
If you have shoulder sensitivity or previous injuries, reduce your range of motion. Press only as high as feels comfortable, gradually increasing range as strength improves.
Weight Selection and Progression
Choose a weight that feels challenging by rep 10 but allows you to complete all reps with perfect form. For most women over 40 starting out, this means 5-8 pound dumbbells. Don’t let ego choose your weights—proper form builds strength, not heavy weights with terrible technique.
Complete 2-3 sets of 10-12 reps. Rest 60 seconds between sets.
Progressive overload drives results. Once you can complete all sets with good form, add one rep to each set. When you reach 15 reps per set, increase your weight by 2-3 pounds and drop back to 10 reps.
Strength gains take 4-6 weeks to notice. You won’t see dramatic changes after one workout or even one week. Consistency over time transforms your body.
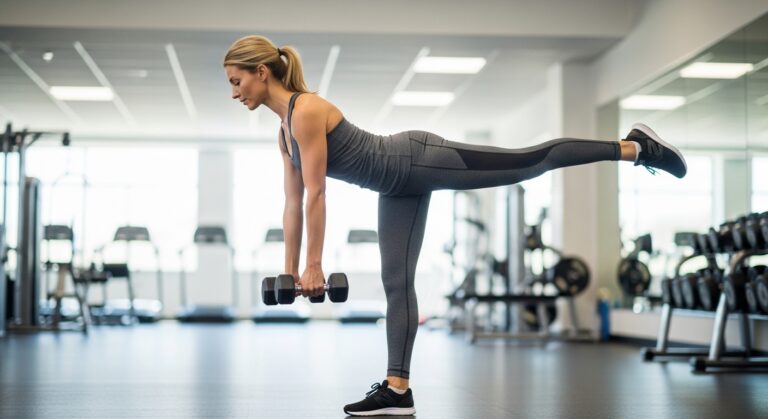
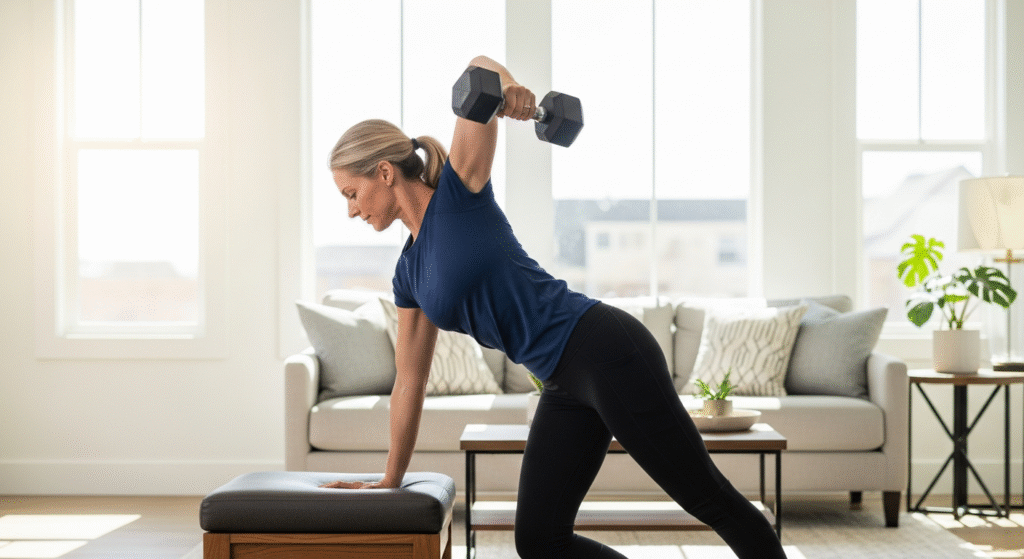
Exercise #3 – Bent-Over Dumbbell Rows (Transform Your Back and Posture)
Why Back Strength Is Critical After 40
Your back muscles are the most neglected part of upper body training, yet they’re crucial for posture, pain prevention, and balanced strength development.
Every hour you spend hunched over a computer weakens your upper back and tightens your chest. This creates the forward slouch that ages your appearance and causes chronic pain. Rowing exercises reverse this pattern, strengthening the muscles that pull your shoulders back and support your spine.
Back exercises also burn significant calories because you’re working large muscle groups. This metabolic boost helps with weight management—a key concern for women over 40 dealing with slower metabolism.
Strong back muscles reduce lower back pain by supporting your spine properly. They improve your ability to lift objects safely and maintain good posture during long days on your feet.
Mastering the Row Technique
The bent-over row starts with a proper hip hinge. Stand with feet hip-width apart, holding a dumbbell in your right hand. Place your left hand on a chair or bench for support. Hinge at your hips, pushing them back while keeping your back flat. Your torso should be nearly parallel to the floor.
Let the dumbbell hang straight down from your shoulder. This is your starting position.
Pull the dumbbell up toward your hip, driving your elbow back and squeezing your shoulder blade toward your spine. Your elbow should stay close to your body, not flaring out to the side. The movement comes from your back muscles, not your arm.
Lower the weight with control back to starting position. That’s one rep.
Your core stays engaged throughout the movement. Your back remains flat—no rounding or arching. If you can’t maintain this position, the weight is too heavy or you need to elevate your support hand on a higher surface.
Common Mistakes and How to Fix Them
Rounding your back is the most dangerous mistake. Solution: lighten your weight and focus on the hip hinge position. Your back should feel flat and strong, not curved.
Using momentum instead of muscle defeats the purpose. If you’re swinging the weight up, you’re going too heavy or too fast. Slow down your tempo—2 seconds up, 2 seconds down.
Shrugging your shoulders wastes the exercise. Keep your shoulders down and back, away from your ears. The movement happens at your shoulder blade, not your neck.
Complete 3 sets of 10-12 reps per arm. Rest 60 seconds between sets.
This exercise delivers visible results in your posture within 2-3 weeks. You’ll stand taller, your shoulders will sit back naturally, and that nagging upper back tension will decrease.
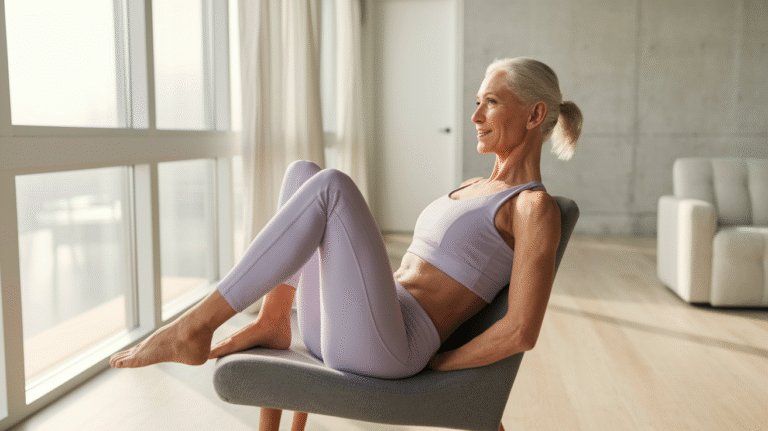
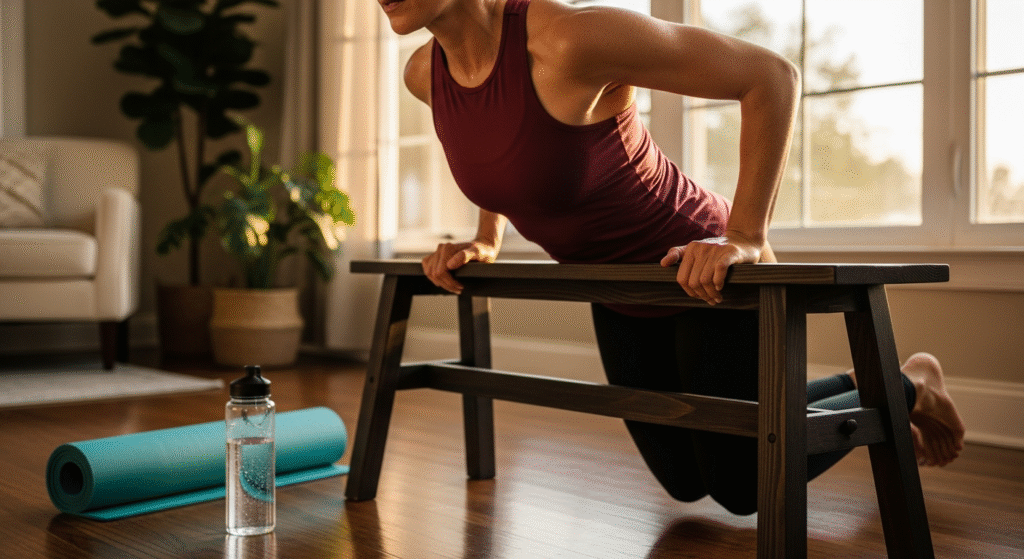
Exercise #4 – Tricep Dips (Tone the Back of Your Arms)
Targeting the “Trouble Zone”
Let’s address the elephant in the room: the back of your arms loses tone after 40. Declining estrogen, reduced muscle mass, and the natural aging process all contribute to that frustrating jiggle when you wave.
Tricep dips directly target this area with powerful, effective movement. Unlike complicated cable machines at the gym, dips use your body weight and a simple chair to build tricep strength and definition.
This exercise also provides functional strength for pushing yourself up from chairs, getting up from the floor, and any movement that requires arm extension. You’re building real capability while sculpting your arms.
Three Modification Levels
Beginner: Bent-Knee Bench Dips Sit on the edge of a sturdy chair or bench. Place your hands on the edge beside your hips, fingers pointing forward. Walk your feet forward slightly and slide your hips off the edge. Bend your knees at 90 degrees, feet flat on the floor. Lower your body by bending your elbows to 90 degrees, then press back up. This modification reduces the resistance significantly.
Intermediate: Straight-Leg Bench Dips Same setup, but extend your legs straight in front of you with heels on the ground. This increases resistance and intensifies the tricep work. Lower yourself until your elbows reach 90 degrees, then press back up.
Advanced: Elevated or Weighted Variations Once straight-leg dips become easy, elevate your feet on another chair to increase difficulty. Eventually, you can add weight by placing a dumbbell on your lap.
Proper form protects your shoulders: keep your shoulders down and back, not hunched up by your ears. Your elbows should track straight back, not flare out to the sides. Lower yourself to 90 degrees—going deeper stresses your shoulder joints without additional benefit.
Programming for Results
Start with 2 sets of 8-10 reps at your appropriate level. Rest 60-90 seconds between sets.
Build toward 3 sets of 12-15 reps. When this becomes manageable, progress to the next difficulty level.
Control your tempo: take 2 seconds to lower down, then 1 second to press back up. This controlled movement builds more strength than rushing through reps.
Pair tricep work with bicep exercises for balanced arm development. You want strong, proportional arms, not overdeveloped triceps and weak biceps.
Consistency beats intensity every single time. Three dips with perfect form build more strength than 20 sloppy reps.
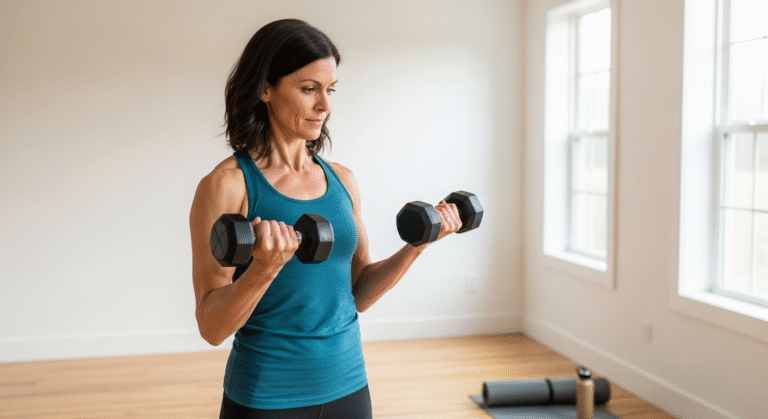
Exercise #5 – Bicep Curls with a Twist (Build Toned, Strong Arms)

The Complete Bicep Developer
Standard bicep curls work, but adding rotation transforms them into a complete arm developer. The twisting motion engages more muscle fibers and builds functional strength for everyday movements like carrying bags, lifting objects, and pulling motions.
Bicep curls aren’t just about aesthetics—though defined arms in sleeveless tops are definitely a benefit. Strong biceps improve your ability to carry groceries, lift children, and perform any pulling or carrying task. This is functional strength that makes daily life easier.
Variety prevents plateaus. Your muscles adapt to the same stimulus, which is why doing identical curls for months stops delivering results. Rotating curls keep your muscles challenged and growing stronger.
Technique That Maximizes Results
Stand with feet hip-width apart, core engaged, holding a dumbbell in each hand. Start with your arms at your sides, palms facing your thighs (neutral grip).
As you curl the weights up, rotate your wrists so your palms face your shoulders at the top of the movement. This rotation—called supination—engages both your biceps and your forearm muscles.
Squeeze at the top for one second, then lower with control, rotating your palms back to neutral position as you descend.
Keep your elbows stationary at your sides throughout the movement. Don’t let them drift forward or backward. The movement happens at your elbow joint only—your upper arm stays still.
Avoid swinging the weights or using momentum. If you need to rock your body to lift the dumbbells, they’re too heavy. Drop down in weight and focus on controlled movement.
Full range of motion matters. Lower the weights until your arms are fully extended, then curl all the way up until your forearms nearly touch your biceps. Partial reps deliver partial results.
Sets, Reps, and Progression
Start with 2-3 sets of 10-12 reps using a weight that challenges you by the final reps but allows perfect form throughout.
Rest 45-60 seconds between sets. Biceps are smaller muscles that recover faster than larger muscle groups.
Progress by adding reps first. Once you reach 15 reps per set with good form, increase your weight by 2-3 pounds and return to 10 reps.
Alternate between rotation curls, hammer curls (palms facing each other throughout), and standard curls (palms facing forward throughout) to work your biceps from different angles. This variety builds complete arm development and prevents adaptation.
Track your progress in a simple notebook or phone app. Write down the weight you used and how many reps you completed. This accountability keeps you progressing and proves your strength gains over time.
—
Ready to transform your upper body strength? Start with these five exercises three times per week, allowing at least one rest day between sessions. Your body needs recovery time to build muscle—more isn’t always better.
Choose one modification level for each exercise and commit to it for two weeks. Then reassess and progress if you’re ready. Slow, steady progression builds lasting strength and prevents injury.
You don’t need a gym membership, complicated equipment, or hours of free time. You need these five proven exercises, 30-45 minutes three times per week, and consistent effort over time. That’s the formula that transforms upper body strength for women over 40.
Your strongest years are ahead of you—not behind you. Start today.