5 Balancing Exercises for Women Over 40

Remember when you could hop on one foot without a second thought, or walk across uneven ground without worrying about stumbling? If you’ve noticed your balance isn’t quite what it used to be, you’re not alone—and you’re definitely not imagining it.
Here’s the reality: balance naturally declines after 40 due to hormonal changes, muscle loss, and changes in the inner ear. It’s a normal part of aging that millions of women experience, especially during perimenopause and menopause. You might find yourself grabbing the handrail more often, feeling a bit wobbly when you stand up quickly, or hesitating before stepping onto uneven surfaces.
The good news? Balance is a skill you can improve at any age with simple, targeted exercises. Unlike some aspects of aging we can’t control, balance responds incredibly well to consistent practice. You don’t need a gym membership, expensive equipment, or hours of free time.
Better balance means more confidence in your daily movements, fewer falls, stronger bones, and the freedom to stay active doing what you love—whether that’s hiking with friends, dancing at weddings, or playing with your grandchildren without worry. It means walking confidently on icy sidewalks in winter and navigating crowded spaces without anxiety.
These 5 proven exercises take just 10-15 minutes a day and require no special equipment. You can do them while watching TV, during your morning routine, or whenever you have a few spare minutes. Each exercise builds on fundamental stability principles that translate directly to real-world activities.
Let’s dive into why balance matters more than ever after 40, then explore the exact exercises that will help you feel steady and strong again.
Why Balance Becomes More Challenging After 40

The Hormonal Connection You Need to Know
Your body goes through significant changes after 40, and estrogen plays a starring role in this story. Estrogen isn’t just about reproduction—it’s crucial for maintaining bone density and muscle strength, both essential for good balance. As estrogen levels decline during perimenopause and menopause, your bones become less dense and your muscles lose some of their strength and responsiveness.
The vestibular system in your inner ear, which acts like your body’s internal GPS for balance, also changes with age. These vestibular nerve endings can degenerate over time, making it harder for your brain to process spatial information quickly. Additionally, reduced estrogen affects joint health, leading to stiffness and occasional pain that can throw off your center of gravity. When your joints don’t move as smoothly, your body has to work harder to maintain stability.
The Real Risks of Ignoring Balance Issues
Falls are the leading cause of injury among women over 40, but this isn’t meant to scare you—it’s meant to empower you. Understanding the risk helps you take action before problems develop. Poor balance doesn’t just increase fall risk; it gradually reduces your independence and confidence in movement.
Think about how balance affects your daily joy. Maybe you’ve stopped hiking because you’re worried about uneven trails. Perhaps you avoid dancing at family gatherings or hesitate to play actively with grandchildren. These small withdrawals from activities you love add up, affecting not just your physical health but your emotional well-being too.
The Amazing Benefits of Balance Training
Here’s where things get exciting. Balance training delivers benefits that extend far beyond simply not falling. When you practice balance exercises, you’re strengthening your core muscles—those deep stabilizers that support everything you do, from carrying groceries to maintaining good posture at your desk.
Improved balance means better posture and reduced back pain. Many women notice they stand taller and feel less strain in their lower back after just a few weeks of balance work. You’re also enhancing bone density, which is crucial for preventing osteoporosis. Weight-bearing balance exercises signal your bones to stay strong.
Perhaps most importantly, you’ll gain greater confidence in movement and reduced fear of falling. This psychological benefit is massive. When you trust your body to keep you stable, you move more freely, stay more active, and maintain the lifestyle you want. Better balance also improves your performance in any activity you enjoy, from yoga to tennis to simply walking your dog.
Before You Begin: Essential Safety Tips
Setting Yourself Up for Success
Safety first isn’t just a cliché—it’s how you build sustainable progress. Always start your balance exercises near a sturdy chair, countertop, or wall for support. You’re not failing if you need to touch it; you’re being smart and preventing injury. As you improve, you’ll naturally use the support less.
Wear comfortable, non-slip footwear or go barefoot on a non-slip surface like a yoga mat. Socks on hardwood floors are a recipe for disaster, so skip those. Clear the area of obstacles and tripping hazards—move that coffee table, pick up throw rugs, and give yourself plenty of space to move safely.
Start with easier modifications and progress gradually. There’s no prize for rushing to advanced variations. Your body needs time to build strength and neural connections. Think of balance training as a skill you’re developing, not a test you need to pass.
When to Check with Your Doctor
Most women can safely begin these exercises, but check with your doctor first if you have existing balance disorders or inner ear issues like vertigo or Ménière’s disease. Recent injuries or surgeries affecting mobility also warrant a conversation with your healthcare provider.
If you have conditions like osteoporosis, arthritis, or neuropathy, your doctor can help you modify exercises appropriately. Some medications affect balance or cause dizziness, so it’s worth discussing your routine with your pharmacist or physician.
These exercises are designed to be safe and effective, but listening to your body is the most important rule. If something feels wrong—not just challenging, but actually painful or dizzy—stop and reassess. Mild muscle fatigue is normal; sharp pain or extreme dizziness is not.
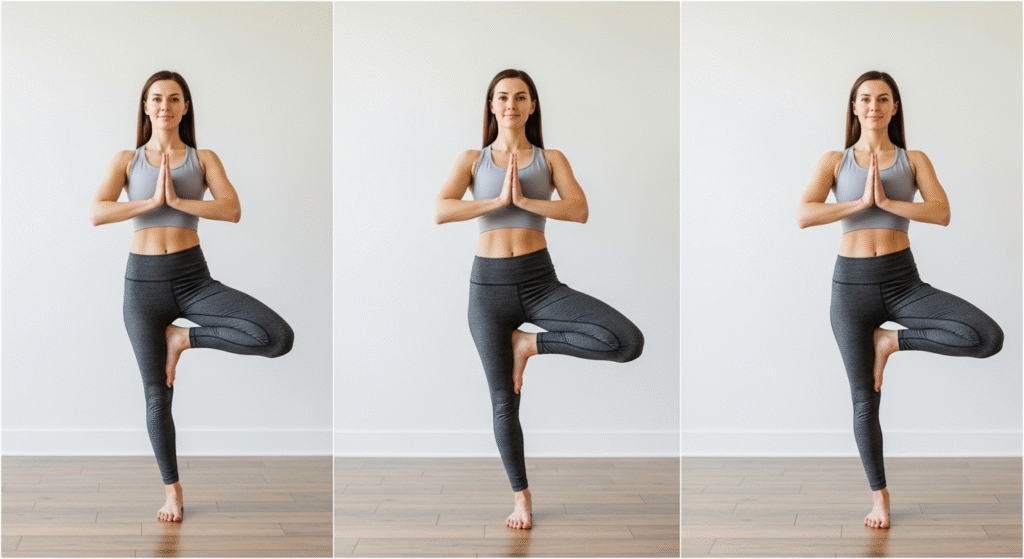
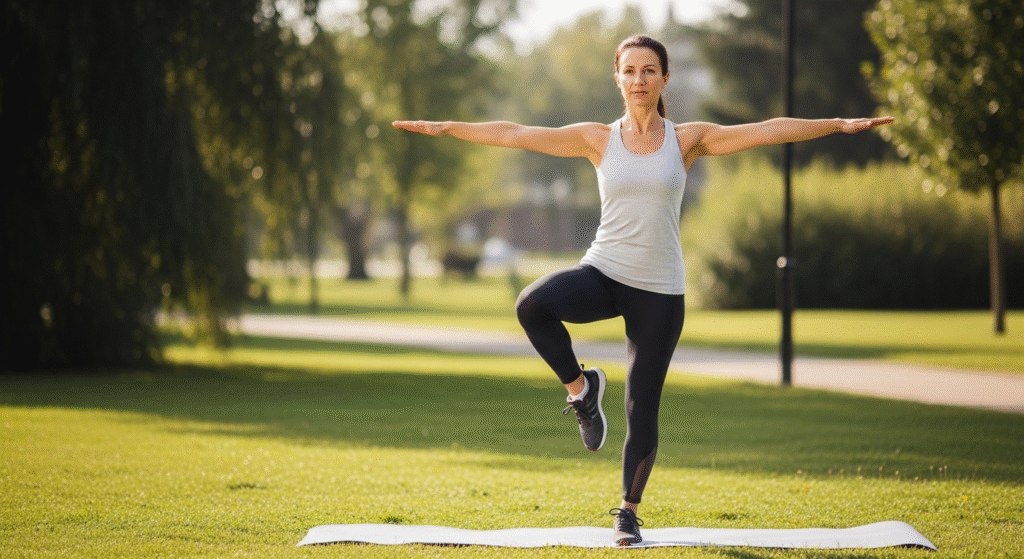
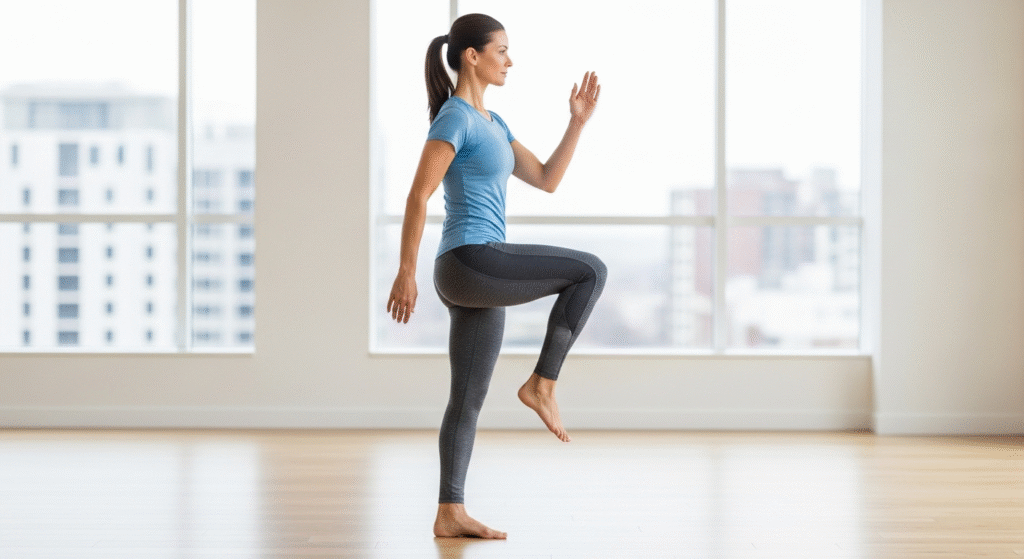
Exercise #1: Single-Leg Stance (The Foundation)
Why This Simple Exercise Works So Well
The single-leg stance might look basic, but it’s the foundation of all balance work. This exercise builds fundamental stability in your ankles, knees, and hips while strengthening the small stabilizer muscles that often get neglected in regular workouts. These stabilizers are the unsung heroes of balance—they make thousands of tiny adjustments every time you stand or walk.
The beauty of this exercise is you can do it anywhere, anytime—while brushing your teeth, waiting for coffee to brew, or during commercial breaks. You’ll see quick progress you can actually measure and celebrate, which keeps motivation high.
How to Do It Correctly
Stand near your support (chair or counter) with your feet hip-width apart. Shift your weight onto your right foot and slowly lift your left foot a few inches off the ground. You can keep the lifted foot beside your standing ankle or bend the knee and lift it in front of you—whatever feels more comfortable.
Form tips matter here: Keep your standing knee slightly bent, not locked. Locked knees actually make balance harder and put unnecessary stress on the joint. Engage your core muscles by imagining you’re pulling your belly button toward your spine—not sucking in, just gentle activation.
Fix your gaze on a single point in front of you at eye level. This helps immensely! Your visual system is a major component of balance, and a steady focal point gives your brain stable reference information. Keep your shoulders relaxed and down, away from your ears.
Progressive Modifications for All Levels
Beginner: Hold onto your chair with both hands and aim for just 5-10 seconds per side. Keep your lifted foot close to the ground—even an inch off the floor counts. Practice this twice daily until you can comfortably hold for 10 seconds.
Intermediate: Use one fingertip on the chair for light support and hold for 20-30 seconds. When this feels easy, try closing your eyes briefly. This dramatically increases difficulty because you’re removing visual input, forcing your vestibular system and proprioception to work harder.
Advanced: Stand with no support at all and hold for 60 seconds. Add arm movements like reaching overhead or out to the sides, or stand on an unstable surface like a folded towel or balance pad.
Start with 2 sets of 10-second holds on each side, gradually increasing time as you improve. Aim to practice daily—consistency matters more than duration when building balance.
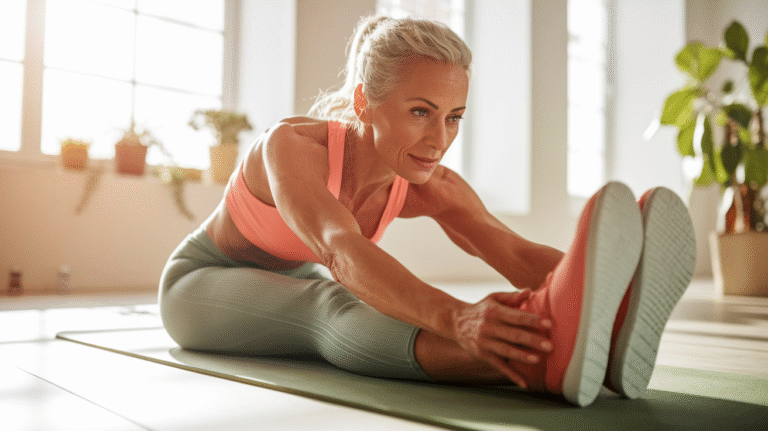
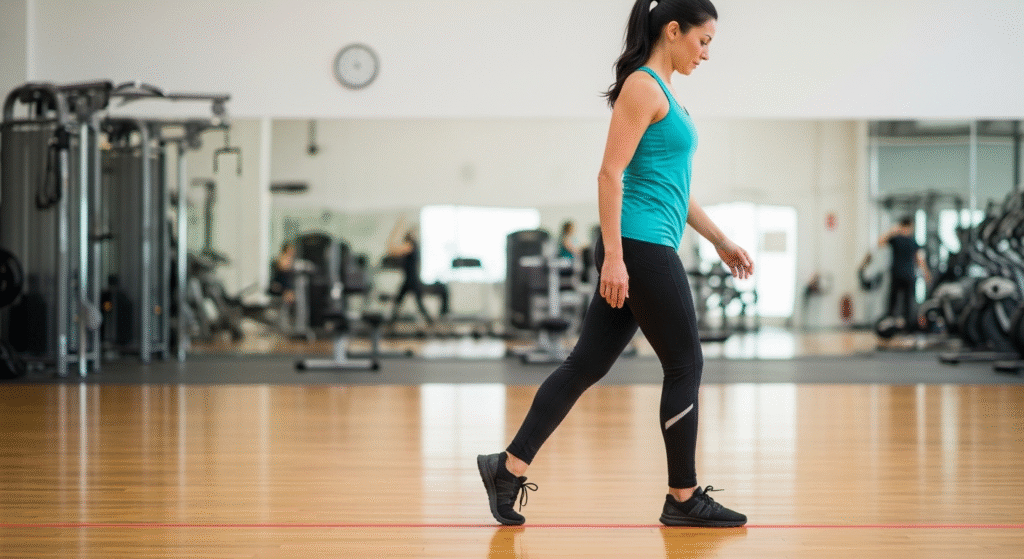
Exercise #2: Heel-to-Toe Walk (Dynamic Balance Builder)
The Proven Benefits of This Walking Exercise
While single-leg stance builds static balance, heel-to-toe walking improves dynamic balance—balance while moving. This distinction is crucial because most falls happen when you’re in motion, not standing still. This exercise enhances coordination and spatial awareness while strengthening your ankles and improving your gait pattern.
The heel-to-toe walk mimics real-life walking scenarios for practical benefits. It trains your body for situations like navigating narrow spaces, walking on curbs, or moving through crowded areas. Physical therapists use this exercise regularly because it translates so directly to functional movement.
Perfect Technique Step-by-Step
Find a clear path about 10-15 feet long. Stand tall with your arms at your sides and position your right foot directly in front of your left foot so the right heel touches (or nearly touches) the left toes. Take a step forward, placing your left heel directly in front of your right toes. Continue this pattern, walking in a straight line.
Key form points: Keep your steps slow and controlled—this isn’t a race. Speed reduces the balance challenge and increases fall risk. Maintain upright posture with your shoulders back and your gaze forward, not down at your feet. Let your arms help balance naturally by allowing them to move slightly at your sides. If you wobble, pause and reset rather than rushing through.
Imagine you’re walking on a tightrope or along a straight line on the floor. Some people find it helpful to actually place a piece of tape on the floor as a visual guide, especially when starting out.
Making It Easier or More Challenging
Beginner modifications: Walk along a wall, using it for occasional support when needed. Leave a small gap between heel and toe instead of touching them together—even a few inches apart provides balance benefits. Take fewer steps—even 5 steps is a great start! You can also practice the position while standing still first, just getting comfortable with the narrow stance.
Advanced variations: Once you’ve mastered the basic walk, try walking backward heel-to-toe. This requires even more concentration and coordination. Walk with your arms crossed over your chest to remove that balance aid, or try it on a slightly uneven surface like short grass in your yard. Some people add gentle head turns while walking to challenge their vestibular system further.
Perform 2-3 sets of 10-20 steps, 3-4 times per week. This exercise is also amazing for improving your everyday walking confidence. Many women report feeling more stable and sure-footed in their regular activities after practicing this consistently.
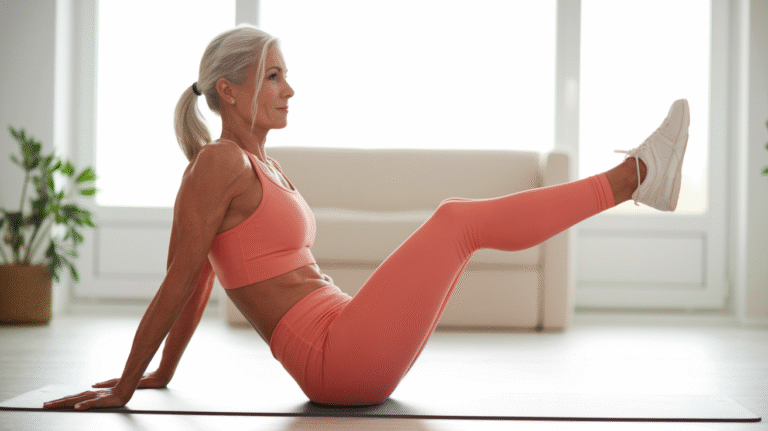
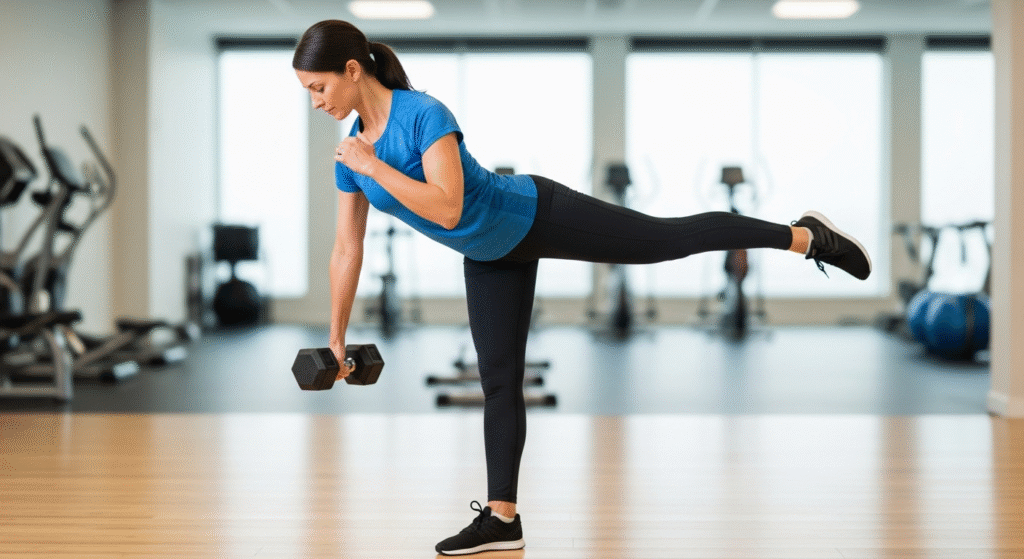
Exercise #3: Single-Leg Romanian Deadlift (Ultimate Stability Challenge)
Why Physios Love This Complete Exercise
The single-leg Romanian deadlift (RDL) is a favorite among physical therapists because it’s a complete package. This exercise strengthens your entire posterior chain—glutes, hamstrings, and back muscles—while simultaneously challenging your balance. It’s like getting two workouts in one movement.
This exercise improves hip stability and pelvic control, which are essential for walking, climbing stairs, and preventing falls. It enhances core strength functionally, training your muscles to work together as they do in real life.
The single-leg RDL is one of the most effective exercises for real-world balance because it mimics movements you do daily, like bending to pick something up or stepping over obstacles.
The Complete How-To Guide
Starting position: Stand on your right leg with your knee slightly bent. Hold onto a chair with your left hand for support if needed. Engage your core and keep your shoulders back.
The movement: Keeping your back straight, hinge forward at your hips while simultaneously lifting your left leg behind you. Your torso and lifted leg should move together, like a seesaw. Lower until you feel a stretch in your right hamstring—this might only be a small hinge forward at first, and that’s perfect.
Push through your right heel to return to standing, bringing your left leg back down with control. That’s one rep.
Essential form cues: Keep your hips square to the ground—don’t let the lifted hip rotate up or open to the side. This is common but reduces the effectiveness. Maintain a neutral spine with no rounding or excessive arching. Your standing knee stays slightly bent throughout the movement. Move slowly and with control—quality over quantity always.
Scaling for Your Current Fitness Level
Beginner approach: Hold onto a chair with both hands and only hinge forward slightly. You don’t need to go low—even a 30-degree forward lean provides benefits. Keep your back toe on the ground for extra stability, just sliding it back as you hinge. Start with 5 reps per side and focus entirely on form.
Intermediate progression: Use light fingertip support on a chair or let go entirely for brief moments. Hinge to approximately 45 degrees so your torso and lifted leg form a diagonal line. Fully extend the back leg so it’s parallel to the floor. Aim for 8-10 reps per side.
Advanced challenge: Perform the exercise with no support, or hold light dumbbells in your hands for added resistance. Hinge until your torso is nearly parallel to the floor and your lifted leg is fully extended behind you. Add a knee drive at the top, bringing the lifted knee up toward your chest before placing your foot down. Perform 12-15 reps per side.
Start with 2 sets of 5-8 reps on each leg, 2-3 times per week. This exercise requires more recovery than the others because it’s building significant strength alongside balance. Your glutes might feel sore the next day—that’s a good sign you’re working the right muscles.
Exercise #4: Side Leg Raises (Hip Abductor Strengthener)
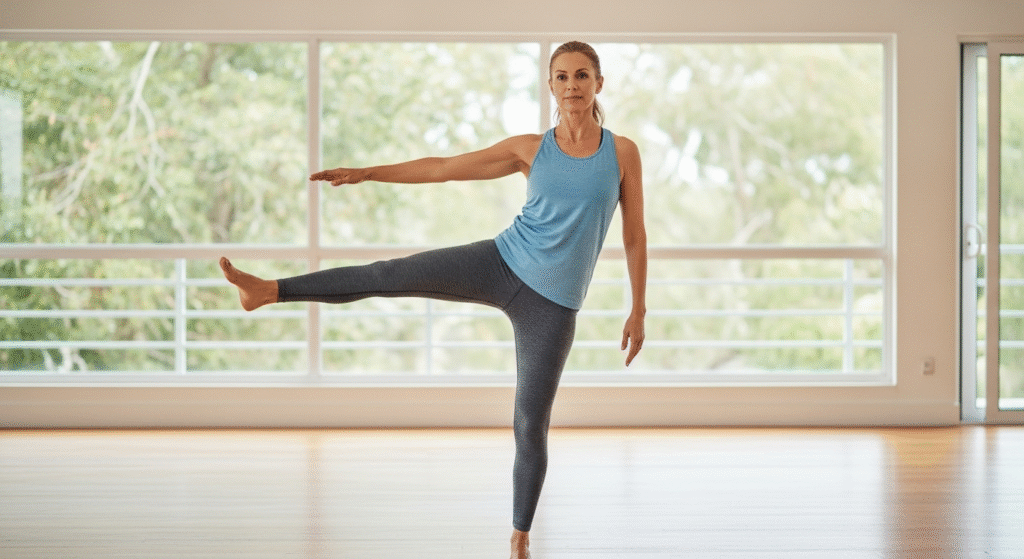
One key contributor to poor single-leg balance is weakness in the hip abductor muscles. To address this, stand on one leg near a stable surface and lift the opposite leg out to your side — no need to hold on. Repeat 10 reps, then switch sides.
The key mistake to avoid is swinging the leg up fast and dropping it down. The control happens on the way down — lower your leg slowly and deliberately. Beginner modification: hold the chair with both hands and reduce the height of the raise — even a few inches off the ground counts.
Exercise #5: Single-Foot Calf Raises (Ankle Stability Builder)
Start with regular calf raises on both feet. When you can do 20 easily, progress to single-foot raises with chair support. This builds the ankle strength that directly supports your balance during walking and on uneven surfaces.
You can attach this to existing habits — do calf raises while you wait for your coffee to brew. Aim for 2–3 sets of 10–15 reps per side, 3–4 times per week.
Ready to feel steady and confident again? These five exercises form a complete balance training program that fits into even the busiest schedule. Start with just 10 minutes a day, focusing on proper form over speed or difficulty. Track your progress—you’ll be amazed at how quickly you improve when you practice consistently. Your future self will thank you for investing in your balance today. Now grab a chair, clear some space, and take that first step toward better balance and greater confidence in every movement you make.ake that first step toward better balance and greater confidence in every movement you make.